
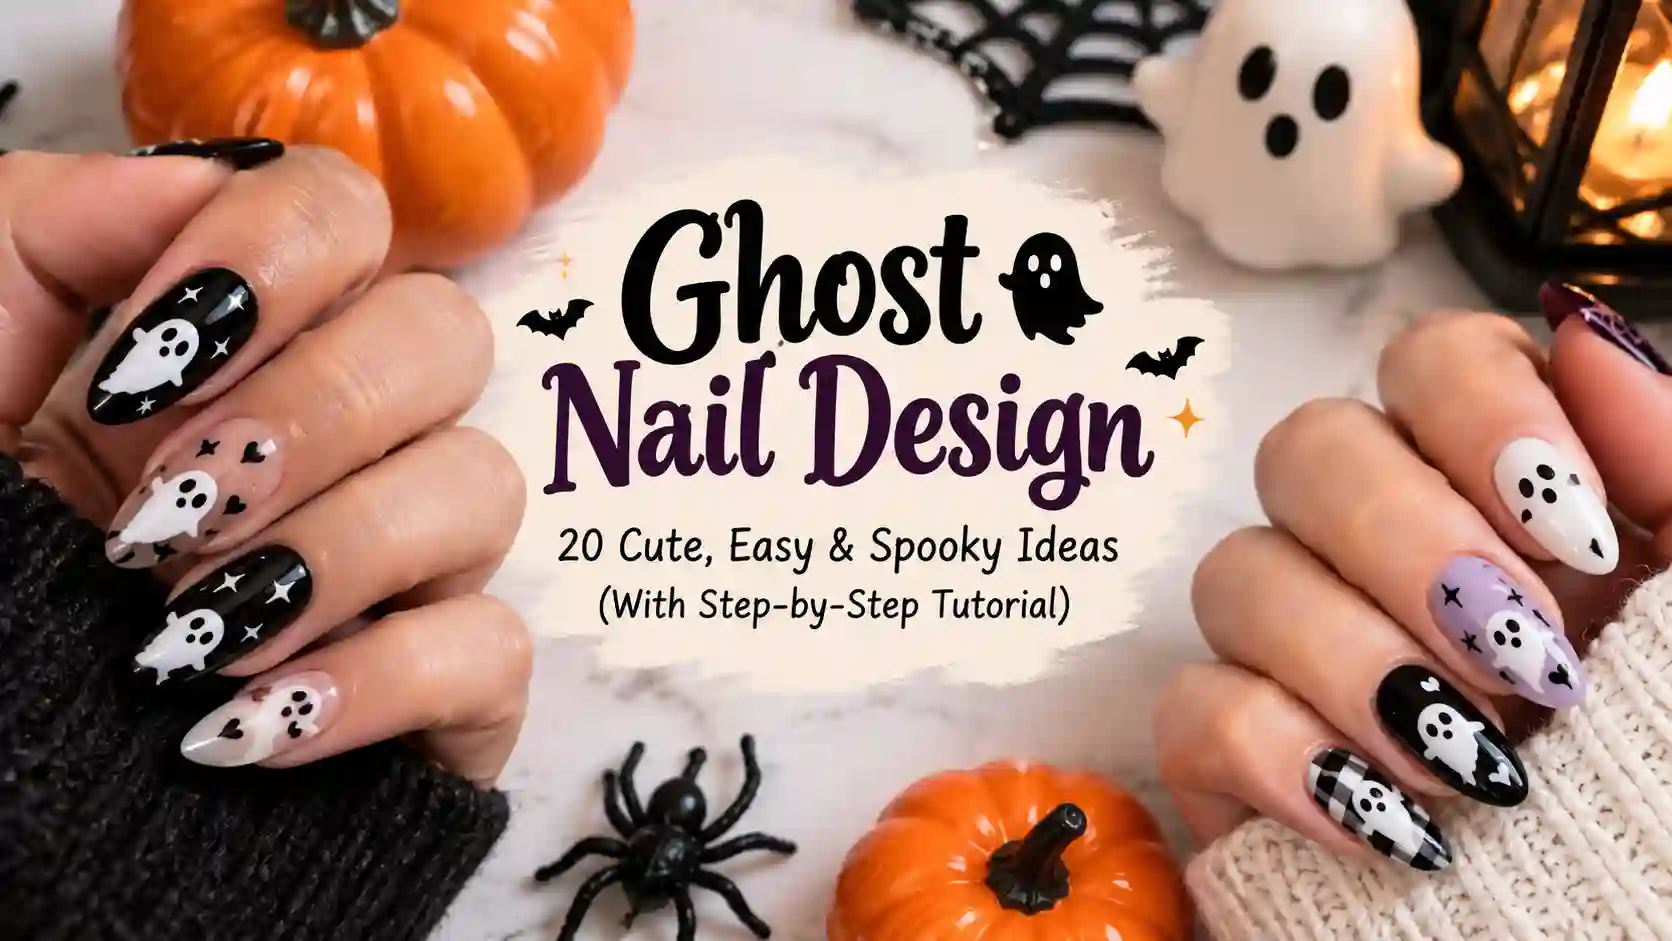
Ghost Nail Design: 20 Cute, Easy & Spooky Ideas (With Step-by-Step Tutorial)
Ghost nail design has become one of the most popular manicure motifs of spooky season. A tiny white ghost looks adorable on its own and fits almost any color scheme. It’s also forgiving enough for beginners, which makes it a favorite for DIY nail art.
This guide covers 20 ghost nail design ideas, a step-by-step tutorial with three methods, tips on matching ghosts to your nail shape, color palettes, troubleshooting for common mistakes, and aftercare. You’ll also find ways to wear ghost nails beyond Halloween.
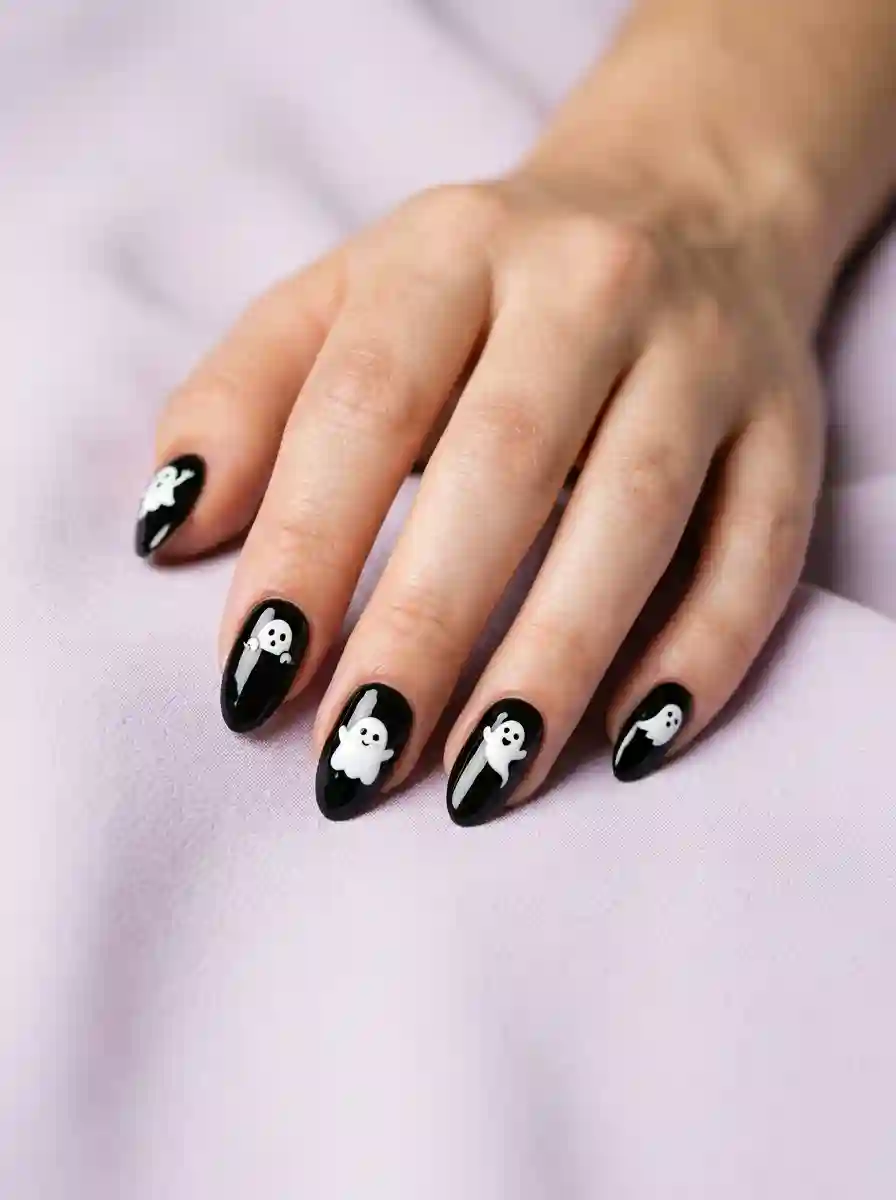
Why Ghost Nail Design Is So Popular
- It’s beginner-friendly. A ghost is basically a rounded shape with two dots for eyes.
- It’s customizable. Add a witch hat, a pumpkin, sunglasses or glitter.
- It suits every mood. Go minimal with one ghost on an accent nail, or go bold with a full set.
- It works with any base color. White ghosts pop on black, orange, purple, green or even pink.
- It photographs well, which keeps it trending on social media every October.
Must Read : 45 Fall Dip Nail Ideas That’ll Make You Want to Book an Appointment Right Now
Tools and Supplies You Need
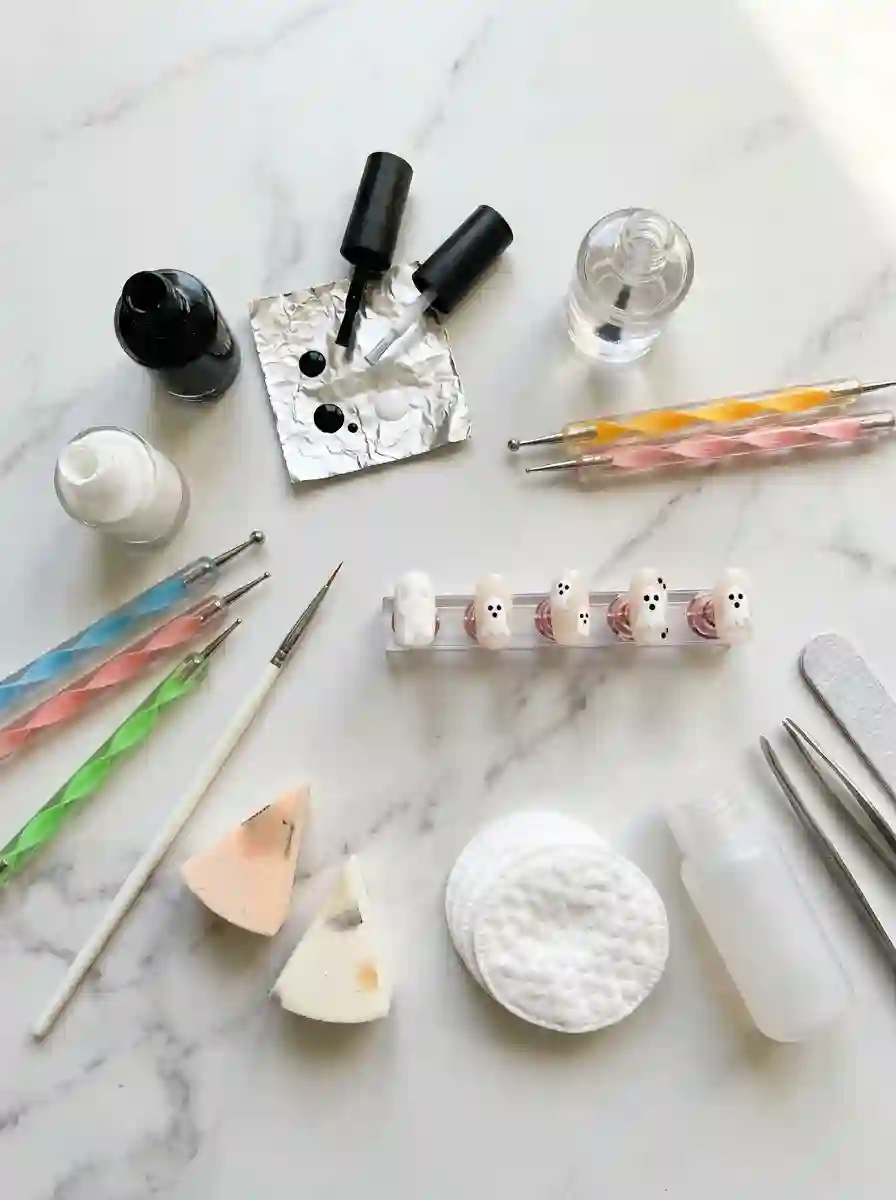
You don’t need a full salon kit. Here’s what to gather:
- Base coat and top coat (gel or regular polish)
- White polish, gel or acrylic paint for the ghost body
- Black polish or gel for eyes and mouths
- Dotting tool (or a toothpick or bobby pin)
- Thin nail art brush for outlines and details
- Makeup sponge if you want a gradient background
- Nail polish remover and a cotton swab for cleaning edges
- Optional extras: glow-in-the-dark powder, chrome powder, rhinestones, 3D gel or builder gel, ghost stickers or stencils
20 Ghost Nail Design Ideas
Classic and Cute Ghost Nails
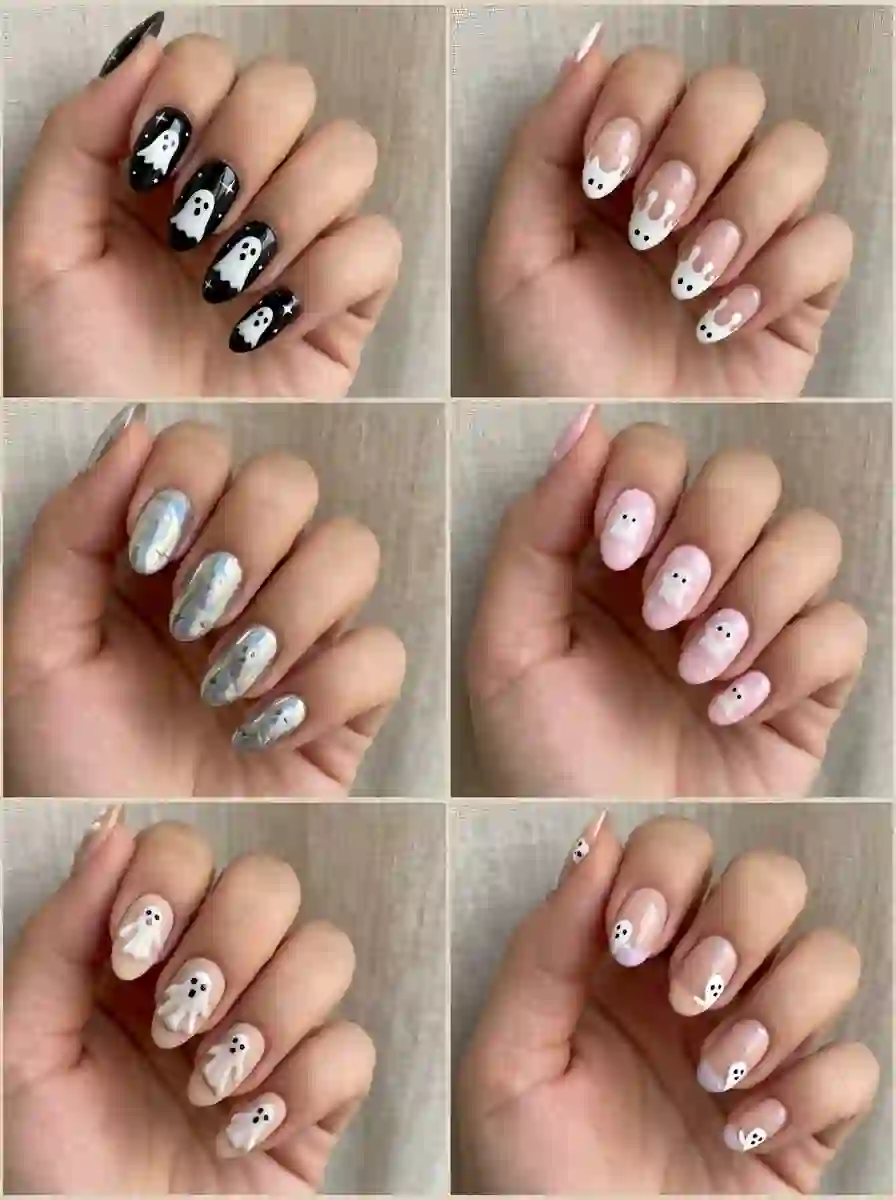
1. The Classic White Ghost on Black. This is the original. A white ghost with two black eyes on a jet-black base gives maximum contrast and a clean, graphic look.
2. Ghost French Tips. Paint a standard French tip, then turn one or two tips into mini ghosts with wavy edges. It looks polished and easy to wear to work.
3. Peeking Ghosts. Paint half a ghost along the cuticle or side wall, as if it’s peeking in. This is a clever choice if you struggle with symmetry.
4. Ghost Face Accent Nail. Keep the other nails a solid color and give your ring finger one big ghost. It’s low effort and high payoff.
5. Cluster of Mini Ghosts. Scatter three to five tiny ghosts across the nail in different sizes. They work well on short nails because the ghosts don’t need to be large.
Minimal and Chic Ghost Nails
6. Sheer Milky Ghost Nails. Mix a drop of white into clear polish for a translucent veil, then add a small outlined ghost. The result is soft and subtle.
7. Negative Space Ghost. Leave a ghost-shaped area unpainted and fill the rest of the nail with color. It’s modern and surprisingly easy to do with a stencil.
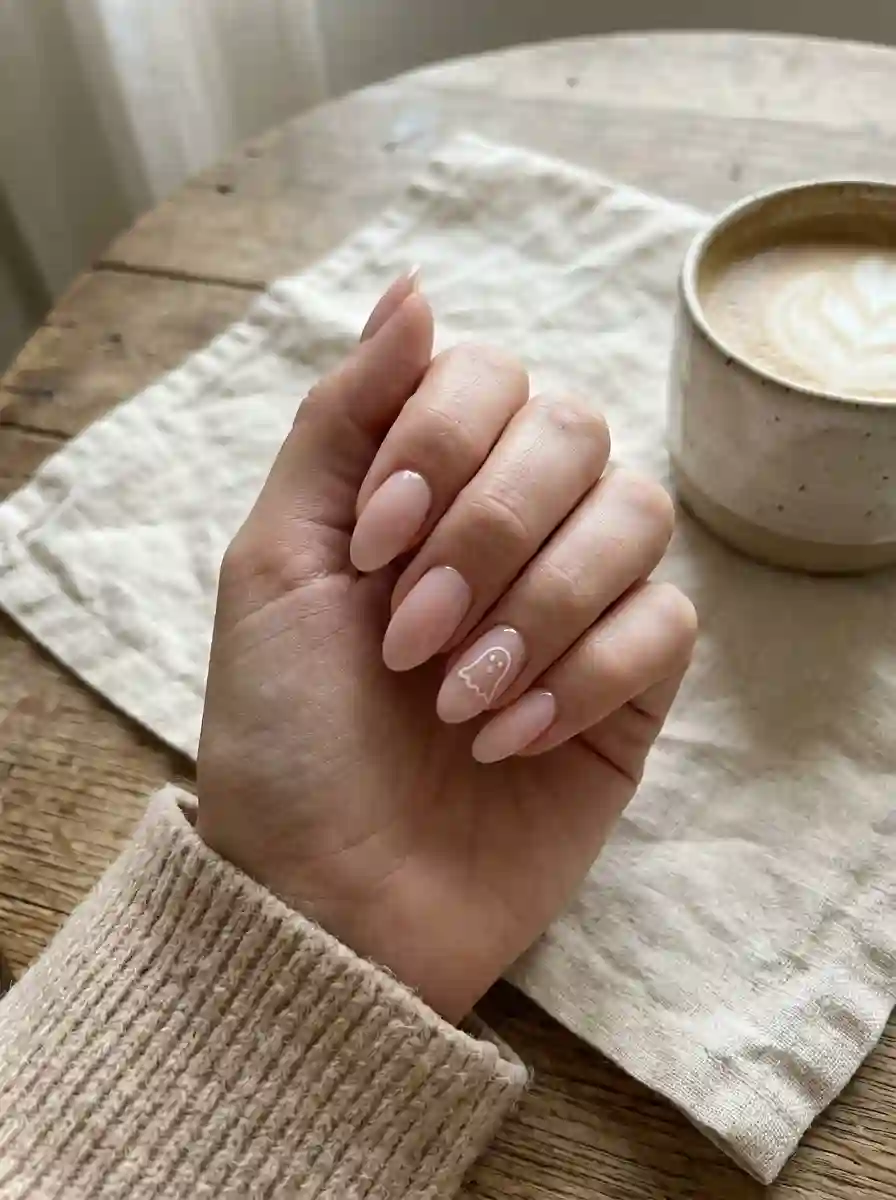
8. Neutral Nude Ghosts. Use a beige or taupe base with a white ghost for a muted autumn look that suits offices and everyday wear.
9. Line Art Ghost. Draw only a thin white or gold outline of a ghost on bare nails. Minimalists love this one.
Dark and Spooky Ghost Nails
10. Graveyard Ghost. Add tiny tombstones, bats or a crescent moon around a ghost on a deep charcoal base.
11. Haunted House Silhouette. Paint a gradient from purple to black with a house silhouette and a floating ghost above it.
12. Spooky Ghost Face. Give the ghost wide, hollow eyes and an open mouth for a more eerie expression instead of a cute one.
13. Ghost with Spider Webs. Use a fine brush to paint webs in the corner of the nail, with a ghost hovering nearby.
Also Read : Cat Eye Nail Ideas That Will Instantly Transform Your Manicure Into Pure Magic
Glam and Textured Ghost Nails
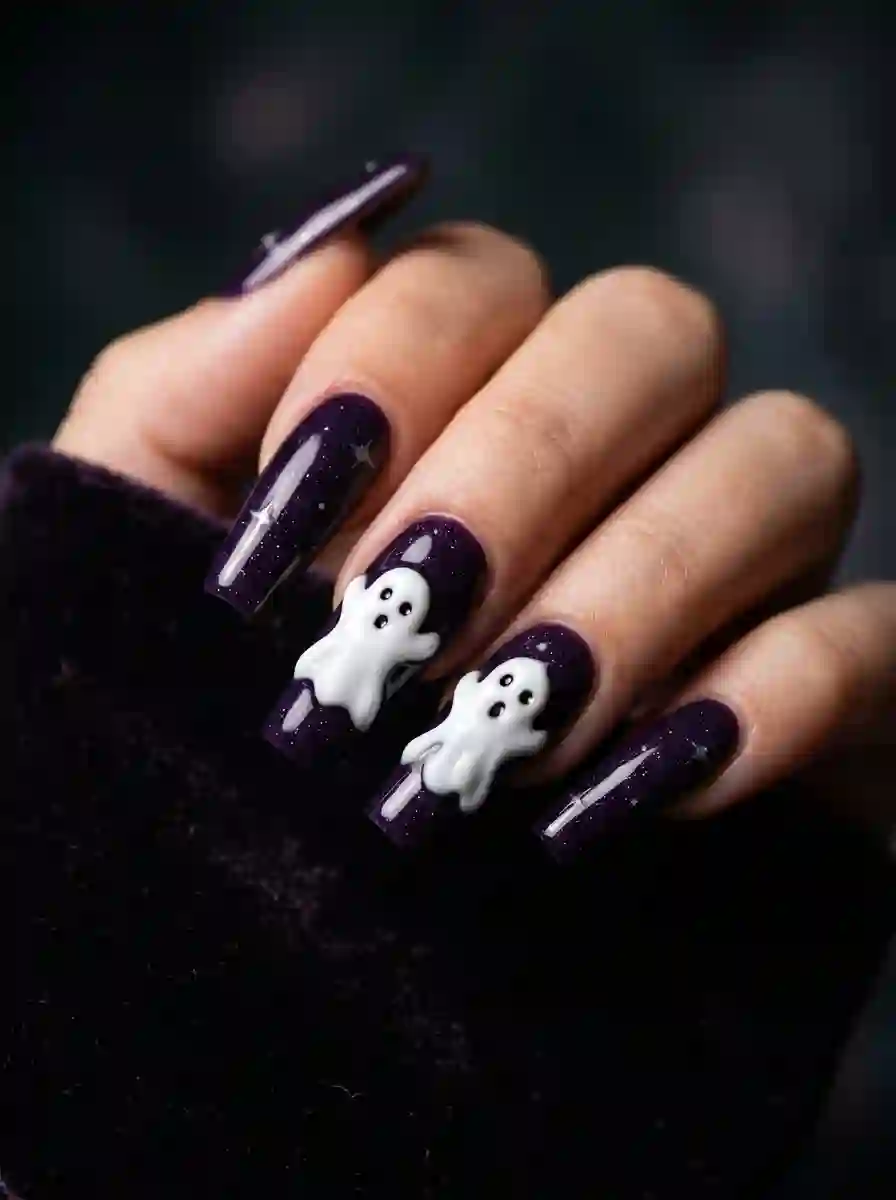
14. 3D Ghost Nails. Sculpt a raised ghost from builder gel or acrylic. It’s the trendiest option and a real conversation starter. Keep the ghost small so it doesn’t catch on clothing.
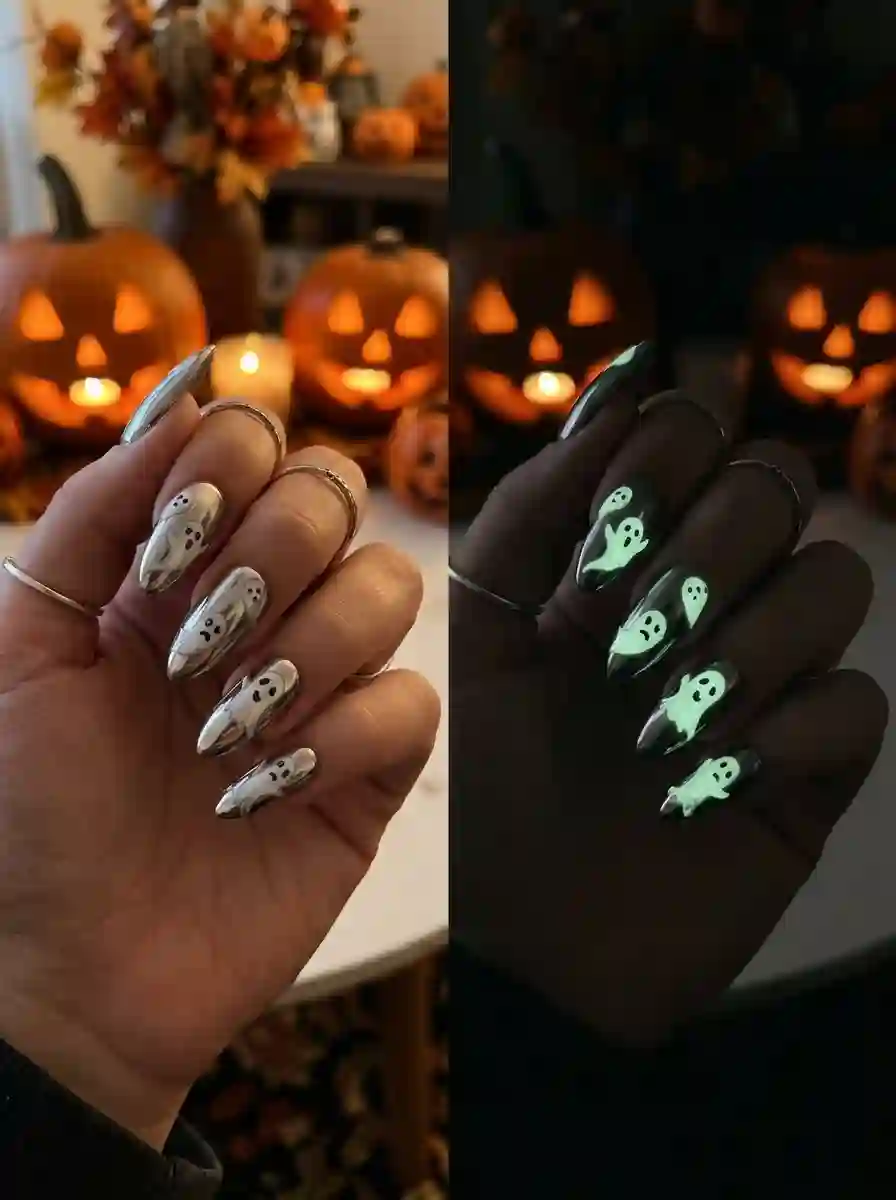
15. Chrome Ghost Nails. Apply chrome powder over the ghost for a shiny, mirror-like finish. Silver and pearl look great.
16. Glitter Ghost Nails. Use a glitter gel for the ghost body or add glitter to a gradient background.
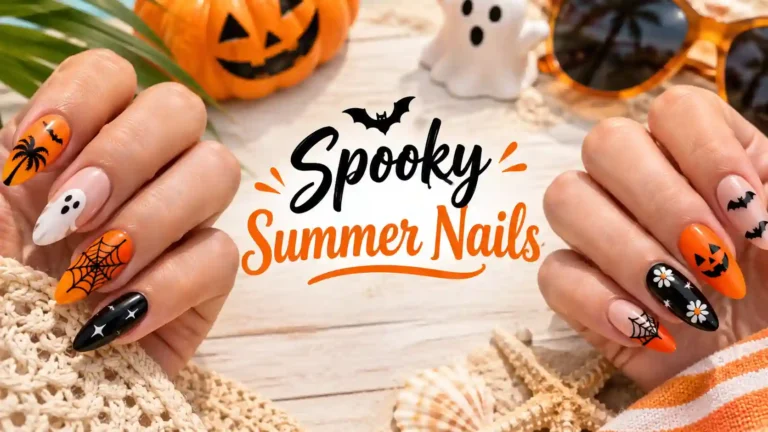
17. Glow-in-the-Dark Ghosts. Mix glow powder into white gel or polish. The ghost glows after exposure to light, which is fun at night events.
Playful Themed Ghost Nails

18. Ghost and Pumpkin Pairs. Pair a ghost with a mini pumpkin on neighboring nails, or have the ghost hold a pumpkin.
19. Ghost in Costume. Give your ghost a witch hat, a pirate bandana or mummy-style bandages on a fun accent nail.
20. Pastel Ghosts. Use pink, lilac or mint backgrounds for a “cute-core” version that feels sweet rather than scary.
Choosing the Best Ghost Design for Your Nail Shape and Length
| Nail Shape | Best Ghost Style | Why It Works |
|---|---|---|
| Short square | Mini ghosts, peeking ghosts, ghost French tips | Small details keep the nail from looking crowded |
| Short round | Single centered ghost, line art | Soft shape suits simple designs |
| Almond | Sheer ghosts, negative space, gradients | Tapered shape complements flowing outlines |
| Coffin or ballerina | Large ghosts, scenes, 3D ghosts | Wide, flat surface offers room for storytelling |
| Stiletto | Spooky or elongated ghosts, chrome | Long, dramatic canvas fits bold looks |
Tip for short nails: Choose two or three small ghosts rather than one large one, and keep your background simple.
Color Palettes to Try with Ghost Nails
| Palette | Mood | Colors |
|---|---|---|
| Classic Spooky | Bold and dramatic | Black, white, orange |
| Witchy Night | Mysterious | Deep purple, black, silver |
| Cozy Autumn | Warm and wearable | Brown, cream, burnt orange |
| Toxic Green | Edgy | Neon green, black, white |
| Cute Pastel | Sweet and playful | Pink, lavender, mint, white |
| Elegant Gold | Luxe | Black, white, gold foil |
White ghosts show up best against darker or saturated backgrounds. On pastel bases, outline the ghost in a thin gray or soft black line so it doesn’t disappear.
Read Also : Summer Flower Nail Designs That Will Bloom Beautifully On Your Hands All Season Long
Step-by-Step: How to Do Ghost Nail Design at Home
Skill level: Beginner to intermediate
Time: About 45-90 minutes depending on design and drying or curing time
Method 1: Hand-Painted Ghost (Easiest)
- Prep your nails. Push back cuticles, shape and buff gently, then wipe off oils.
- Apply a base coat. This protects your natural nail and helps color last longer.
- Paint your background color in two thin coats. Let it dry or cure fully.
- Create the ghost body. Dip your dotting tool or thin brush in white. Place a rounded dot, then drag it down and make wavy points at the bottom edge.
- Fill and smooth. Add a second coat of white for solid coverage.
- Add the face. Once the white is dry, use a clean dotting tool and black polish to add two eyes and a small mouth.
- Clean up edges with a small brush dipped in remover.
- Seal with top coat. Use a glossy finish for shine or a matte one for a modern, chalky look.
Method 2: 3D Ghost Nails (Intermediate to Advanced)
- Complete steps 1-3 above.
- Take a small bead of white builder gel or acrylic and place it where you want the ghost.
- Shape it into a dome with a wavy bottom edge using a gel brush.
- Cure it under your lamp following your product’s directions.
- Add the eyes and mouth with black gel and cure again.
- Seal around the ghost carefully, avoiding the raised area if you want it to stay matte.
Method 3: Stickers or Stencils (Fastest)
- Complete steps 1-3 above.
- Place a ghost sticker or stencil on your dry base color.
- Paint over the stencil with white, then peel it away carefully.
- Add facial details and seal with top coat.
Common Ghost Nail Mistakes (and How to Fix Them)
- The ghost looks like a blob. Use a thinner brush and keep the bottom edge wavy with clear pointed ruffles.
- White looks streaky. Apply two thin coats rather than one thick one, or use a white gel or acrylic paint with stronger pigment.
- Eyes smudge. Wait until the white is completely dry before adding black, and use a fresh dotting tool each time.
- Design disappears on pastel colors. Add a subtle outline or choose a deeper background.
- The ghost looks uneven across nails. Don’t try to make every ghost identical. Vary sizes or poses on purpose.
- Chipping within days. Cap the free edge of your nail and always finish with a top coat.
What to Tell Your Nail Tech
If you’d rather book a salon visit, bring a reference photo and be specific:
- Say whether you want flat or 3D ghosts
- Mention your nail length and shape
- Ask how many nails will carry a design
- Name your base color and finish (glossy, matte, chrome)
- Confirm the price beforehand, since detailed or 3D work usually costs extra
Also Read : Gorgeous Gray Nail Ideas That Will Instantly Upgrade Your Manicure Game
Ghost Nails Beyond Halloween

Ghost nails don’t have to retire on November 1st. For year-round wear:
- Choose sheer, milky and neutral versions with a single small ghost
- Try negative space or line art for a subtle look
- Swap the spooky vibe for pastel colors
- Keep one accent ghost on a plain manicure for a playful touch
Aftercare, Longevity and Removal
- Apply cuticle oil daily to keep nails flexible and prevent lifting.
- Wear gloves while washing dishes or cleaning.
- Avoid using your nails as tools. 3D ghosts especially can catch and pop off.
- Reapply top coat every few days on regular polish to keep it glossy.
- Removal: For regular polish, use remover and cotton pads. For gel, file off the top coat gently and soak with acetone-soaked cotton wrapped in foil for 10-15 minutes, or have a professional take it off. Never peel gel off, since it damages the nail plate.
Frequently Asked Questions
What is a ghost nail design?
It’s a manicure featuring ghost artwork, usually a white, cartoon-style ghost with simple eyes and a wavy hem, painted or sculpted onto one or more nails.
Are ghost nails hard to do?
No. The basic painted version is beginner-friendly and only needs a dotting tool and thin brush. 3D versions take more practice.
What colors go best with ghost nails?
Black, purple, orange and deep green give the most contrast. Pastels create a softer, cuter look.
How long do ghost nails last?
Regular polish typically lasts about a week, while gel designs can last two to three weeks with good prep and aftercare.
Can I do ghost nails on short nails?
Yes. Use small ghosts, peeking ghosts or ghost French tips, and keep the background simple.
Can I wear ghost nails outside of Halloween?
Yes. Sheer, neutral or pastel versions with a single ghost feel playful and work all year.
How do I make ghost nails glow in the dark?
Mix glow-in-the-dark pigment into white gel or polish, or use a glow top coat over the ghost. Expose the nails to bright light to charge the effect.
Do I need a nail lamp?
Only for gel designs. Regular polish and acrylic paint dry in air.
Final Thoughts
Ghost nail design is one of the easiest ways to join the spooky season fun. Start with a single hand-painted ghost on an accent nail, then try French tips, chrome finishes or 3D details as your confidence grows. Pick a palette that suits your style, match your design to your nail shape, and finish with a good top coat. Your nails will be the best-dressed ghosts at any party.

5 Comments