
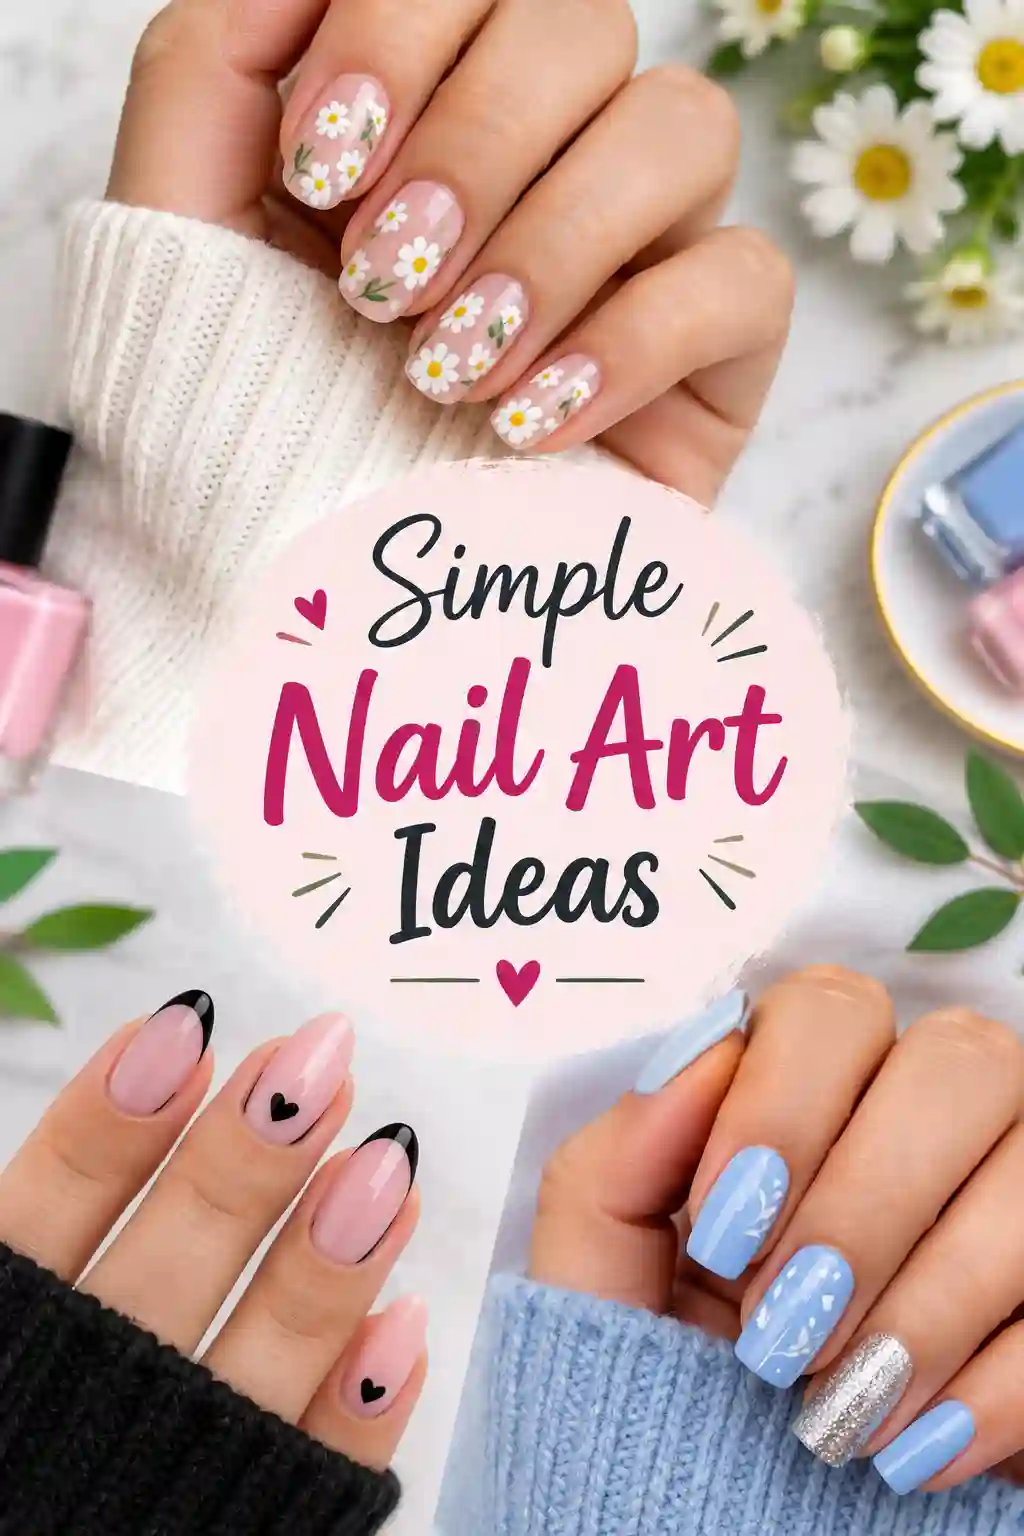
Best Simple Nail Art Ideas That Look Salon Fancy
I have been doing nails for twelve years. In that time I have painted tiny roses, built chrome sets, and spent four hours on a single wedding hand. Yet the request I hear most often is still the same: “Can you just do something simple?”
I never feel let down by that request. Simple nail art is where real skill shows. Anyone can hide a messy base under glitter and stones. Doing a clean, soft, pretty design with two colors and one small brush takes patience, and it is also the easiest style for a beginner to learn.
This guide holds everything I have learned about simple nail art. I will walk you through tools, prep, designs, color choices, mistakes I made myself, and tricks I only learned after years of clients sitting in my chair. Make a cup of tea, grab your polish, and let us begin
Also Read : Rose Nail Ideas: 60+ Gorgeous Designs, Shapes and Easy How-Tos for 2026
What Is Simple Nail Art and Why Do So Many People Love It?
Simple nail art is any nail design that uses basic shapes, a small number of colors, and tools you can find at home or buy cheaply. Think dots, thin lines, tiny hearts, a French tip, a half moon, or a single accent nail. There are no complicated layers and no expensive gadgets.
People love it for three reasons. The first is time. Most simple designs take fifteen to thirty minutes. The second is confidence. You do not need a steady artist’s hand to get a good result. The third is wearability. A clean, minimal design suits an office, a wedding, a school day, or a lazy Sunday.
I have clients who are doctors, teachers, bankers and students. Almost all of them ask for simple nail art because it looks neat and does not draw too much attention. It says “I take care of myself” without shouting.
Simple Does Not Mean Boring
This is something I repeat often. A single white dot on a nude nail can look elegant. A thin gold line on a deep green base can look expensive. The trick is in the placement, the spacing, and the cleanliness of the work.
When I started out, I believed more detail meant better art. I was wrong. Some of my most requested sets are the ones with almost nothing on them. Restraint is a skill, and it is one of the best things you can learn as a beginner.
How I Fell in Love With Simple Nail Art
My story starts in a small rented room, with a cheap lamp and one bottle of red polish. I was nineteen and broke. A friend asked me to paint her nails for a cousin’s wedding, and I only had three colors, a toothpick, and a lot of nerves.
I did a plain nude base with a tiny red dot near each cuticle. That was all. She got compliments all night. Her aunt even asked where she had her nails done.
That small moment changed how I saw the craft. I realised I did not need a hundred brushes or a dozen gels. I needed a good base, clean edges, and one idea executed well. Since then, simple nail art has been the foundation of everything I teach and everything I do.
The Mistake That Taught Me the Most
Early in my career, I tried to impress a new client with a busy design full of layers, stripes and little gems. It looked crowded. She smiled politely and never booked again.
A few months later, I did a soft pink set with a thin white line on the tip for another client. She came back every three weeks for years. Lesson learned. Clients, and honestly most people, want to feel pretty and comfortable, not covered in decoration.
Tools You Need for Simple Nail Art at Home
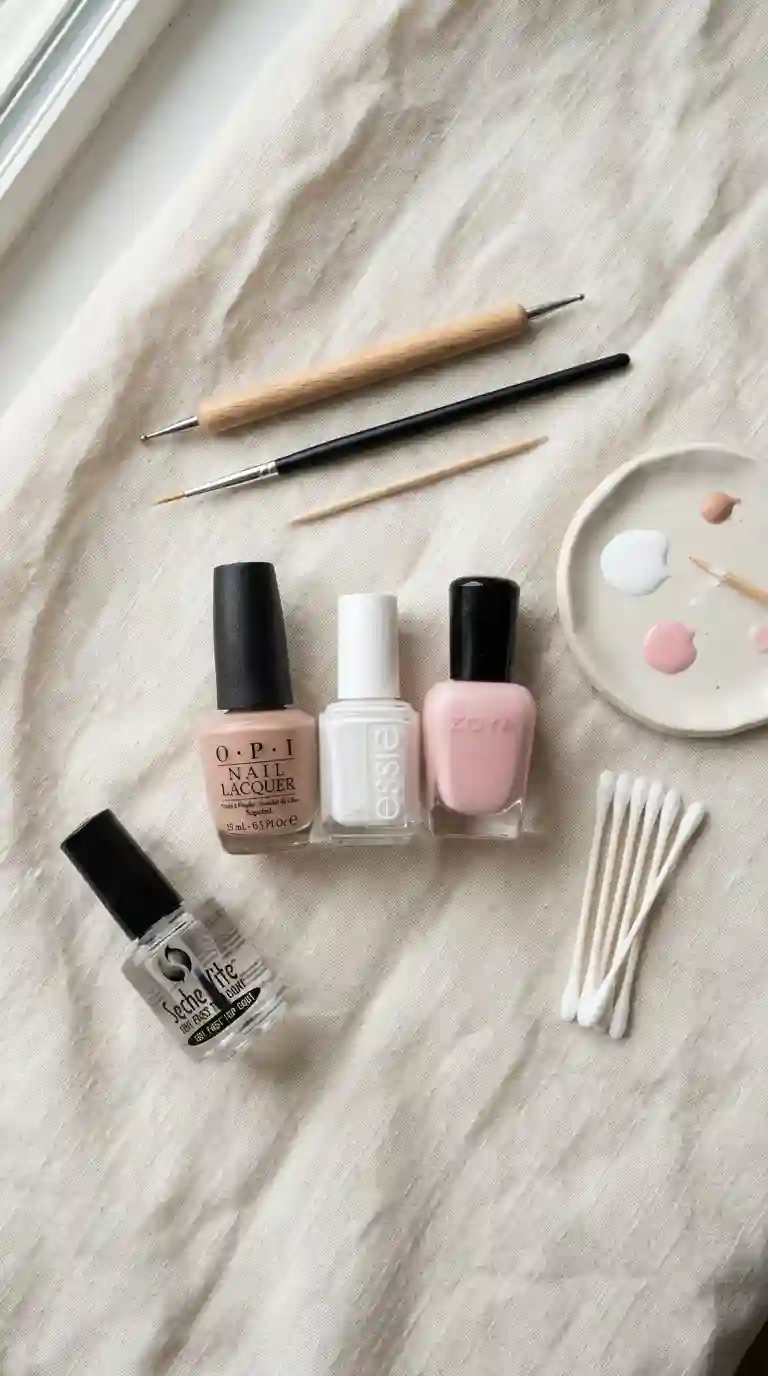
You do not need a full kit to begin. I have seen beginners spend a fortune on tools they never touch. Let me save you that trouble.
Also Read : Black Halloween Nails That Will Make Your Spooky Season Manicure Absolutely Unforgettable
The Essential Tools
Here is what I would pack in a beginner bag for simple nail art. A base coat comes first, because it protects your natural nail and helps polish stay put. Next comes a top coat, which seals the design and gives shine. You also need two or three polish colors you truly love, a dotting tool, a thin detail brush, and a small bottle of acetone or polish remover.
A dotting tool is a little stick with a rounded metal ball at the end. It makes perfect dots, and it also draws small hearts, flowers and stripes. If you buy only one nail art tool, make it this one.
A thin brush, often called a striping or liner brush, lets you draw lines. Cheap ones work fine when you are starting. Just be sure to clean it right after use, because dried polish ruins the bristles.
Tools You Probably Already Own
This is the fun part. You can do beautiful simple nail art with things from around the house. A toothpick can replace a dotting tool. A bobby pin makes slightly larger dots. A sewing needle makes fine details. Tape can create clean stripes and geometric shapes. A makeup sponge gives a soft gradient.
I taught my younger cousin using only a toothpick and a bobby pin. She still does her own nails this way, and they look great.
Optional Extras Worth Considering
If you fall in love with the hobby, a few extras can help. Nail art stickers are brilliant for fast results. Fine glitter lifts a plain base. A cuticle pusher and cuticle oil keep the nail area neat. A matte top coat changes the entire mood of a design in one swipe.
Do not buy everything at once. Add tools only when you feel a real need for them.
Prepping Your Nails Before Any Simple Nail Art
If I could give you only one piece of advice, it would be this. Prep matters more than design. I have watched flawless art fall apart on a poorly prepared nail, and I have seen very plain art look luxurious on a perfectly prepped one.
Shape and File With Care
Start by shaping your nails to the form you like. Short square, soft oval, rounded or almond all work well for simple nail art. File in one direction instead of sawing back and forth, because sawing causes splitting and peeling.
Smooth the edges so they do not catch on fabric. A rough edge also makes polish chip sooner.
Take Care of the Cuticles
Soak your fingertips in warm water for a couple of minutes. Gently push the cuticles back with a soft tool. Please avoid cutting them unless you know exactly what you are doing, because cuticles protect you from infection.
I once treated a client who cut her cuticles so aggressively that her fingers were sore for a week. Gentle care is always better.
Cleanse the Nail Surface
Oils from your skin and lotion stop polish from sticking. Wipe each nail with a cotton pad dipped in remover or a little rubbing alcohol. This one step can add days to the life of your manicure.
Never Skip the Base Coat
A base coat gives your polish something to grip. It also prevents yellow stains, especially from dark colors and reds. Apply one thin layer and let it dry fully before you do anything else.
Simple Nail Art Designs for Beginners
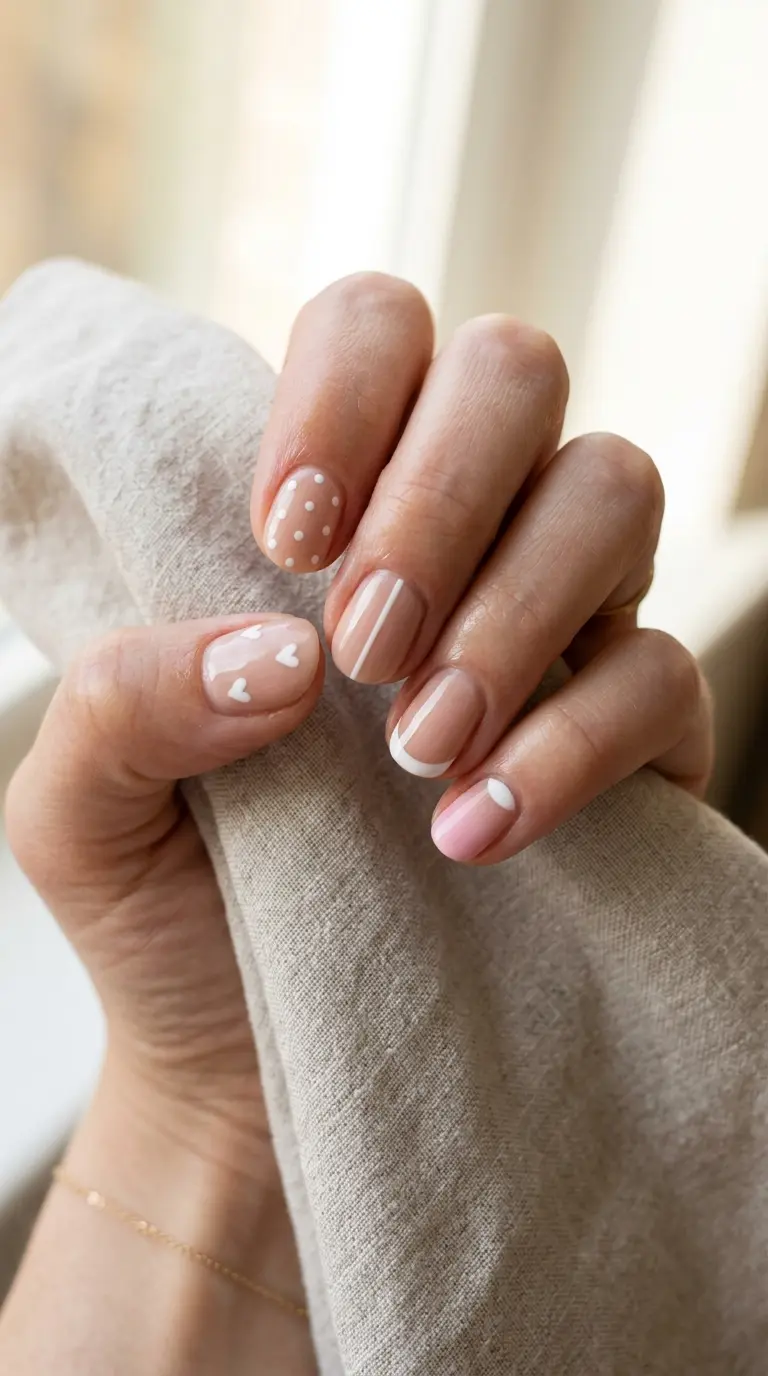
Now we get to the part you came for. These are the designs I teach in my own beginner sessions. Each one is easy, forgiving, and gives a pretty result even on a first try.
Polka Dots, the Friendliest Design Ever
Paint your base color and let it dry completely. Dip your dotting tool in a contrasting polish and press it lightly onto the nail. Lift straight up. That is a dot.
You can place one dot on each nail, a row of three, or scatter them. Try white dots on a soft blue base, or gold dots on a deep burgundy base. This is the first simple nail art design I teach, because it builds control without stress.
A tip from experience: reload polish onto the tool after every two or three dots. The dots will shrink if you do not.
Thin Stripes and Clean Lines
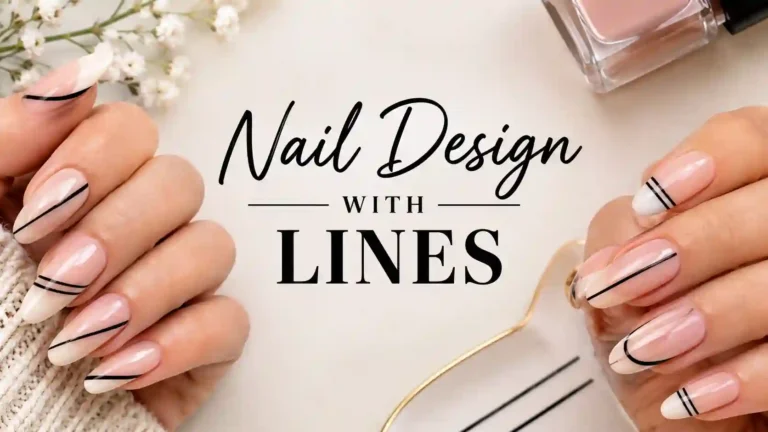
Dip a liner brush in polish and thin it with a tiny drop of remover if it feels thick. Rest your hand on a table so it stays steady. Draw a line from the base of the nail to the tip, or across the nail at an angle.
If your hand shakes, use tape. Place a strip of tape across the dry base, paint over the open space, and peel the tape off while the polish is still slightly wet. You get a sharp line with no skill needed.
The Classic French Tip
Everybody knows this one, and it never goes out of style. Paint a sheer pink or nude base. Then paint a thin white curve across the tip of each nail.
If freehand feels tricky, use French tip guide stickers. Press one on just belowthe free edge, paint the tip, and peel it off. I use this method on busy days because it is fast and tidy.
For a modern twist, try a colored French tip. Soft lilac, sage green and baby blue all look fresh.
Half Moon Nails
This design highlights the small curve near your cuticle. Paint your base, let it dry, and then place a reinforcement sticker or a tiny piece of tape at the base. Paint over the exposed area with a second color and remove the sticker.
Half moons look retro and polished. A cream base with a gold moon is one of my favorites for weddings.
Tiny Hearts
Place two small dots next to each other, then drag the tip of a toothpick down from the dots to a point. You now have a heart. Practice on a piece of paper first.
Little hearts look charming on an accent nail. I often do one finger with hearts and the rest in a plain matching color.
Soft Gradient With a Sponge
Dab two or three polish colors side by side on a makeup sponge. Press the sponge lightly onto your nail and repeat until the blend looks smooth. Clean the skin around the nail with remover afterward.
This is a great simple nail art technique for sunset shades, ombre pinks, or a pearly white fade.
Easy Simple Nail Art Using Things Already in Your Home
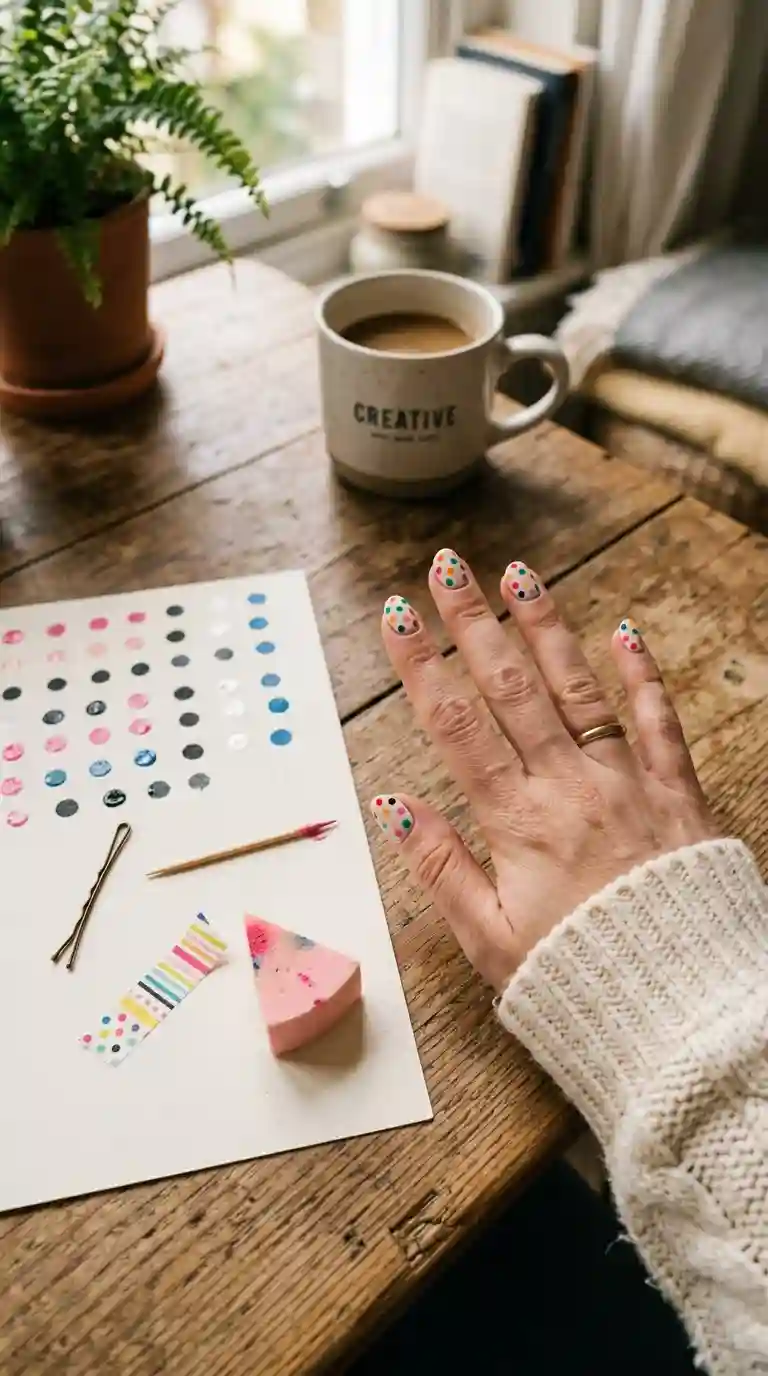
Some of my best ideas have come from drawers and kitchen shelves. Resourcefulness is part of the craft, and it is also kind to your wallet.
Read Also : Glitter Accent Nail Ideas: 30 Sparkling Designs for Every Style, Shape and Season
Toothpick Art
A plain wooden toothpick can create dots, tiny flowers and fine lines. Dip the tip in polish, and rest your wrist for stability. Wipe the tip with a tissue between uses so the details stay crisp.
Tape and Washi Tape Designs
Regular tape or washi tape gives sharp geometric shapes. Create a diagonal split, a grid, or a color block look. Be sure the base is fully dry before taping, otherwise you will lift the color underneath.
Bobby Pin Dots
The round end of a bobby pin makes a bigger dot than a toothpick. Use it for bold polka dots or the centers of flowers. I have used this trick on clients in a pinch, and they never knew.
Makeup Sponge Textures
Cut a small piece from a sponge and use it for marble, ombre or speckled effects. Dab lightly. Too much pressure creates a thick, messy look.
Simple Nail Art for Short Nails
I meet many clients who feel their nails are too short for art. I always tell them the same thing. Short nails are perfect for simple nail art.
Short nails give a tidy canvas. A small design looks balanced on them. A large, busy pattern can feel crowded, but a single dot, a thin line, or a minimalist tip looks neat and deliberate.
Designs That Suit Short Nails Best
Try a micro French tip, which is a very thin line of color at the edge. A single tiny heart near the cuticle works beautifully too. Vertical lines can make your fingers look longer. Nude and soft neutral bases also create a lengthening effect.
What to Avoid on Short Nails
Heavy glitter, wide horizontal stripes and very dark tips can make short nails appear shorter. Not forbidden, just something to be mindful of if elongating is your goal.
A Quick Story About Short Nails
One of my clients bites her nails. She felt embarrassed about it for years. I did a soft pink base with a single white dot on each nail. She looked at her hands and actually teared up. She told me she had never wanted to show her hands before.
That is why I love this work. Simple nail art on short nails can lift a person’s mood in a way that surprises even me.
Simple Nail Art Ideas for Every Season and Occasion

Your nails can follow the calendar. I like to match designs to the seasons and special moments in my clients’ lives.
Spring
Think pastel pink, mint, lavender and butter yellow. Small flower dots and light gradients feel fresh and gentle. A single daisy on one nail is lovely and takes only a few minutes.
Summer
Bright colors shine here. Coral, turquoise, lemon and white make cheerful combinations. Simple stripes, tiny fruit dots and a neon French tip fit the mood. Summer is also the season for beach friendly nails, so be sure to use a strong top coat.
Autumn
Warm shades such as rust, mustard, deep green and chocolate brown are beautiful. Try thin gold lines on a burgundy base or small leaf shapes made with a toothpick.
Winter
Icy blues, deep reds, silver and white feel festive. Snowflake dots, glossy red with a gold stripe, or a milky white base all work well. I do a lot of simple red sets in December, and they are always popular.
Weddings, Parties and Everyday Wear
For weddings, soft neutrals with a hint of shimmer look elegant. For parties, a glossy dark base with one glitter accent nail feels fun. For work, sheer pink, nude or milky white with a single detail looks professional. Simple nail art flexes to suit all of these.
Also Read : Pink Coffin Nail Ideas: 60+ Gorgeous Designs, Shades and Expert Tips for Every Style
Color Combinations That Make Simple Nail Art Stand Out
Color choice can make or break a design. A well chosen pair can make even a single dot look striking.
Colors That Always Work Together
Nude and white is soft and clean. Black and white is bold and graphic. Navy and gold looks rich. Sage green and cream feels calm and modern. Dusty pink and burgundy is warm and romantic. Baby blue and silver feels cool and fresh.
Matching Colors to Your Skin Tone
I have noticed that warm skin tones glow in peach, coral, olive and gold. Cool tones look lovely in lilac, berry, silver and icy blue. Neutral tones can wear nearly anything. If you are unsure, hold the polish bottle against your hand in daylight and trust your eye.
Keep It to Two or Three Colors
My golden rule for simple nail art is to use no more than three colors. When you add a fourth, the design starts to lose its calm. A restrained palette gives you that clean, expensive look.
Simple Nail Art on Gel, Dip Powder and Press On Nails
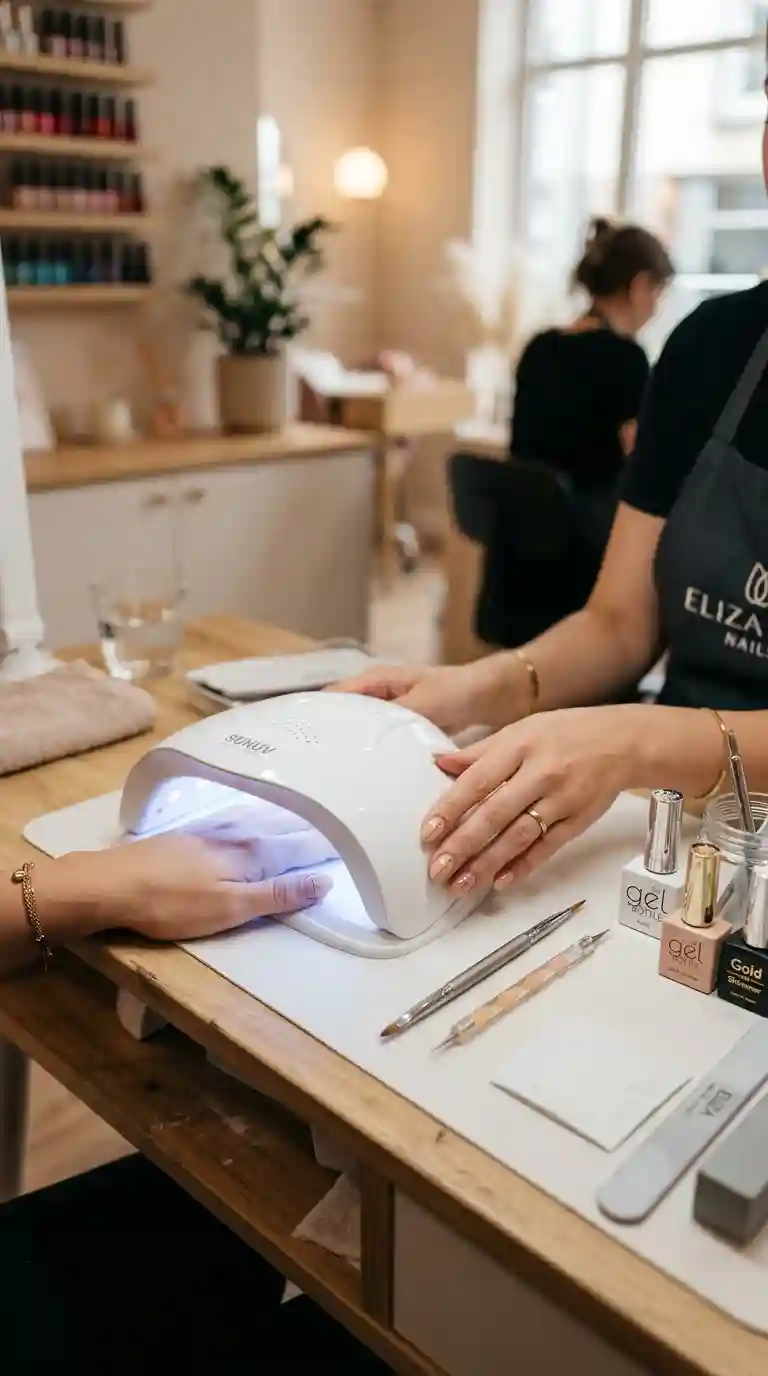
Not everyone uses regular polish. Here is how the same ideas work on other nail types.
Gel Polish
Gel is wonderful for nail art because it stays wet until you cure it under a lamp. You can fix mistakes, adjust lines and take your time. Cure each layer as instructed on the bottle. Thin layers cure better than thick ones.
Dip Powder
You can do simple nail art on dip nails by adding designs over the final color, then sealing with a top coat. Dots and stripes work well. Keep details small, because the surface can be slightly textured.
Press On Nails
This is one of the easiest ways to practice. Paint your designs on the press ons before you apply them, so you can lay them flat on a table and work comfortably. I recommend this to total beginners. It removes the awkwardness of painting with your non dominant hand.
Common Mistakes People Make With Simple Nail Art

I have made nearly every mistake on this list, so please read them with a kind heart. Mistakes are how we learn.
Rushing the Drying Time
This is the number one problem. Layering a design on wet polish causes smudges and dragging. Wait at least five minutes after your base color, or use a quick dry drop if you are in a hurry.
Using Too Much Polish on the Tool
A heavy blob makes a messy dot. A tiny amount makes a clean one. Dip lightly, wipe off the excess on your palette, and apply with confidence.
Skipping the Top Coat
Without a top coat, your design is exposed and may chip within a couple of days. A good top coat also smooths the tiny raised edges of dots and lines. Apply it gently so it does not drag the art.
Painting Over Dirty or Oily Nails
Remember what I said about prep. Oil under polish leads to lifting. Wipe your nails clean before you begin.
Overcomplicating the Design
Chasing too many ideas on one hand leads to a cluttered result. Pick one idea. Execute it neatly. That is the heart of simple nail art.
Being Too Hard on Yourself
Perfection is not the goal. A tiny wobble in a line is part of handmade charm. My clients have never once noticed the imperfections I obsess over.
Must Read : Gorgeous Gray Nail Ideas That Will Instantly Upgrade Your Manicure Game
How to Make Your Simple Nail Art Last Longer
A manicure takes time, so you want it to last. These are habits I recommend to every client.
Cap the Free Edge
When you apply your top coat, run the brush lightly along the very tip of the nail. This seals the edge and prevents chipping, which usually starts there.
Reapply Top Coat Every Few Days
A fresh layer of top coat every two or three days refreshes the shine and adds protection. It is a cheap and quick trick that works.
Protect Your Hands
Wear gloves when washing dishes or cleaning. Hot water and strong detergents weaken polish. Also avoid using your nails as tools to open cans or scrape labels. I see broken nails from this every single week.
Moisturize Daily
Dry nails and cuticles chip and peel more. Use cuticle oil each evening, and keep a hand cream nearby. Healthy nails hold polish better.
Taking Care of Your Natural Nails Between Designs
Nail art is only fun if your own nails stay strong. I always tell clients to give their nails breathing time between sets.
Remove Polish Gently
Use a cotton pad soaked in remover, press it on the nail for ten seconds, and wipe. Do not pick or peel polish off. Peeling pulls away layers of your natural nail, and that is how thin, weak nails start.
Nourish From Inside and Out
A balanced diet with enough protein, water and vitamins supports nail strength. Biotin is popular, though results differ from person to person. If your nails are constantly brittle or discolored, it is wise to speak with a doctor.
Take a Short Break
After a few manicures in a row, let your nails rest for a few days with only a strengthening base coat. They will thank you for it.
What a Nail Artist Notices About Simple Nail Art in the Salon
Let me share a few insider thoughts from behind the table.
Clients Love Details That Feel Personal
A small initial, a birth month flower or a favorite color accent turns a plain set into something special. I once painted a tiny blue dot on every nail for a client whose late mother loved that shade. She cried, and so did I.
Simple Sets Get the Most Compliments
This might surprise you, but my busiest bookings are for minimal sets. People see a clean, polished manicure and ask, “Where did you get that done?” Minimal looks premium.
Hand Care Matters as Much as Design
Even the best simple nail art looks unfinished on dry, cracked hands. A quick hand massage and cuticle oil at the end of every service is what turns a good manicure into a great one.
Final Thoughts on Simple Nail Art
After twelve years, I can say with full honesty that simple nail art is my favorite thing to teach and to wear. It is forgiving, creative and accessible to everyone, no matter your budget or experience.
Start small. Pick one design from this guide, such as dots or a French tip, and practice it a few times. Your hand will learn. Your eye will improve. Soon you will be inventing your own ideas.
Be patient with yourself, enjoy the process, and remember that nobody is judging your nails as harshly as you are. If this guide helped you, share it with a friend who has been afraid to try. And if you create something lovely, I would be so happy to hear about it.
Frequently Asked Questions
What is the easiest simple nail art for beginners?
Polka dots are the easiest. All you need is a base color, a contrasting polish and a dotting tool or toothpick. The shape is forgiving, and even uneven dots look cute.
How can I do simple nail art at home without any tools?
Use a toothpick, a bobby pin, tape or a makeup sponge. These household items can create dots, stripes, geometric shapes and soft gradients.
What simple nail art looks good on short nails?
Micro French tips, tiny dots, thin vertical lines and one small heart near the cuticle all suit short nails. Soft neutral bases also help short nails look longer.
How long does simple nail art take?
Most simple designs take between fifteen and thirty minutes, not counting drying time. As you practice, you will get faster.
Which colors work best for simple nail art?
Nude with white, navy with gold, sage with cream and dusty pink with burgundy are dependable pairs. Keep your palette to two or three colors for the cleanest result.
How do I make nail art dots perfectly round?
Use a small amount of polish on the tool, press lightly and lift straight up. Reload polish every two or three dots so the size stays consistent.
How do I draw straight lines on my nails?
Use a thin liner brush and rest your hand on a stable surface. If you struggle, tape works well to create sharp, straight edges without needing a steady hand.
Can I do simple nail art on gel nails?
Yes. Gel is great for nail art because it does not dry until you cure it, so you have time to adjust. Just cure each layer properly under a lamp.


2 Comments