
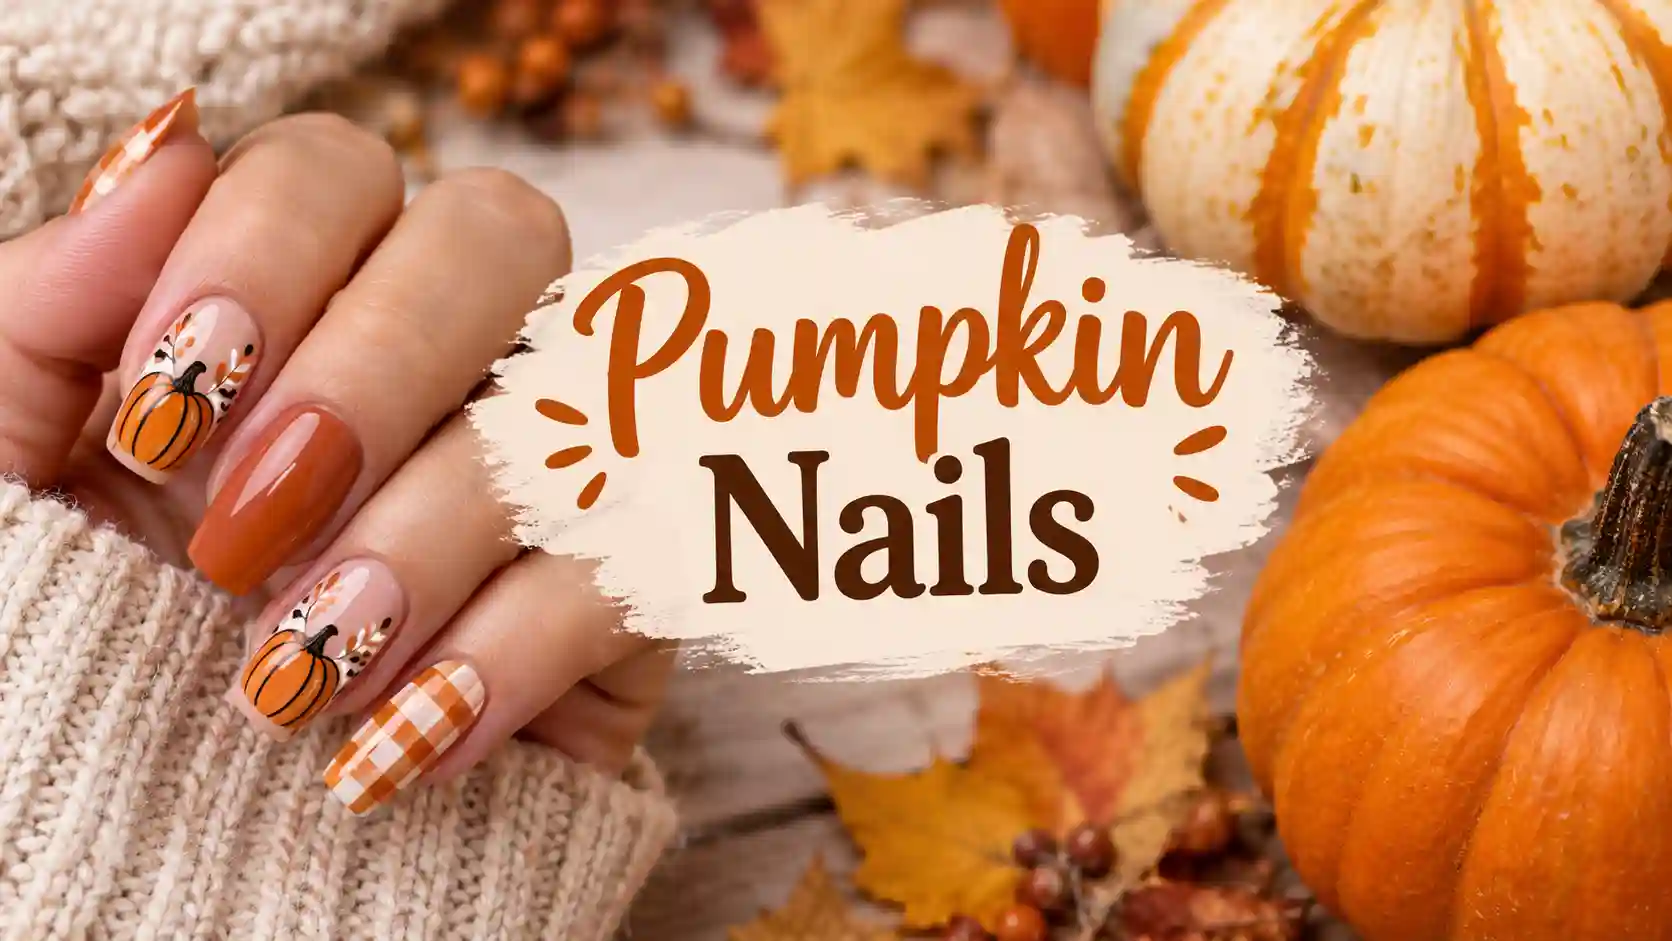
Pumpkin Nails That Will Make Your Hands The Coziest Part Of Fall
The moment the first cool breeze rolls through in September, my appointment book fills up with one request more than any other. Pumpkin nails have become the unofficial kickoff to fall in my studio, and honestly, I understand the excitement completely. There is something about that warm orange shade sitting on your fingertips that just feels like the season has officially arrived.
I remember the first time a client asked me for a full pumpkin design years ago. It started as a simple request, just a few orange nails with tiny painted stems, and it turned into one of my favorite styles to create every single autumn since. Pumpkin nails have a way of bringing out genuine joy in people, maybe because they tie so closely to all the comforting things fall represents, like warm drinks, cozy sweaters and the smell of something baking in the oven.
In this guide I want to walk you through everything I have learned about pumpkin nails over years of doing this professionally, from color selection and techniques to specific designs that work beautifully depending on your nail shape and length. Whether you want something subtle or a fully illustrated pumpkin patch across your fingertips, this article covers it all.
Also Read : Firework Nail Design: 25 Stunning Ideas, Tutorials and Pro Tips for Every Occasion
Why Pumpkin Nails Have Become The Signature Fall Nail Trend
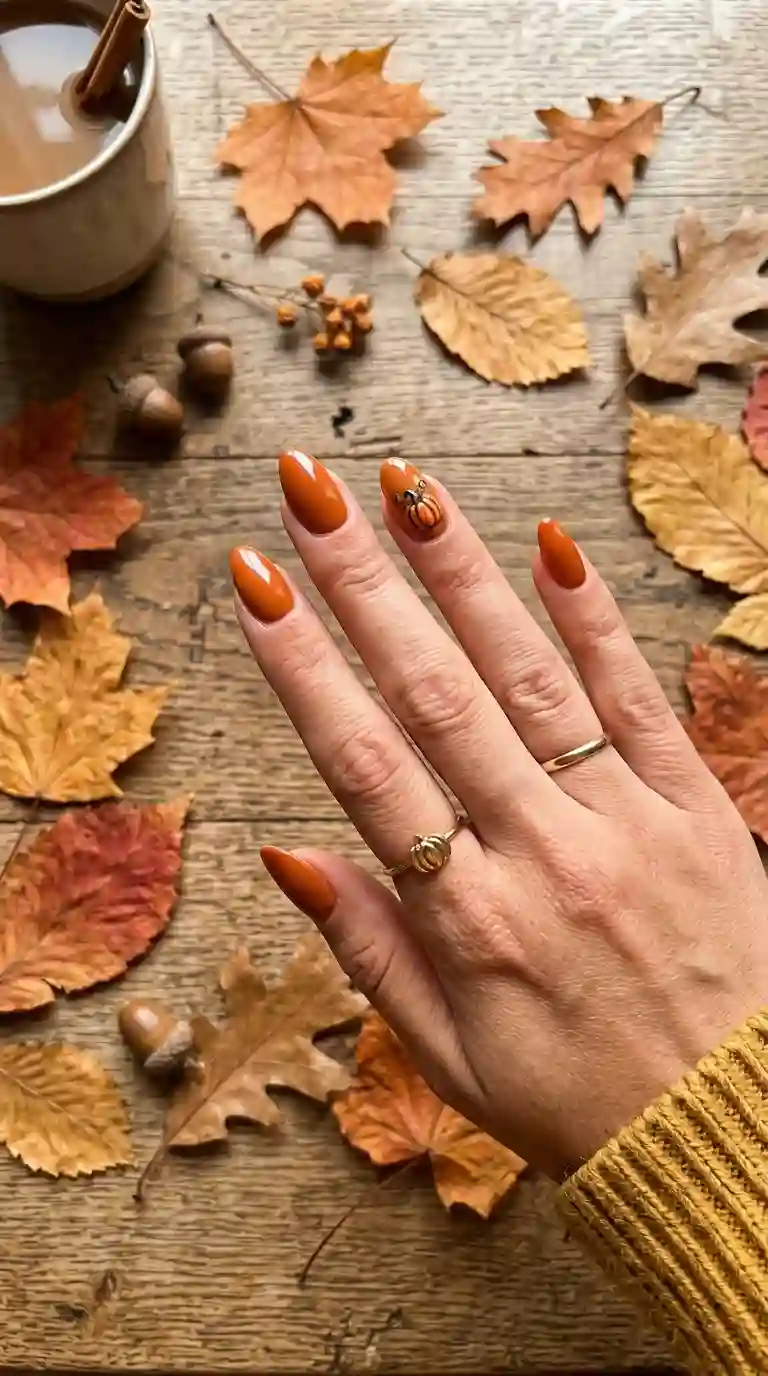
Pumpkin nails have grown into one of the most requested fall trends for a very simple reason, they capture the entire mood of the season in a single manicure. Warm orange tones instantly bring to mind cozy sweaters, falling leaves and everything comforting about autumn, which makes pumpkin nails feel like a natural extension of the season itself.
Part of what keeps pumpkin nails so popular year after year is how versatile the design actually is. You can go as simple as a solid orange manicure or as detailed as a fully painted pumpkin patch scene across your accent nails. Both approaches fall under the same general trend, and both capture that unmistakable autumn feeling clients are searching for every fall.
From a professional standpoint, I have also noticed that pumpkin nails photograph beautifully, which has helped the trend spread quickly across social media. The warm, rich orange tones paired with deep browns and greens create a color palette that simply looks good in photos, whether that means a quick phone picture after an appointment or a full styled seasonal photoshoot.
My Personal Experience Creating Pumpkin Nails Every Fall
Every autumn when pumpkin nails start showing up on my appointment schedule, I notice a shift in the overall mood of my studio. Clients come in excited, often already envisioning exactly what they want, whether that means a cute cartoon style pumpkin or something more elegant and subtle.
What I have learned over the years is that pumpkin nails mean something slightly different to every client. Some want a literal, detailed pumpkin illustration, complete with ridges, a stem and maybe even a tiny vine. Others simply want the warm orange color itself, without any additional artwork, since the shade alone already feels distinctly fall appropriate.
I always encourage clients to think about how detailed they actually want their pumpkin nails to be before the appointment starts, since this helps me plan out timing and which nails will serve as the main accent pieces versus the simpler, supporting shades.
Choosing The Right Shade Of Orange For Pumpkin Nails
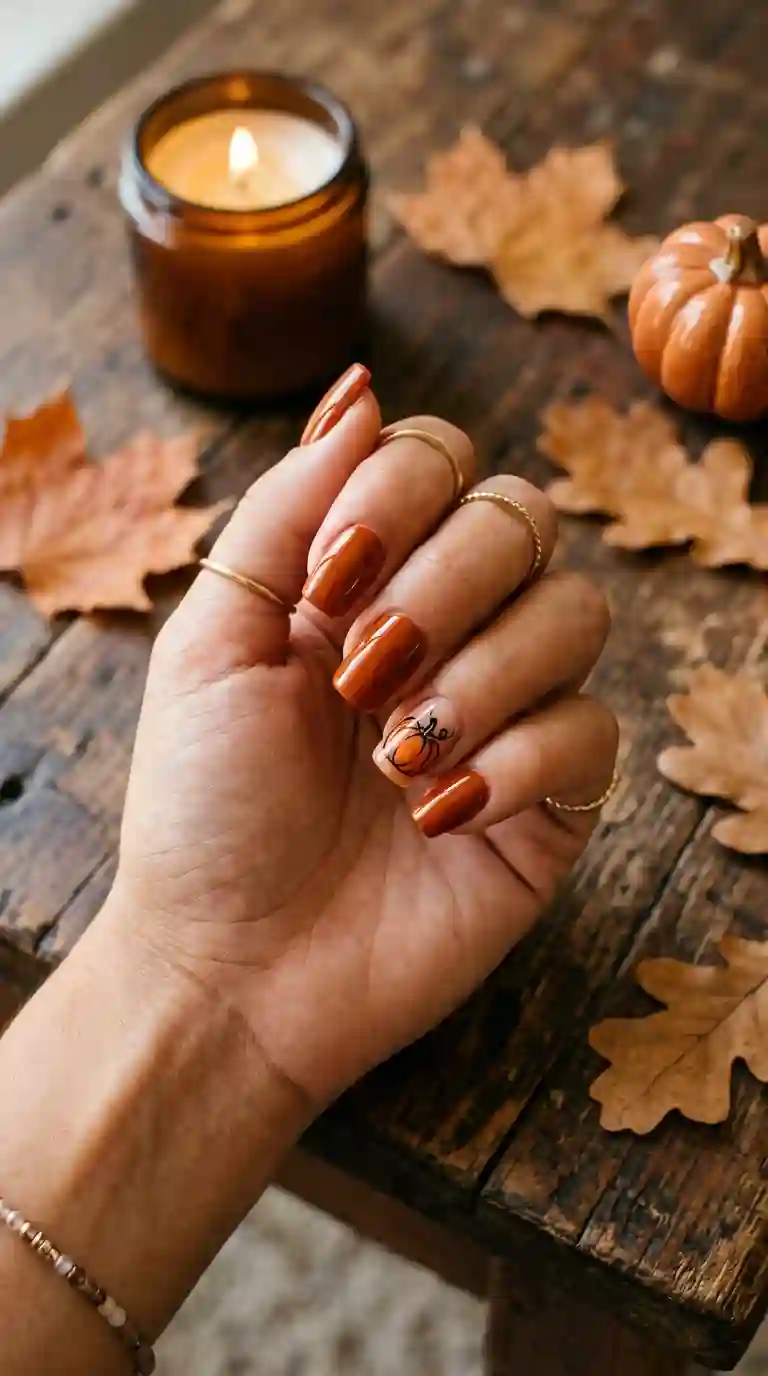
Getting the orange shade right is probably the most important decision when creating pumpkin nails, since not every orange reads the same way once it is actually on the nail. Bright, almost neon oranges can feel a bit too playful or summery, while deeper, more muted tones tend to capture that genuine autumn feeling much more effectively.
I usually recommend a burnt orange or deep rust shade as the foundation for most pumpkin nails, since these tones mimic the actual color of pumpkins growing in a field much more accurately than a brighter, more saturated orange. This deeper shade also pairs beautifully with the browns and greens often used for additional detailing.
Also Read : Christian Nail Ideas: 45 Faith-Inspired Designs for Church, Easter, Christmas and Everyday Life
Warm Versus Cool Toned Orange For Pumpkin Nails
Orange itself can lean warmer or cooler depending on the specific formula, and this distinction matters quite a bit when planning pumpkin nails. Warmer, more reddish oranges tend to feel cozier and more traditional, while cooler oranges with a slight yellow undertone can feel a bit brighter and more playful.
I personally lean toward warmer, more muted oranges for most pumpkin nails, since they tend to photograph beautifully against both warm and cool skin undertones, making them a safe and flattering choice for almost any client who sits in my chair.
Classic Solid Orange Pumpkin Nails For Everyday Fall Style
Sometimes the simplest version of pumpkin nails is exactly what a client wants, and honestly, I completely understand the appeal. A solid, glossy orange manicure across all ten nails instantly reads as fall appropriate without requiring any additional artwork or detailing.
I usually recommend this simpler style of pumpkin nails to clients who want something low maintenance but still seasonally appropriate for everyday wear. A rich, opaque orange gel polish applied in two even coats already captures that cozy autumn feeling, especially when paired with warm toned fall clothing.
This classic approach to pumpkin nails also works beautifully as a base for clients who want to add just one small detail, like a single accent nail featuring a tiny painted stem or a few scattered dots representing seeds.
Hand Painted Pumpkin Nails With Full Illustrations

For clients who want something more detailed, hand painted pumpkin nails featuring full illustrations are always a showstopper. This style typically involves painting a small, rounded pumpkin shape complete with vertical ridge lines, a brown stem and sometimes a curling green vine for extra detail.
I usually reserve this level of detail for one or two accent nails rather than covering all ten, since the intricate linework takes time and can start to feel overwhelming if repeated across every single finger. A cream or soft beige base with just the ring finger featuring a fully illustrated pumpkin tends to strike a lovely balance between detailed and wearable.
Adding small variations, like slightly different pumpkin sizes or a mix of orange and white pumpkins across different accent nails, gives pumpkin nails a bit of extra visual interest without requiring significantly more time during the appointment.
Pumpkin Patch Scene Nails For Maximum Detail
For clients who really want to make a statement, recreating an entire pumpkin patch scene across their nails takes pumpkin nails to the next level. This design typically includes multiple small pumpkins of varying sizes, scattered leaves, a bit of visible vine detail and sometimes even a small hay bale or fence element for added texture.
I usually paint this scene across just two or three accent nails, keeping the remaining nails in a simple, complementary solid color like cream, brown or a muted green. This approach keeps the overall set balanced, allowing the detailed scene to really stand out without feeling cluttered or overly busy.
This particular style of pumpkin nails tends to be most popular leading up to Halloween or for clients attending fall festivals, pumpkin patch outings or autumn themed photoshoots where they want their manicure to fully match the occasion.
Minimalist Pumpkin Nails For Subtle Fall Vibes
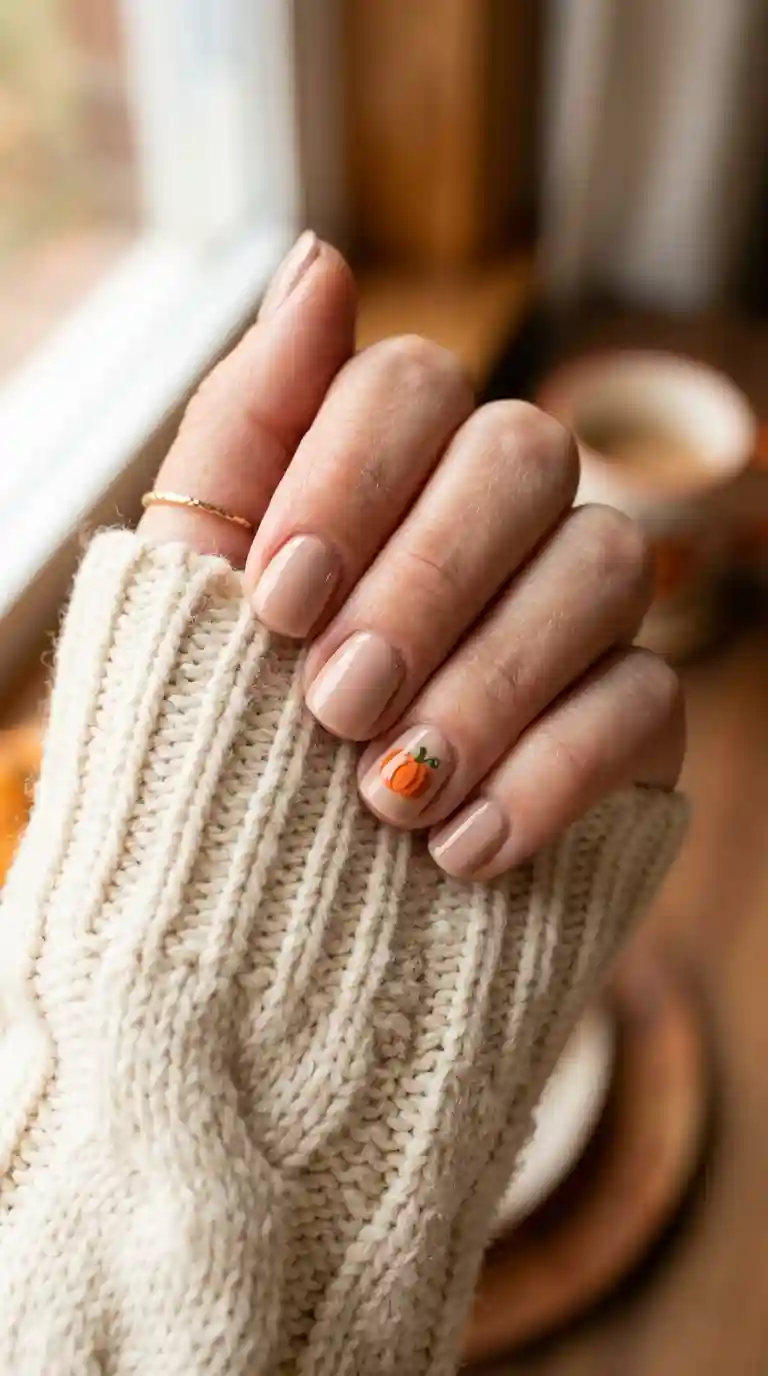
Not every client wants a heavily detailed design, and some of my favorite pumpkin nails are actually the simplest ones. A soft nude or cream base with just one tiny pumpkin silhouette on a single accent nail captures that fall feeling without overwhelming the overall look.
This minimalist approach to pumpkin nails works especially well for clients who want their manicure to feel professional enough for the workplace while still acknowledging the season. A tiny orange dot with a small brown line representing the stem is often enough to clearly read as a pumpkin, even at a very small scale.
I often recommend this style to clients who are new to nail art or who simply prefer a cleaner, more understated aesthetic compared to fully illustrated designs.
Must Read : Nail Design with Lines: Ideas, Techniques and Tips for Clean, Modern Nails
Pumpkin Nails With Glitter And Shimmer
Glitter adds a beautiful extra dimension to pumpkin nails, particularly when used to mimic the warm, golden light so often associated with autumn afternoons. Gold and amber glitters work especially well against an orange base, creating a shimmering effect that catches the light beautifully.
I often apply glitter as a gradient, fading from a solid orange base near the cuticle into sparkling gold near the tip, which adds a subtle sparkle without covering the entire nail in glitter. Alternatively, a full glitter accent nail paired with solid orange on the remaining nails offers a similar shimmering effect with a bit more concentrated sparkle.
This glittery approach to pumpkin nails tends to be especially popular for clients attending fall weddings or autumn themed parties, where they want their manicure to feel a bit more elevated and celebratory.
Matte Finish Pumpkin Nails For A Cozy Texture
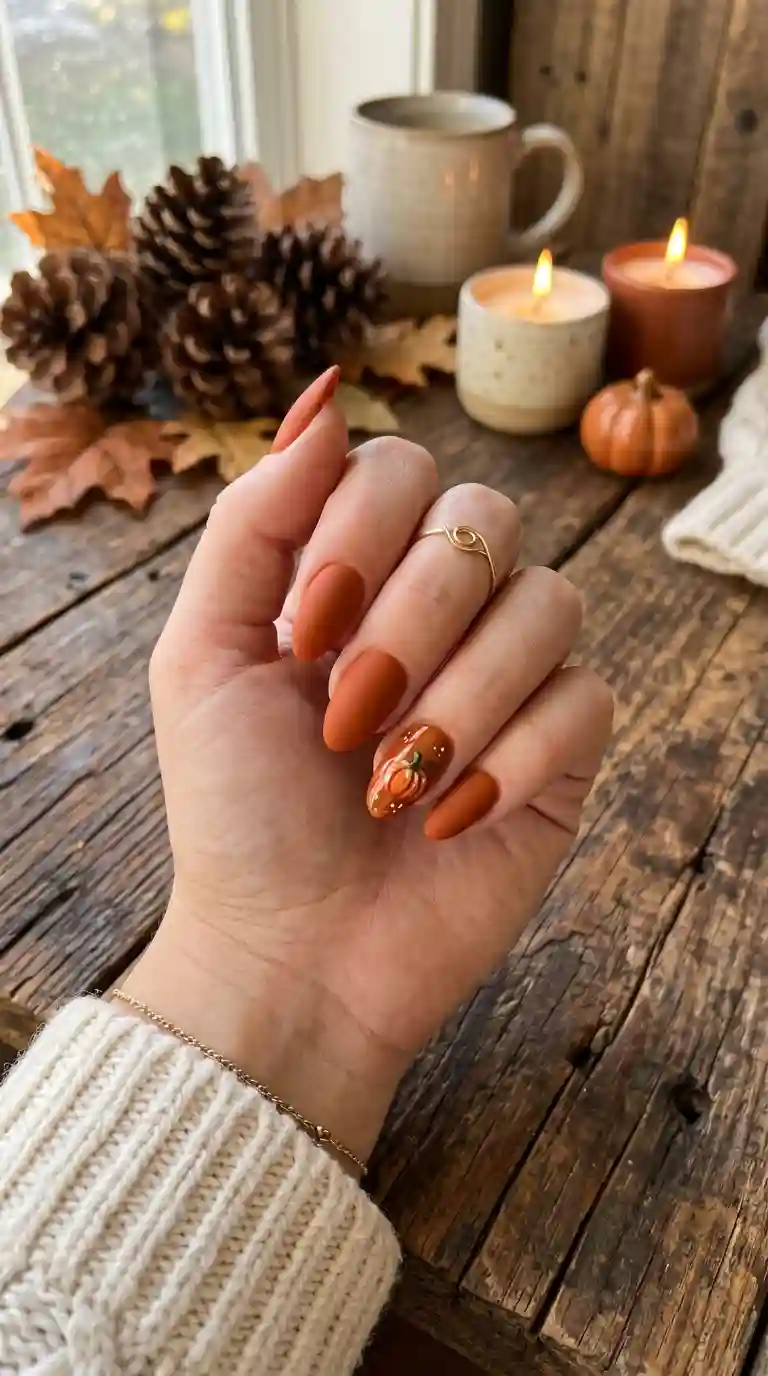
Matte finishes bring an entirely different texture to pumpkin nails, and I have noticed this particular finish growing significantly in popularity over the past few autumn seasons. There is something about a soft, velvety matte orange that feels inherently cozy, almost like it belongs alongside a chunky knit sweater and a warm cup of cider.
I usually recommend matte finishes to clients who want their pumpkin nails to feel a bit more sophisticated or modern compared to a standard glossy manicure. Pairing a matte base with one glossy accent nail, perhaps featuring a small painted pumpkin, creates a lovely textural contrast within the overall design.
One important detail I always mention to clients considering matte pumpkin nails is that using a matte specific topcoat, rather than skipping this step entirely, helps the design last significantly longer throughout the busy fall season.
Pumpkin Spice Inspired Nail Designs
The pumpkin spice trend extends beautifully into the world of nail art, inspiring color palettes that go beyond just orange alone. Warm cinnamon browns, creamy latte tones and deep caramel shades all pair beautifully alongside traditional pumpkin nails, creating a cohesive, layered autumn aesthetic across the full set.
I often combine these pumpkin spice inspired tones with traditional pumpkin nails by using orange as the primary accent color while filling in the remaining nails with warm browns and creams. This creates a rich, layered color palette that feels just as seasonal as a literal pumpkin illustration, without relying solely on orange across every single nail.
Clients who love the entire pumpkin spice aesthetic, not just the literal pumpkin shape itself, tend to gravitate toward this broader color palette approach when requesting pumpkin nails during their fall appointments.
Pumpkin Nails For Short Nails

A common question I hear is whether pumpkin nails work well on shorter nail beds, and the answer is absolutely yes. Shorter nails handle this trend beautifully, you simply need to scale the detail down and keep it concentrated near the cuticle rather than spreading across a larger surface area.
For shorter nails, I usually recommend simple details like tiny dots, thin stem lines or a very small pumpkin silhouette rather than a fully detailed illustration, which can feel cramped on a smaller canvas. Solid orange with just a hint of brown near the cuticle already reads clearly as pumpkin nails, even without any additional detailing.
Matte finishes also tend to look especially elegant on shorter nails, giving a soft, sophisticated appearance that works beautifully within the broader pumpkin nails trend.
Must Read : Light Pink Chrome Nails: 16 Ideas, a Shade Guide and Exactly How to Get the Look
Pumpkin Nails For Long And Almond Shaped Nails
On longer almond or coffin shaped nails, there is so much more room to get creative with pumpkin nails. I love using the extra surface area for bigger, more detailed pumpkin illustrations, layered pumpkin patch scenes or even small painted leaves scattered across multiple nails for a fuller autumn aesthetic.
Negative space also works beautifully on longer nails within pumpkin nails, where a small unpainted section in the shape of a leaf or simple geometric line creates visual interest against a solid orange or cream base. This technique keeps the overall design from feeling too heavy while still showcasing the length and shape of the nail.
French tips take on a lovely autumn appropriate twist on longer nails as well, swapping the traditional white tip for a warm orange or deep brown shade against a soft cream or nude base.
Pumpkin French Tip Nail Designs
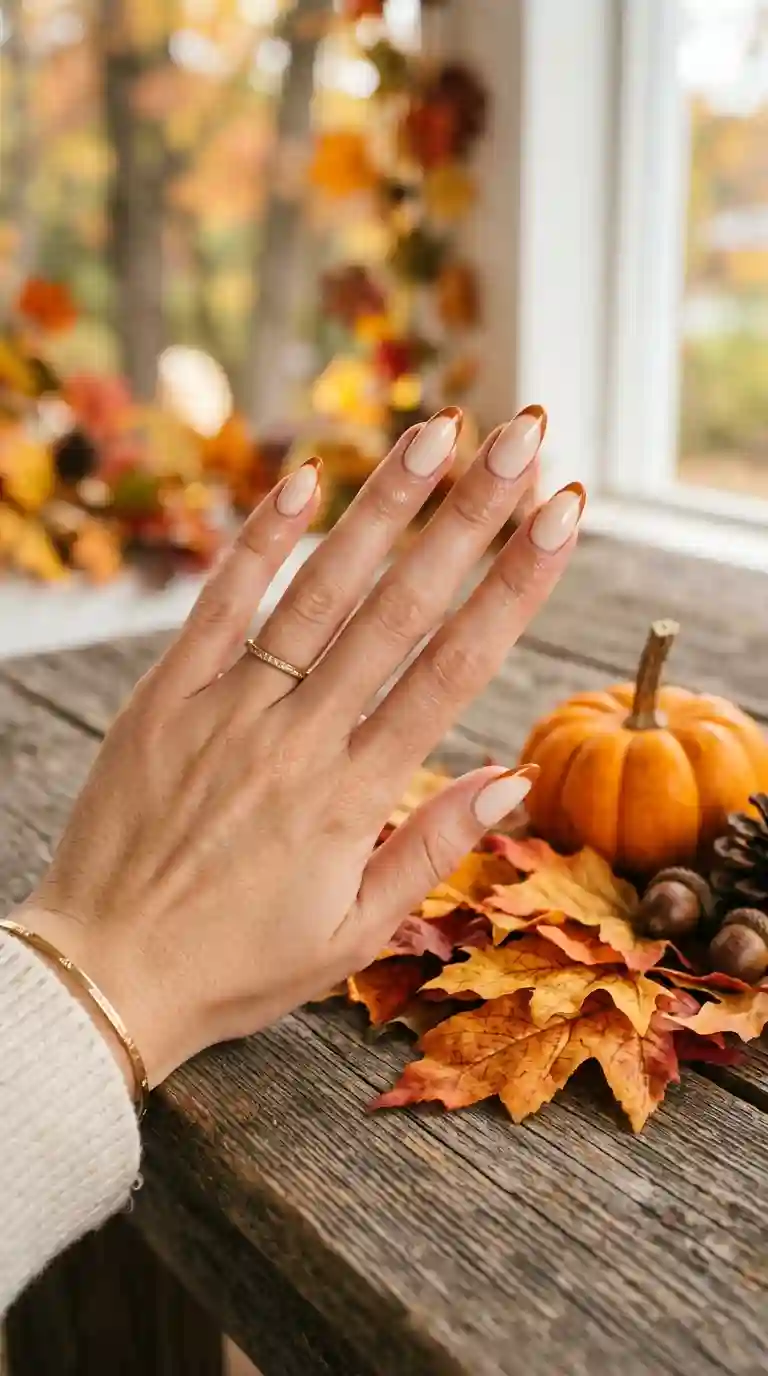
The classic french manicure gets a beautiful seasonal update within pumpkin nails. Instead of the traditional white tip, I often use a warm burnt orange or deep rust shade against a soft cream or nude base for an elegant, modern take on the style.
I usually outline the tip shape first using a thin striping brush, then fill it in carefully to keep the line crisp and even. Adding a tiny brown dot right at the point where the tip meets the base, representing a small stem detail, gives the design a polished, finished touch that ties it clearly back to the pumpkin nails theme.
This variation tends to be especially popular among clients who want something elegant enough for a fall wedding or formal event but still wearable throughout the entire season.
Pumpkin Nails Featuring Leaves And Autumn Foliage
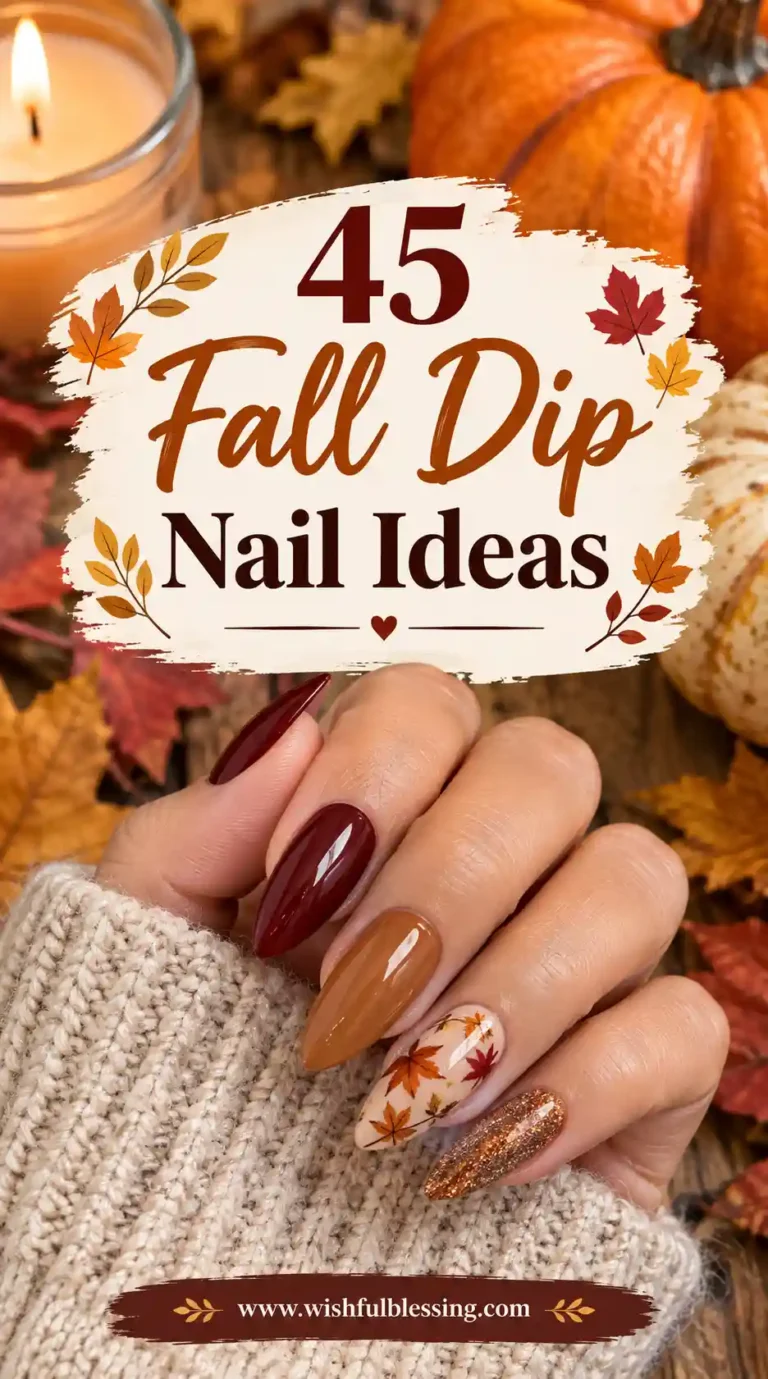
Beyond the pumpkin shape itself, autumn leaves make a beautiful complementary detail within the broader pumpkin nails trend. Small hand painted leaves in shades of red, brown and gold scattered across one or two accent nails add extra seasonal depth without requiring a full pumpkin illustration on every single nail.
I usually paint these leaves using a thin detail brush, starting with a simple oval or teardrop shape and adding small vein lines down the center for extra realism. Pairing a leaf accent nail alongside a traditional pumpkin accent nail creates a cohesive, layered fall aesthetic that still falls clearly within the pumpkin nails category.
This combination tends to photograph beautifully for fall themed content, whether that means a cozy coffee shop photo or an outdoor autumn photoshoot surrounded by changing leaves.
Pumpkin Nails For Acrylic And Gel Extensions
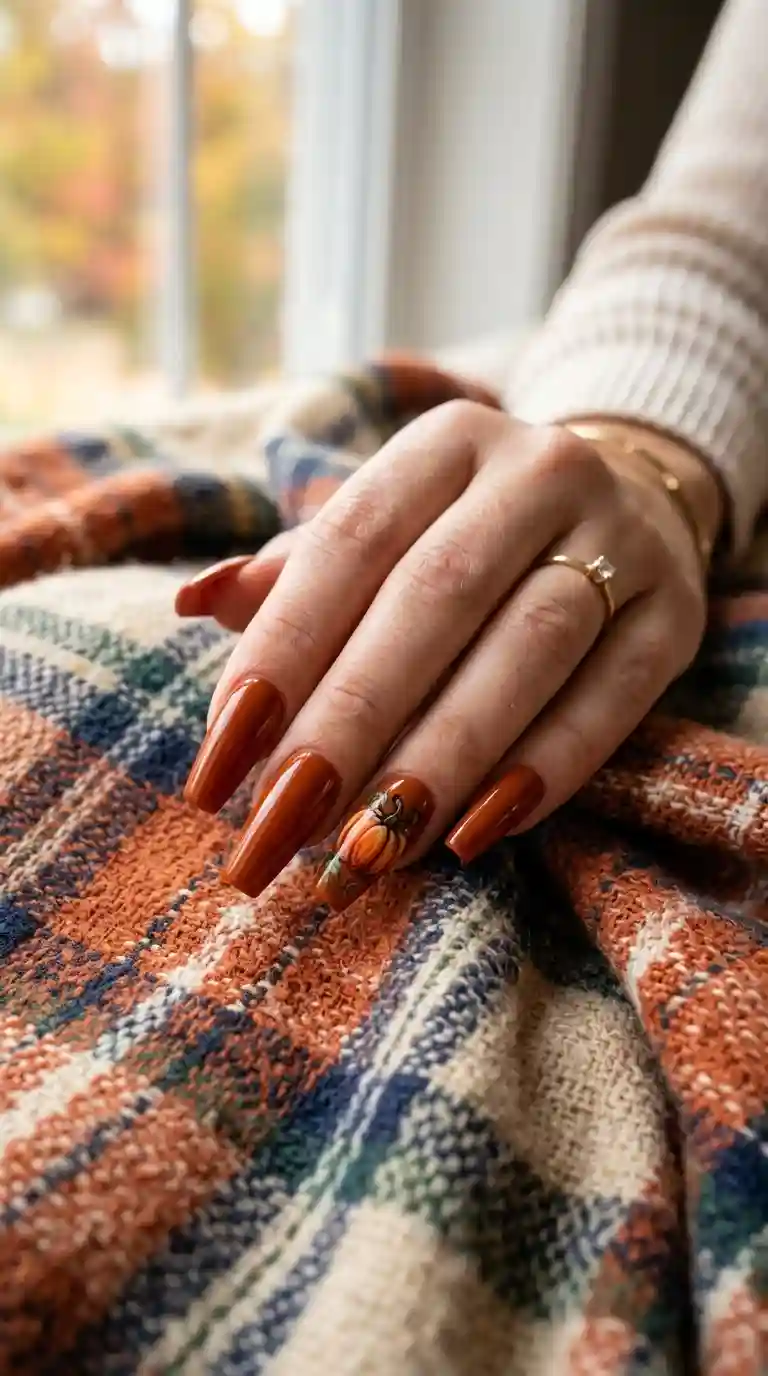
Clients frequently ask whether pumpkin nails work well on acrylic or gel extensions, and the answer is absolutely yes. Extensions actually provide additional surface area, which is especially helpful for more detailed designs like full pumpkin illustrations or layered pumpkin patch scenes.
For acrylic sets, I typically recommend an almond or coffin shape, since the elongated surface allows detailed pumpkin nails to really stand out and show off every bit of the hand painted artwork. Gel extensions offer a slightly more natural, flexible feel while still providing plenty of length for detailed nail art.
Regardless of which extension type you choose, the application process for pumpkin nails stays fairly consistent. A smooth, evenly applied base coat makes a significant difference in how clean and professional the finished detail work ultimately looks.
How To Create Pumpkin Nails At Home
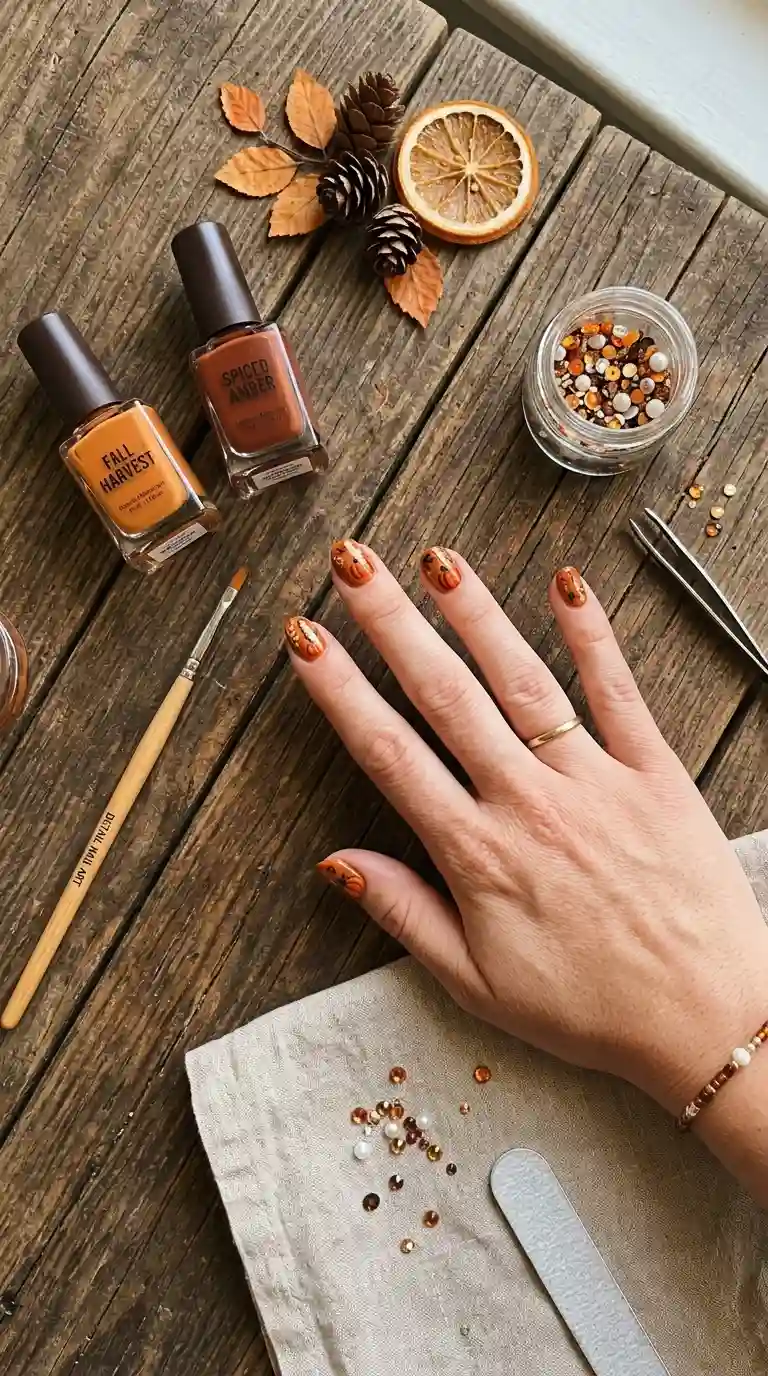
You do not need professional training to recreate pumpkin nails at home, though a bit of patience definitely helps, especially for more detailed designs. Over the years I have picked up several tricks that make this process significantly easier for anyone attempting it themselves for the first time.
Start with properly prepped nails. Gently push back your cuticles, lightly buff the surface and wipe away any oils using rubbing alcohol before applying any polish. This step matters quite a bit, since orange tends to show any unevenness on the nail bed more clearly compared to some darker shades.
Apply a quality base coat first, then two thin coats of your chosen orange shade, allowing each layer to dry fully before moving to the next step. Once your base color is completely set, that is when you can begin adding your chosen details, whether that is a simple stem line, a full pumpkin illustration or a scattering of autumn leaves.
Step By Step Guide For Pumpkin Nails
- Start with clean, dry nails and gently push back the cuticles.
- Apply a thin base coat and allow it to dry completely.
- Paint two thin coats of your chosen orange shade, letting each layer dry before adding the next.
- Add your chosen detail, whether that is a pumpkin illustration, stem line or leaf accent.
- Seal everything with a glossy or matte topcoat depending on your preferred finish.
- Clean up any excess polish around the cuticles using a small brush dipped in acetone.
Following these steps carefully makes a genuine difference in how polished and professional your finished pumpkin nails end up looking, even for a first attempt.
Also Read : Navy Blue Nail Inspo: 45+ Gorgeous Ideas for Every Shape, Season & Style
Tools And Products I Use For Pumpkin Nails
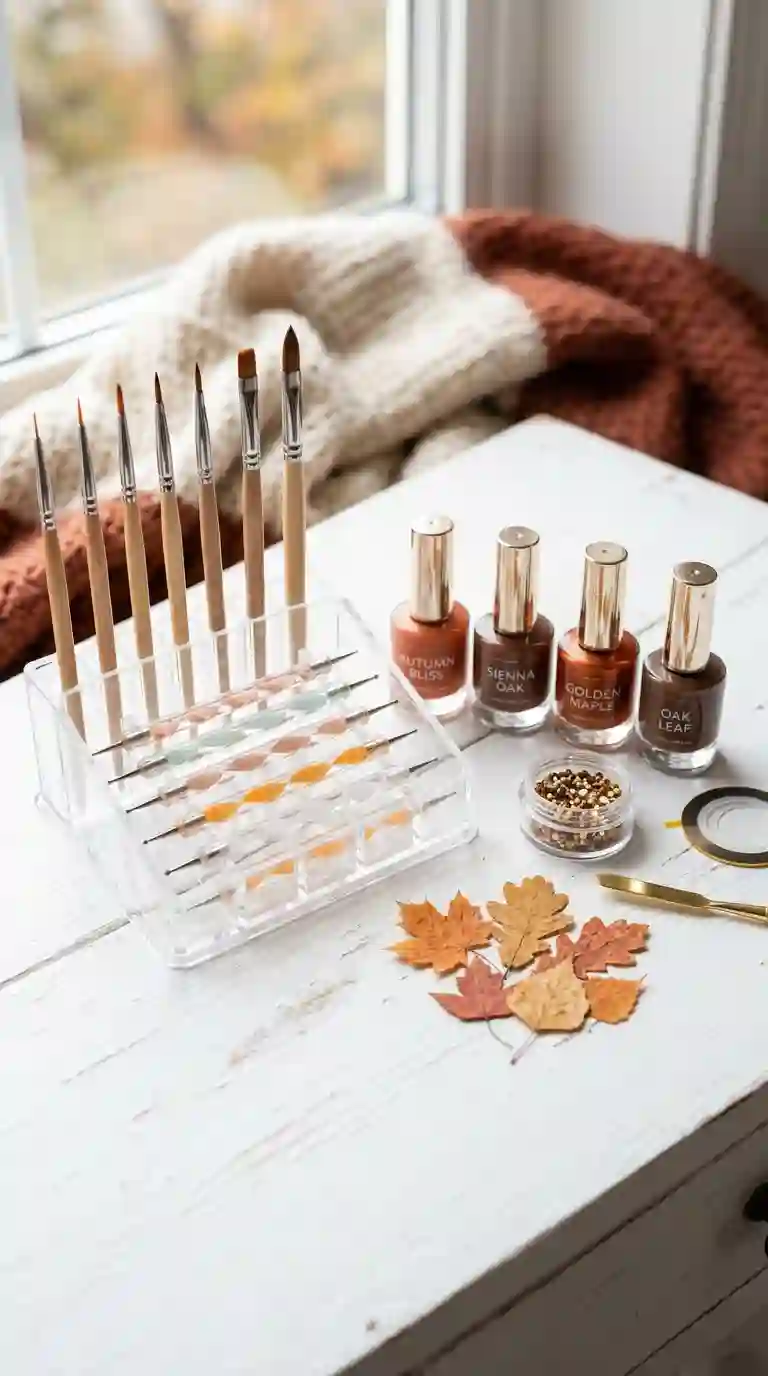
Over the years I have built up a small collection of tools that make creating pumpkin nails so much easier, both in my studio and for clients recreating designs at home. A fine detail brush is essential for anything beyond a solid orange manicure, allowing for clean lines when painting pumpkin ridges, stems or small leaf details.
A dotting tool comes in handy for adding small details like tiny pumpkin seeds or scattered accent dots across the nail. I also keep a small selection of warm toned polishes on hand, including several shades of orange, brown and green, since having the right undertones available makes a noticeable difference in how realistic and cohesive the finished pumpkin nails end up looking.
For clients who want a bit of extra shine, a small container of gold glitter and a few tiny rhinestones can instantly elevate a simple set of pumpkin nails into something that feels a bit more special for a particular fall event.
How To Make Pumpkin Nails Last Longer
Fall brings its own set of challenges when it comes to maintaining a fresh manicure, from cooler weather to increased hand washing during cold and flu season. There are a few habits I always recommend to help pumpkin nails last as long as possible throughout the autumn months.
Applying cuticle oil daily helps combat the dryness that naturally comes with cooler weather and indoor heating, both of which strip moisture from the nail bed over time. Wearing gloves when doing yard work or raking leaves also helps protect your pumpkin nails from unnecessary wear and tear during outdoor fall activities.
Using a gel topcoat rather than a standard one also makes a noticeable difference in wear time for pumpkin nails, particularly for anyone who bakes or cooks frequently during the fall season, since this topcoat tends to resist chipping better against repeated hand washing.
Pumpkin Nails For Different Skin Tones

One of the best things about pumpkin nails is how flattering warm orange tones tend to be across a wide range of skin tones. Since orange naturally pairs well with warm undertones, this particular trend tends to photograph beautifully regardless of complexion.
For lighter skin tones, I often suggest a slightly softer, more muted orange, which creates a gentle, flattering contrast without feeling overwhelming. For deeper skin tones, richer, more saturated burnt orange and rust shades tend to create a particularly striking effect, often looking even more vibrant against darker complexions.
Regardless of skin tone, pumpkin nails tend to wear and photograph beautifully, which is part of why this trend remains one of my most requested throughout the entire autumn season.
Mistakes To Avoid When Trying Pumpkin Nails
After creating pumpkin nails for countless clients over the years, I have noticed a handful of common mistakes that tend to come up, particularly among those attempting more detailed designs at home for the first time. One frequent issue is applying orange polish too thin in an attempt to avoid streaking, which often results in patchy, uneven coverage instead.
Skipping a proper base coat is another common mistake, since orange tends to show any staining or unevenness on the natural nail more clearly compared to darker shades. Rushing between layers is another issue I see often, particularly when adding detailed artwork like pumpkin ridges or small stem lines, since each layer genuinely needs proper time to dry before moving to the next step.
Overcrowding the design is another mistake worth mentioning. Trying to fit too much detail, like a full pumpkin, leaves and glitter all on a single small nail, often ends up looking cluttered rather than intentional. Spacing out the details across a few accent nails usually creates a much more polished final result.
Also Read : Rose Nail Ideas: 60+ Gorgeous Designs, Shapes and Easy How-Tos for 2026
Pumpkin Nails For Nail Art Beginners
If you are completely new to nail art, pumpkin nails are actually a wonderful place to start. The warm, forgiving orange color tends to hide small mistakes better than some lighter shades, which makes it a great confidence building choice for beginners.
I usually recommend starting with a solid orange manicure, then adding just one small detail, like a tiny brown stem line on a single accent nail. Once that feels comfortable, you can slowly build toward slightly more detailed pumpkin nails, like a full illustrated pumpkin shape or scattered autumn leaves.
Practicing on a paper nail wheel before committing to your actual nails remains one of the best ways to build confidence with a detail brush, especially when attempting more intricate pumpkin nails for the first time.
Pairing Pumpkin Nails With Your Outfit
I always encourage clients to think about their pumpkin nails as part of their overall autumn outfit rather than something completely separate. The warm, earthy color palette pairs beautifully with the heavier fabrics and deeper tones most people gravitate toward during the fall season.
For a classic autumn outfit built around neutrals like camel, cream or denim, pumpkin nails add a lovely pop of seasonal color without clashing. For bolder outfits featuring plaid or deeper jewel tones, matching pumpkin nails with similar warm undertones creates a cohesive, intentional look from head to toe.
Even a simple sweater and jeans combination feels instantly more polished with a well executed set of pumpkin nails, whether that means a rich solid orange or something more detailed like a hand painted pumpkin accent.
Pumpkin Nails For Halloween And Fall Events
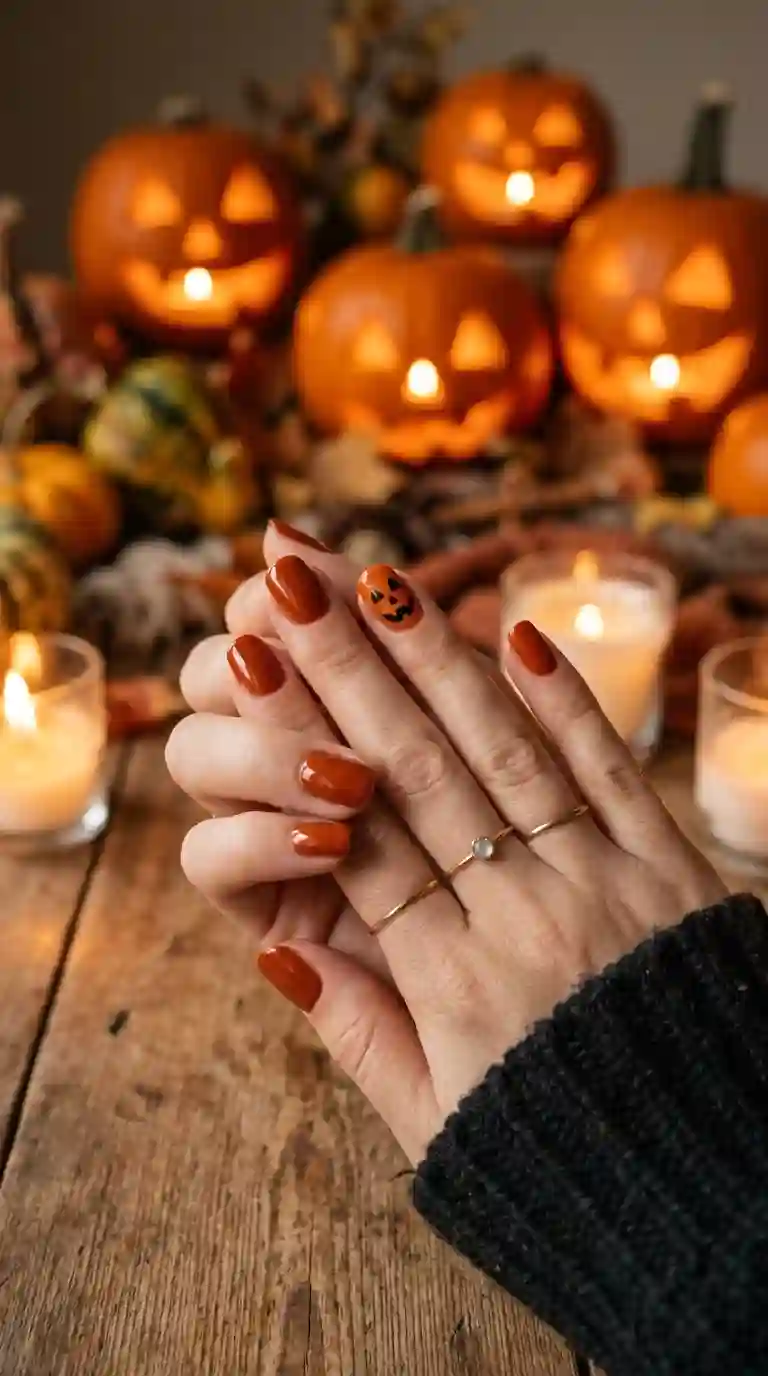
As Halloween approaches, pumpkin nails often take on a slightly more playful, spooky twist. Adding a simple jack o lantern face, complete with triangle eyes and a jagged smile, transforms a classic pumpkin illustration into something a bit more fitting for the holiday.
I frequently combine pumpkin nails with other Halloween inspired details during this time of year, like tiny painted bats, small spiderwebs or a deep black accent nail alongside the traditional orange. This gives clients a design that feels cohesive with the broader pumpkin nails trend while still acknowledging the specific holiday.
Beyond Halloween, pumpkin nails also remain popular for Thanksgiving gatherings and general fall festivities, where the warm orange tones feel just as appropriate without necessarily needing any spooky additional detailing.
Caring For Your Nails Underneath Pumpkin Nails
A beautiful manicure always starts with healthy nails underneath, and this holds true regardless of the design on top. I always recommend applying cuticle oil nightly throughout the fall season, since cooler weather and increased indoor heating tend to dry out the nail bed more than people expect.
Taking short breaks between manicures, especially if you regularly wear gel or acrylic extensions, gives your natural nails time to recover and stay strong throughout the busy autumn months. Healthy nails underneath not only make pumpkin nails look better, they also help the design last significantly longer before needing a touch up or full redo.
Final Thoughts On Pumpkin Nails
After creating pumpkin nails for clients season after season, I can honestly say this trend has earned its place as one of the most genuinely joyful nail art categories I get to work on all year. There is something about that warm orange shade and all the cozy imagery associated with it that instantly puts people in a good mood the moment they sit down in my chair.
Whether you prefer a simple solid orange manicure or a fully illustrated pumpkin patch scene across your accent nails, there is a version of pumpkin nails that fits your personal style and comfort level. My biggest piece of advice, both as a nail artist and someone who genuinely loves this time of year, is to embrace the coziness fall allows. Let the colors feel warm, let the details feel playful, and your nails will naturally become one of the most enjoyable small details of your entire autumn season.
Frequently Asked Questions About Pumpkin Nails
What color orange is best for pumpkin nails?
A burnt orange or deep rust shade tends to look the most authentic, closely mimicking the actual color of pumpkins compared to a brighter, more saturated orange.
Are pumpkin nails only for Halloween?
No, pumpkin nails are popular throughout the entire fall season, including Thanksgiving and general autumn gatherings, not just specifically for Halloween.
How do I make pumpkin nails last longer?
Using a gel topcoat, applying cuticle oil daily and wearing gloves during fall outdoor activities are the best ways to extend the wear time of this design.
Can pumpkin nails work for short nails?
Yes, short nails handle pumpkin nails beautifully. Keeping details like stems or small pumpkin silhouettes concentrated near the cuticle helps the design stay proportionate.
What is the best base color for pumpkin nails?
A rich, opaque burnt orange gel polish tends to give the most authentic, long lasting base for this design, though softer muted oranges also work beautifully.
Do pumpkin nails suit every skin tone?
Yes, warm orange tones are generally flattering across a wide range of skin tones, and adjusting the saturation can help complement different undertones further.
How many coats of orange polish do I need?
Most orange polishes require two thin coats for full, even opacity, since lighter shades often need extra layers compared to darker colors.
Can I do pumpkin nails on acrylic extensions?
Definitely. Acrylic extensions provide extra surface area, making them a great canvas for more detailed illustrations like full pumpkin scenes or layered leaf designs.
How long does a gel manicure with this design typically last?
A well applied gel manicure usually lasts around two to three weeks before noticeable growth or lifting occurs, depending on nail care habits.
What tools do I need for detailed pumpkin designs?
A fine detail brush, a dotting tool and a steady hand are the main requirements, along with patience for smaller details like ridges, stems and leaf accents

4 Comments