Aura Nails: 40+ Dreamy Designs, Colors & Step-by-Step Guide
Scroll through nail inspo for even thirty seconds and you will probably run into it: a soft, glowing burst of color sitting in the middle of each nail, fading gently outward like a lamp seen through frosted glass. That is the aura nails look, and it has gone from a niche airbrush specialty to one of the most saved manicure styles on the internet.
The reason is simple. Aura nails are pretty without being fussy. They photograph beautifully, they work on short nails and long nails, and they let you play with color without committing to a hard-edged design that has to be perfect. Even a slightly imperfect blend still looks intentional, because the whole point is softness.
Also Read : Simple Butterfly Nail Art: 40+ Easy Designs and a Beginner Tutorial
In this guide, I am going to walk you through everything: what aura nails actually are, how they differ from ombré and blush nails, what the colors are said to mean, which shapes suit the style, more than 40 design ideas sorted by mood and season, and a clear step-by-step tutorial you can follow at home with a makeup sponge, a brush, blooming gel or an airbrush. I have also added a troubleshooting section for the mistakes almost everyone makes the first time, plus ten frequently asked questions at the end.
Grab a coffee. By the end, you will know exactly what to ask your nail tech for, or exactly what to buy if you would rather do it yourself.
What Are Aura Nails?
Aura nails are a nail art style where one or more colors are placed in the center of the nail and diffused outward, so the color looks like it is glowing from within. The edges are blurry on purpose. Instead of a clean line, you get a cloudy halo that melts into the base shade.
The name comes from the idea of an aura: the colored energy field that spiritual traditions say surrounds a person. Whether or not you believe in auras, the visual metaphor works. The center of each nail looks lit up, and the glow radiates to the edges.
A few things define a true aura manicure:
- The color starts in the middle. This is the biggest difference from other gradients.
- The edges are soft and cloudy. No visible lines, dots or sponge marks.
- The base is usually lighter or neutral. Milky white, sheer nude, soft pink and clear jelly bases are the most common, though dark bases give a moodier result.
- A glossy top coat finishes it. Shine makes the blend look smoother and deeper.
You will hear nail techs and clients use a lot of different words for the same look. Some people say halo nails, some say blush nails, others call it airbrushed nails or aura glow. They overlap heavily, and a client might bring in a photo that combines the aura effect with chrome, cat eye shimmer, tiny stars or crystals. If you are booking a salon appointment, a reference photo will always do more for you than a name.
Where Did the Aura Nail Trend Come From?
The style grew out of the airbrush nail scene. Nail artists who worked with airbrush guns had been creating soft, misty color for years, and the look got a big boost once clients started sharing it on social platforms. Short videos showing a color blooming across a nail in seconds were perfect for scrolling: satisfying, quick and pretty.
Once the trend started circulating, it spread in every direction. Search interest climbed, celebrity manicurists started posting versions on well-known hands, and beauty brands rushed to explain how to get the effect at home. Trend forecasters described it as a rising manicure style, and the aura nails tutorial tag has racked up billions of views on TikTok alone.
What I find interesting is that the trend did not burn out the way many nail fads do. Instead it kept changing shape. First it was bright, pastel and summery. Then came chrome aura nails, then dark, moody auras for autumn, then tortoiseshell and jelly versions. In 2026, it has settled into something more refined: blush auras, smoky neutrals and very subtle glows that look like a healthy flush on the nail.
That adaptability is why it keeps hanging around. Aura nails are less a single design and more a technique you can dress up or dress down.
Aura Nails vs Ombré vs Blush Nails vs French Fade
These styles get mixed up constantly, so let us clear it up.
| Style | Where the color sits | Edge look | Typical vibe |
|---|---|---|---|
| Aura nails | Center of the nail, fading outward | Cloudy, diffused halo | Glowy, dreamy, playful |
| Ombré | Fades from base to tip (or tip to base) | Smooth linear gradient | Classic, polished |
| Blush nails | Soft color often placed near the cuticle or center, usually pink or peach | Very faint, airbrushed | Natural, healthy flush |
| French fade (baby boomer) | Tip fading into a pale base | Soft, tip-focused | Clean, bridal-friendly |
| Cat eye | Magnetic shimmer line | Sharp, reflective | Shimmery, luxe |
The simplest way to remember it: ombré moves along the nail, aura moves out from the middle. If your color radiates from a center point, you are in aura territory.
Blush nails are really a gentle cousin of aura nails. You can think of them as an aura in a single, subtle shade. And because the techniques are the same, anything you learn about aura nails will carry over to the other soft-gradient styles.
Must Read : Cute Star Nail Design Ideas That Will Instantly Steal The Spotlight
Why Everyone Loves Aura Nails
It is worth asking why this trend works so well, because understanding it helps you choose a design you will still like in three weeks.
They are forgiving. A hard-edged design shows every wobble. A blurry one hides them. If you are doing your own nails, that matters a lot.
They suit every length and shape. Short squoval nails look cute with a tiny center glow. Long almond or coffin nails give you a bigger canvas for rich multi-color blends.
They are endlessly customizable. One color or four, pastel or neon, matte or glossy, plain or covered in chrome powder. There is no wrong direction.
They grow out well. Because the color sits in the middle and the base is usually light, the regrowth line near the cuticle is less obvious than on a solid dark color.
They look expensive. A soft, blended finish reads as polished and professional, even when the nail is short and bare.
They carry personality. You can choose colors that match your mood, your outfit, your zodiac sign or your idea of your own aura. That personal angle is a big part of the fun.
What Do Aura Nail Colors Mean?
Let us be upfront: the meaning of aura colors comes from spiritual and New Age traditions, not science. There is no research showing that you have a measurable colored field around you. But as a styling idea, these meanings are a great way to choose a palette, and many people enjoy matching their manicure to how they want to feel.
Here is a popular set of interpretations:
- Red: energy, passion, courage, drive. A red aura on a nude base looks confident and warm.
- Orange: creativity, adventure, playfulness. Great for summer and for fall.
- Yellow: optimism, joy, curiosity. A buttery yellow glow looks fresh on short nails.
- Green: balance, growth, calm, renewal. Sage and forest greens are especially popular.
- Blue: peace, communication, clarity. Sky blue on white feels airy; cobalt on navy feels dramatic.
- Purple or violet: intuition, imagination, spirituality. Lilac and lavender are the most wearable.
- Pink: love, softness, care. Rosy and bubblegum pinks give a sweet, healthy-glow look.
- White or silver: clarity, purity, a fresh start. Pearly glows are beautiful for weddings.
- Black or deep plum: protection, mystery, depth. Moody and sophisticated.
If you want to lean into the idea, think about the vibe you want for the next two or three weeks and pick the color that fits. Starting a new job? Maybe a confident red or orange. Need a calm month? Blue or green. Heading on vacation? Rainbow it up.
You can also combine meanings. A pink center fading into a lilac edge, for instance, is soft and intuitive at once.

Best Nail Shapes and Lengths for Aura Nails
Aura nails work on pretty much any shape, but some shapes show off the glow better than others.
Almond. The tapered shape follows the natural curve of the glow, so the color looks like it naturally rises from the center. Almond is probably the most flattering choice and my top recommendation if you are unsure.
Oval. Soft and understated. Because oval nails have no sharp corners, the aura looks especially seamless.
Coffin or ballerina. Plenty of space to play. Long coffin nails let you layer two or three colors in a stacked halo.
Square and squoval. The flat tip gives a more graphic backdrop. A pale aura on a squoval nail looks clean and modern.
Short natural nails. Do not skip the trend if your nails are short. Keep the glow small and centered, and use one or two soft colors. Too many colors on a small nail looks crowded.
Stiletto. Dramatic and fun, especially with dark auras and chrome.
As a rule: the bigger the nail, the more color you can add. The smaller the nail, the more restraint helps.

40+ Aura Nail Ideas to Try
Here is the fun part. I have grouped these by mood so you can scan for the look that fits.
Soft and Pastel Aura Nails
If you are new to the trend, start here. These shades are easy to blend and easy to wear to work, school or brunch.
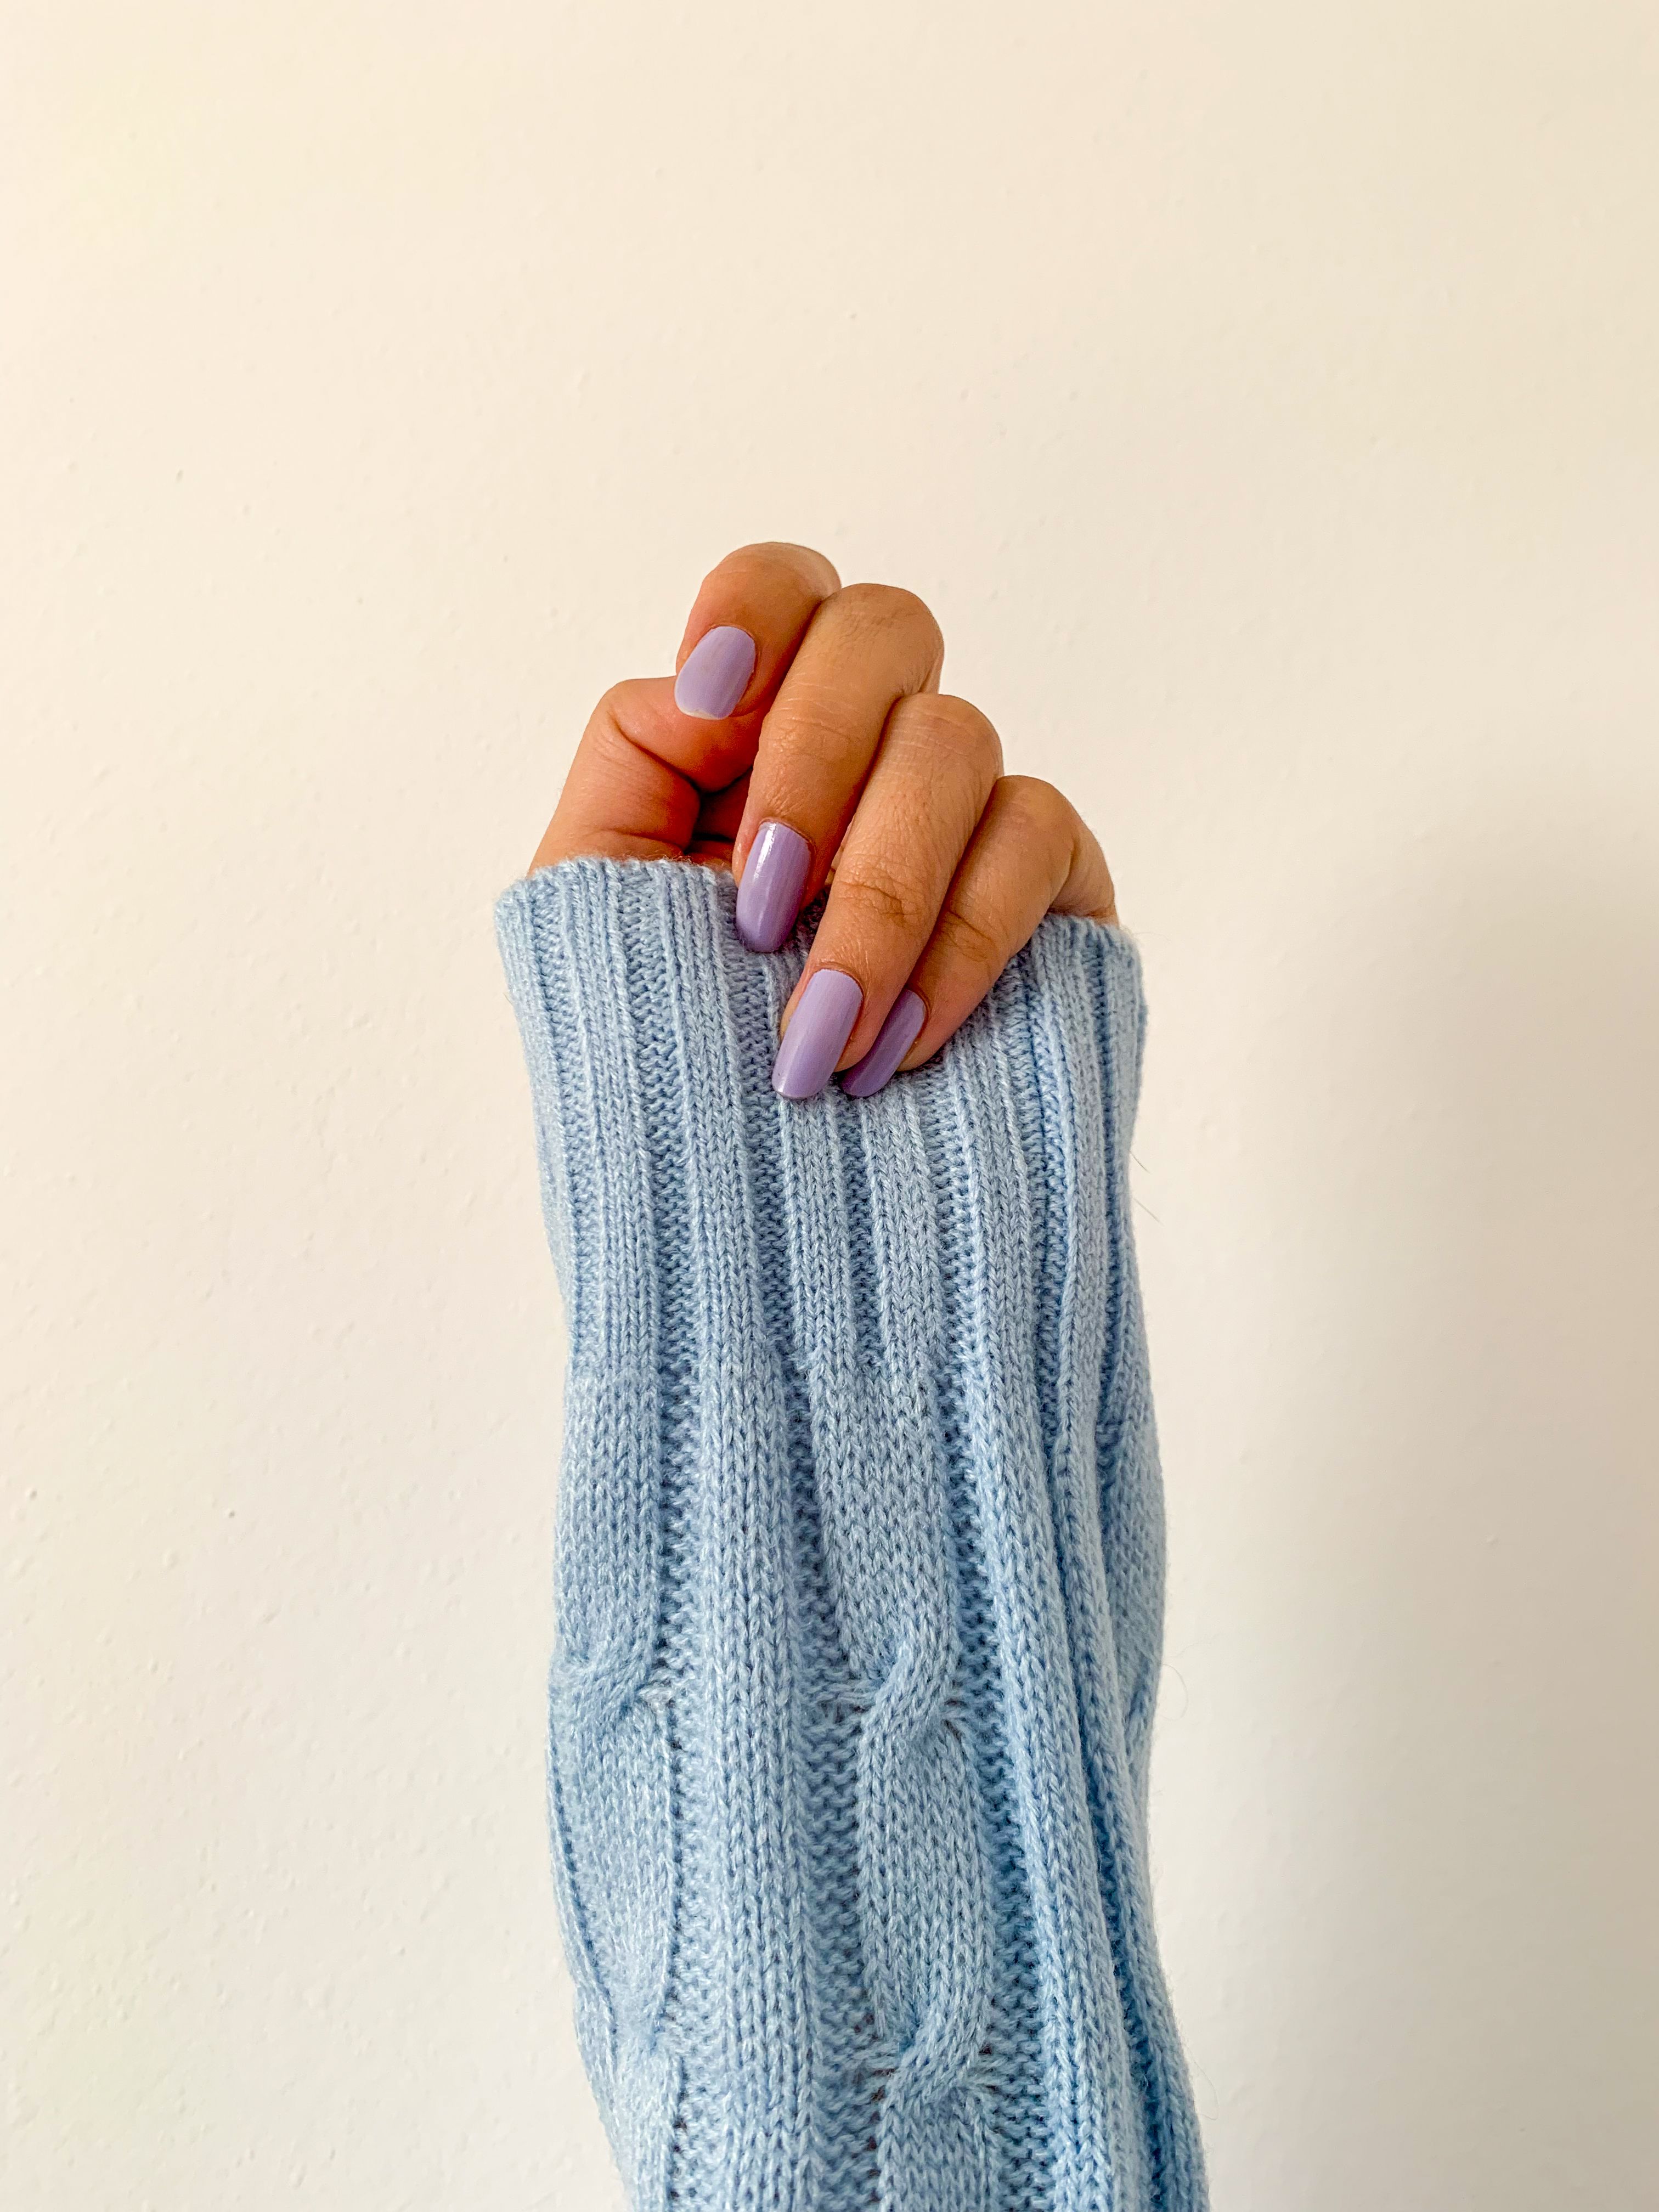
- Lilac cloud aura. A pale lavender center on a milky white base. This is the look that made the trend popular, and it is still one of the prettiest.
- Baby blue sky aura. Light blue fading into soft white. It feels like a clear morning.
- Blush pink glow. A single rosy pink center on a sheer nude base. The effect is similar to a hint of blush on the cheeks.
- Peach sorbet aura. Warm peach with a tiny touch of coral in the very center. Gorgeous on warm and golden skin tones.
- Butter yellow aura. A creamy yellow glow on a white base. Fresh and happy.
- Mint aura. Pale green on a milky base for a calm, spa-like feeling.
- Two-tone pink and lilac aura. Pink in the center, lilac around it. Sweet, dreamy and very photogenic.
- Pearl aura. A soft white center on a sheer pink base, topped with a pearly or shimmer top coat.
- Cotton candy aura. Pink and baby blue blended together on a white base.
- Vanilla latte aura. Soft caramel beige in the center on a sheer nude base. Great for people who like neutrals.
Read Also : Square Nail Designs: 60+ Fresh Ideas, Colors and Pro Tips

Bold and Neon Aura Nails
When you want the glow turned all the way up, these are your options.
- Hot pink on black. A bright pink burst in the center of a deep black base looks like neon in the dark.
- Electric blue aura. Saturated cobalt or electric blue fading into a pale blue edge.
- Lime green glow. Neon green at the center of a white base. Playful and festival-ready.
- Orange sunset aura. Bright orange in the center, fading into yellow at the edges.
- Rainbow aura. Several colors stacked in rings from the center out. Works best on longer nails.
- Clashing aura. Two colors that should not match, such as orange and pink or red and purple. It is loud, but it is also very fun.
- Ultraviolet aura. Deep violet with a neon pink center. Very nightlife.
- Sunburst aura. Yellow center and orange rim on a white base. Cheerful and bright.
Dark and Moody Aura Nails
These look especially good from autumn through winter, but honestly they work all year.
- Black cherry aura. Burgundy fading into black. Rich and dramatic.
- Forest green aura. Deep green in the center with a darker edge. A very wearable dark shade.
- Midnight blue aura. Navy base with a soft electric blue center. It looks like a night sky.
- Plum dusk aura. Plum into pink, like the sky just after sunset.
- Smoky grey aura. Charcoal fading into pale grey for a minimal, almost smoke-like feel.
- Chocolate aura. Warm brown center on a dark base. Cozy and elegant.
- Blood orange aura. Burnt orange glowing from a deep red base. Perfect for autumn.
- Black aura on white. Reverse the usual: black in the center on a white base, for a graphic, edgy effect.
Aura Nails With Chrome, Glitter and Gems
Once you master the basic glow, add some sparkle.
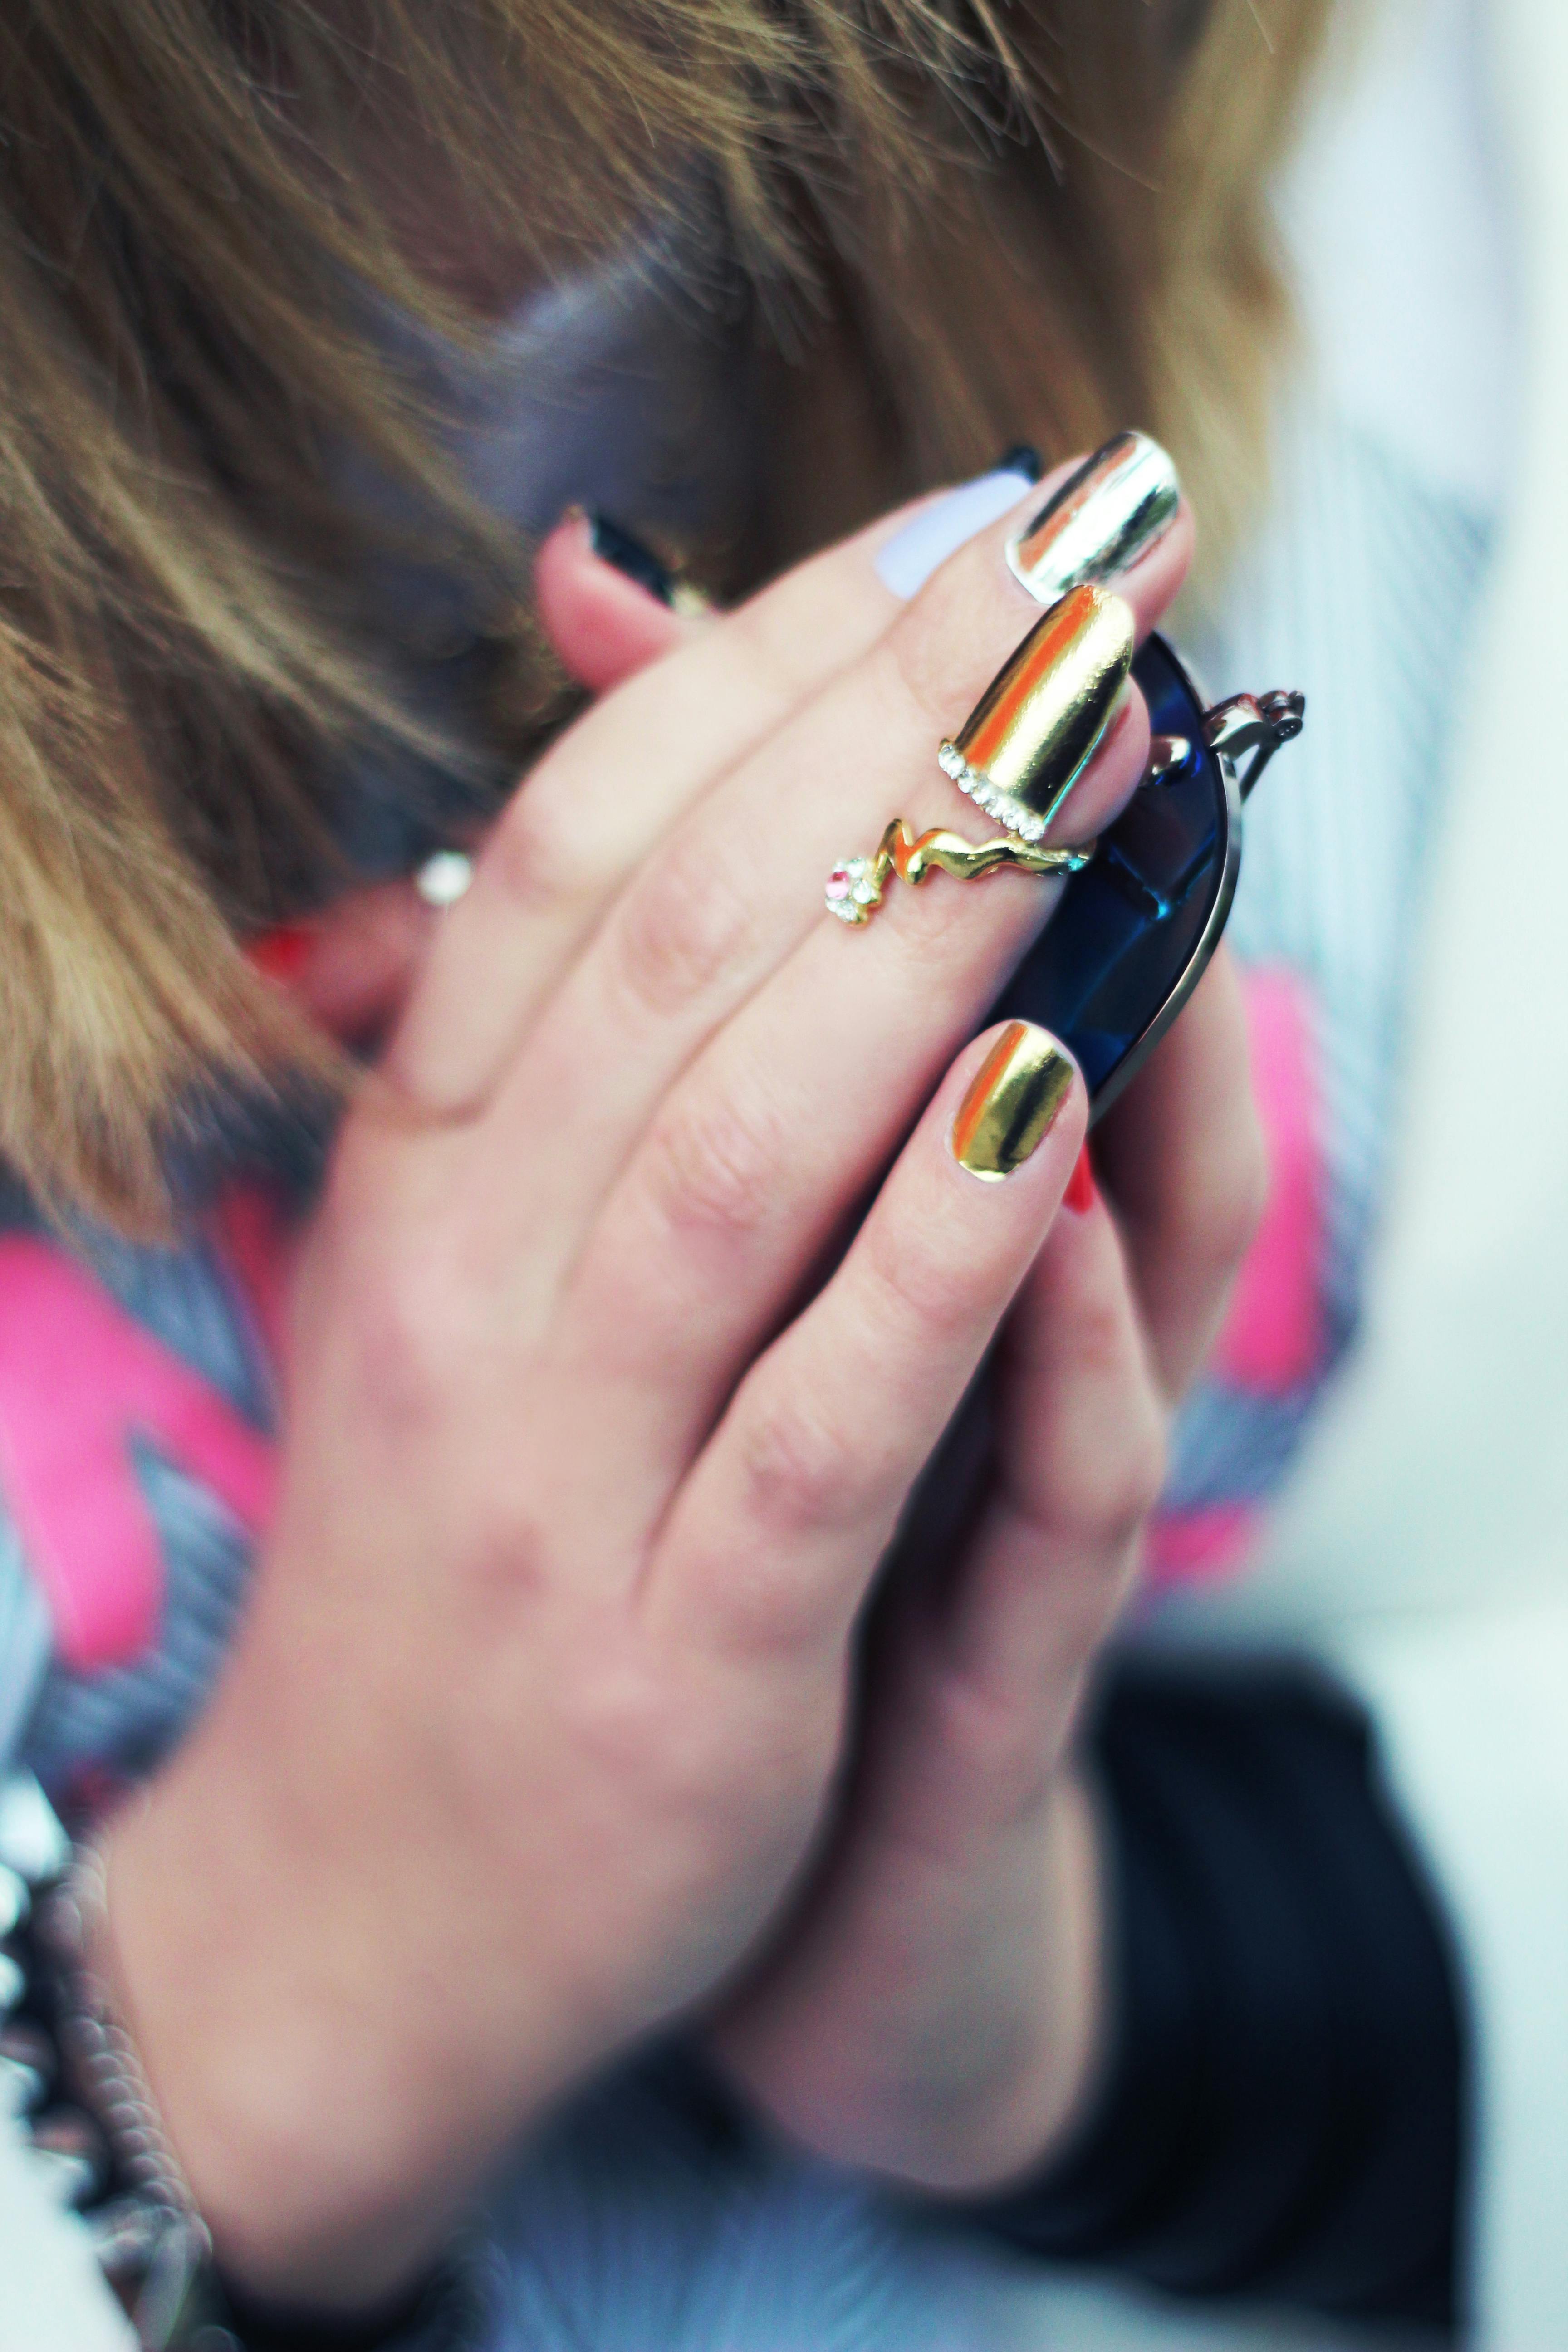
- Chrome aura. Rub chrome powder over the center for a metallic, Y2K-style shine. Silver, gold and pearl chrome are the most popular.
- Glitter halo. Use a fine glitter in the center and blend outward for a soft sparkle.
- Star aura. Tiny gold or silver stars placed on top of the glow. A celestial finish that looks great on orange and pink.
- Crystal accent aura. One small crystal near the cuticle, or a tiny cluster on the accent nail. Less is more here, so the blend stays visible.
- Cat eye aura. A magnetic gel in the center gives a shimmering line that moves when light hits the nail.
- Tortoiseshell aura. Tortoiseshell patterns in blue, green or brown give the glow depth and texture.
- Jelly aura. A translucent jelly overlay with a sheer aura on top. It looks juicy and glassy.
- Holographic aura. Holo powder over a pale base makes the glow look like it is shifting between colors.
Seasonal Aura Nail Ideas
Spring
- Cherry blossom aura. Pale pink and white with a hint of lavender.
- Fresh meadow aura. Light green fading into yellow.
Summer
- Beach sunrise aura. Orange, pink and yellow blended together like the sky at sunrise.
- Ocean aura. Cobalt to sky blue, sometimes with a white wave line.
- Watermelon aura. Pink glow with a thin green tip.
Autumn
- Maple syrup aura. Warm amber and brown, with a glossy finish.
- Pumpkin spice aura. Burnt orange on a cream base.
- Burgundy wine aura. Deep red with a plum edge.
Winter and holidays
- Icy blue aura. Pale blue and silver with a touch of fine glitter.
- Candy cane aura. Red glow with white edges and a tiny line of silver.
- Snowglobe aura. White shimmer in the center of a sheer blue base.
- Festive green and gold aura. Emerald center with gold chrome sparkle.

Aura French Tips and Other Hybrids
The aura technique plays nicely with other styles, too.
- Aura French tip. Do a regular French tip, then add a soft aura glow in the center in a matching color.
- Reverse aura French. The glow sits near the cuticle in a pastel shade while the tips stay clean and white.
- Aura with a micro French. A thin tip line in white or silver over a pastel aura for a clean finish.
- Aura with a heart or star accent. Hand-paint one small shape on each accent nail.
- Aura on press-ons. Many brands now sell ready-made aura sets, so you can skip the blending entirely.
- Matte aura. Swap the glossy top coat for a matte one. The glow becomes velvety and soft.
- Mismatched aura. Each finger has a different color from the same palette. It looks effortless.
Also Read : Fuchsia Nail Ideas: 40+ Bold Designs for Every Shape, Season and Skin Tone
How to Pick the Right Aura Colors for Your Skin Tone
There are no rules, but a few tips can help your manicure flatter your hands.
Fair skin with cool undertones: Lilac, baby blue, soft pink and silver look gorgeous. Very pale yellows can look washed out, so choose butter instead of lemon.
Fair skin with warm undertones: Peach, coral, soft orange and champagne all look lovely. Mint and sage green work, too.
Medium or olive skin: Almost anything works. Terracotta, forest green, berry and warm gold are especially beautiful.
Tan or golden skin: Bright shades pop. Try hot pink, tangerine, turquoise and lime.
Deep skin tones: Rich jewel tones and vibrant brights look stunning. Cobalt, magenta, emerald, orange and gold stand out beautifully, and a white or sheer base lets them glow.
The best test is to hold a color swatch up to your hand in natural light. If your skin looks brighter and healthier, you have found your shade.
How to Do Aura Nails at Home
Here is the good news: aura nails are easier than they look. The effect is supposed to be blurry, so you do not need steady hands or perfect lines. What you do need is patience, thin layers and a light touch.
Professionals most often use an airbrush for a smooth, seamless finish. But a makeup sponge, a soft brush or blooming gel can give you a lovely result for a fraction of the cost.
What You Need
- Base coat to protect your natural nails
- Base color: milky white, sheer nude, soft pink, clear jelly or a dark shade, depending on the look
- Aura color or colors: gel or regular polish, in one to three shades
- A makeup sponge (a flat wedge or a small piece cut from a sponge works well)
- A dotting tool or small brush for placing color in the center
- A soft, fluffy brush for blending, if you are not using a sponge
- Acetone or a gel cleanser for thinning and cleanup
- A cleanup brush (an old, thin brush dipped in acetone is perfect)
- Top coat with a glossy finish
- A UV or LED lamp if you are using gel polish
- Liquid latex or peel-off cuticle guard to keep the mess off your skin
Method 1: The Sponge Technique (Best for Beginners)
This is the easiest way to get a cloudy aura without any special equipment.
Step 1: Prep your nails. Push back the cuticles, buff the shine off the nail surface lightly and wipe with alcohol or a cleanser. Clean, dry nails keep the polish from slipping and lifting later.
Step 2: Apply a base coat. Thin layer, then cure if you are using gel.
Step 3: Paint on your base color. Two thin coats look better than one thick one. If you are using a white or milky base, make sure the coverage is even, because any streaks will show through the glow.
Step 4: Prepare the sponge. Put a small amount of your aura color onto a clean part of the sponge. If you are using two colors, place them side by side with a slight overlap. Dab it on a piece of paper first to remove excess. A sponge that is too loaded will leave heavy, blotchy color.
Step 5: Dab, do not drag. Tap the sponge lightly in the center of your nail. Think of a butterfly landing, not a stamp. Build the color up with several soft taps rather than one hard press.
Step 6: Soften the edges. Gently tap around the outer edge of the color to push it outward. Use a clean part of the sponge, or a fluffy brush, to feather the edge until it looks cloudy.
Step 7: Cure and repeat. With gel, cure after each layer, then repeat until the color looks as strong as you want. Two to three layers is usual. With regular polish, let each layer dry for a minute or two.
Step 8: Clean up. Use the cleanup brush and a little acetone to remove any color on the skin around the nail.
Step 9: Seal it. Apply a glossy top coat, covering the nail edge, and cure. Gloss makes the blend look smoother.

Method 2: The Brush and Dotting Tool Technique
If sponges feel messy, this is a calmer option.
- Apply your base coat and base color as above.
- Dip the dotting tool into your aura color and place a small dot in the center of the nail. Do not cure yet if you are using gel.
- Use a soft, clean brush to sweep the color outward in small circular motions. Work from the center to the edge.
- Wipe the brush on a lint-free wipe between strokes so you do not drag color back in.
- Cure, then repeat once or twice for depth.
- Finish with top coat.
The secret here is a very small amount of product. If the color looks patchy, add more thin layers rather than a big glob.
Method 3: Blooming Gel
Blooming gel is a clear gel that spreads color outward on its own. It is a fun shortcut for the aura look.
- Apply your base color and cure it.
- Brush a thin layer of blooming gel over the nail. Do not cure.
- Place a small dot of gel color or ink in the center. Watch it spread and bloom.
- Guide the spread gently with a brush if needed.
- Cure once the shape looks right, then seal with top coat.
Blooming gel gives you a slightly different effect: a spreading, watercolor-like glow. It can take a few tries to learn how much color to add, so practice on a nail tip or a practice wheel first.
Method 4: Airbrush (The Professional Finish)
The airbrush is still the gold standard for a perfectly smooth, “HD” gradient. A fine mist of color lets the glow go from strong to invisible without any visible edge.
- Apply your base coat and base color, and cure.
- Fill the airbrush with your aura color. Some systems use special airbrush gel, others use thinned polish or ink.
- Hold the airbrush a short distance from the nail and spray a small burst in the center. Build it up in light passes.
- Switch colors and repeat if you are layering more than one shade.
- Cure, then seal with top coat.
Must Read : Zebra Print Nail Designs: 22 Bold Ideas, Easy Tutorials and Styling Tips
Airbrush machines vary in price and take practice, so if you only want aura nails for yourself once or twice a year, a sponge is usually the smarter choice. If you want to make this a regular thing, it may be worth the investment.

Quick Comparison of the Four Methods
| Method | Skill level | Cost | Finish | Best for |
|---|---|---|---|---|
| Sponge | Beginner | Very low | Soft, cloudy, slightly textured | First-timers and quick DIY |
| Brush and dotting tool | Beginner to intermediate | Low | Soft, controllable | Small, precise glows |
| Blooming gel | Intermediate | Low to medium | Watercolor-style spread | Experimenters |
| Airbrush | Advanced | Medium to high | Ultra-smooth, seamless | Salon-grade results |
Common Aura Nail Mistakes and How to Fix Them
Every single person who tries aura nails runs into at least one of these. Here is how to deal with them.
Mistake 1: The color looks harsh or patchy. You probably used too much product at once. Wipe off the excess and use thinner layers. If you are using gel, thin it slightly with a tiny amount of the recommended liquid before you blend.
Mistake 2: You can see sponge marks or bubbles. The sponge was too wet, too coarse or pressed too hard. Use a fine-pored makeup sponge and tap lightly. If bubbles appear in the gel, a quick pass of a clean brush and a thin layer of top coat before curing can smooth them.
Mistake 3: The edges are not blended. Go over the edge again with a clean fluffy brush or a clean part of the sponge, then add another thin layer of base shade if needed to push the glow outward.
Mistake 4: The colors turn muddy. This often happens when you blend opposite colors on the color wheel, such as orange and blue. Put a lighter transition shade between them, or place a layer of white underneath so the colors stay clear.
Mistake 5: The glow is not centered. Place the first dot or dab at the center of the nail before blending out. Look at your nail straight on, not at an angle, so you place it where the center really is.
Mistake 6: The color has stained your skin and cuticles. Use liquid latex or a peel-off guard before you start. If it is too late, clean up with a brush and acetone before curing.
Mistake 7: The manicure chips quickly. Lack of prep and uncapped edges are the usual causes. Remove shine from the nail, wipe it clean and always seal the free edge with top coat.
How to Get Aura Nails at the Salon
If you would rather leave it to a professional, a little preparation will make the appointment go more smoothly.
Bring a reference photo. Not just one, if you can. Show the colors, the nail length and the finish you like. Names for this style vary between techs, so pictures are clearer than words.
Describe the color placement. Say something like: “I would like the color in the center of the nail, fading out softly toward the edges, with a milky white base.”
Tell them if you want extras. Chrome, stars, crystals, cat eye or a jelly overlay can all be added, but ask for them upfront, as they may affect the time and price.
Ask about the technique. Many salons use an airbrush for the smoothest finish. Others prefer sponge or blooming gel. Neither is wrong; they just look slightly different.
Check the time and price. Aura designs take longer than a plain polish change, and nail art is usually priced per nail or per set. Prices vary widely by city and by technician, so it is worth asking before you sit down.
Pick the right base. Gel polish, hard gel, soft gel tips and acrylic can all hold an aura. If you want extra length, soft gel tips are a popular option.
Aura Press-On Nails: The Easy Way
Not in the mood for blending at all? Press-on nails have made aura designs very easy to wear.
- Ready-made sets come in a wide range of shapes and lengths, with the glow already done for you.
- Reusable sets can last through multiple wears if you remove them carefully.
- Custom press-ons can be made to match your nail size and your chosen colors, and are great for special occasions.
A few tips for wearing press-ons: prep your natural nails like you would for a regular manicure, choose the correct size for each finger, press and hold firmly for several seconds, and use nail glue or adhesive tabs depending on how long you want them to last.
Aura Nail Care: Making Your Manicure Last
A beautiful set deserves proper care. Here is what helps.
Wear gloves for dishes and cleaning. Hot water and strong detergents break down polish and gel faster.
Moisturize your cuticles daily. Cuticle oil keeps the skin soft and the nail edges looking fresh, and it makes the glossy finish pop.
Do not use your nails as tools. Opening cans and scraping labels is a fast track to chips.
Reapply top coat if needed. With regular polish, a fresh layer of top coat every few days restores shine and protects the glow.
Avoid long soaks in hot water. Long baths, pools and hot tubs can soften polish.
Do not peel or pick. Peeling gel or polish off takes layers of your natural nail with it.
Remove properly. For gel, soak cotton pads in acetone, wrap them on the nails with foil and wait until the gel softens, then gently push it off. If it will not budge, give it more time instead of forcing it. Finish with nail oil and a rich hand cream.
Also Read: Western Nail Ideas: 75+ Cowgirl-Inspired Designs, Colors and Tips for Every Style
When to Wear Aura Nails: Occasion Ideas
Aura nails are surprisingly versatile. Here is how to match them to different moments.
Everyday and office. Choose soft, neutral glows: blush pink, vanilla latte, pale lilac or sheer peach. They look put together without calling attention.
Weddings and bridal events. Pearl and champagne auras on a sheer base look romantic and delicate. For bridesmaids, a soft color that matches the dress can look lovely.
Date nights. Dark cherry, plum dusk or black cherry auras feel mysterious and elegant.
Festivals and concerts. Go bold: neon colors, chrome, glitter halos and rainbow auras all look fantastic under lights.
Vacations. Ocean blue, sunrise orange and mint green go perfectly with beach days and holiday outfits.
Holidays. Red-and-white candy cane glows, emerald with gold chrome, and icy blue with silver sparkle are all festive without being over the top.
Birthdays. Choose your favorite color, or match your zodiac sign for a personal touch.a
Aura Nail Trends to Watch in 2026
The style keeps evolving, and a few directions are standing out right now:
- Blush auras. Very soft pink or peach glows that mimic a natural flush. Quiet but striking.
- Smoky neutrals. Taupe, grey and mushroom shades blended in a cloudy, smoke-like way.
- Jelly and glass auras. Translucent layers that give a juicy, glassy depth.
- Chrome overlays. A fine metallic dusting over the center of the glow, for a modern Y2K feel.
- Mini auras. Tiny, precise glows on very short nails. Clean, minimal and easy to wear.
- Mix-and-match sets. Different aura colors on each finger, all pulled from the same palette.
Whatever direction you choose, the trend is clearly moving toward subtlety. Softer color, smoother blends and more personal palettes.
Final Thoughts on Aura Nails
Aura nails have stuck around because they offer something many nail trends do not: they are beautiful, flexible and kind to beginners. Whether you want a barely-there blush glow or a loud neon halo covered in chrome, the technique is the same. Start in the center, build the color slowly and blend until the edges disappear.
If you are trying this for the first time, my advice is simple. Pick one or two colors you already love, grab a makeup sponge, use thin layers and do not stress about perfection. The softness is the whole point.
So choose your colors, find your reference photos and let your nails glow. And if you made it this far, here are the questions people ask most.
Aura Nails FAQs
What are aura nails?
Aura nails are a manicure style where color is placed in the center of the nail and blended outward into a lighter or contrasting base, creating a soft, glowing halo. The name comes from the spiritual idea of an aura, the colored energy field said to surround a person.
How are aura nails different from ombré nails?
Ombré nails fade in a line, usually from the cuticle to the tip or from the tip to the cuticle. Aura nails place the color in the middle and fade outward in all directions, so the effect is more like a cloud or a glow than a stripe.
Can I do aura nails at home without an airbrush?
Yes. A makeup sponge, a dotting tool with a soft brush, or blooming gel can all create a pretty aura effect. The result is usually a little more textured than airbrush, but with thin layers and light dabbing it can look very professional.
What colors are best for aura nails?
There is no single best color. Soft pastels such as lilac, pink, peach and baby blue are great for beginners. Brighter shades like neon pink, orange and electric blue make a bolder statement, and deep colors like plum, forest green and black cherry work well in colder months. Choose shades that flatter your skin tone and match your mood.
Do aura nails work on short nails?
Absolutely. Keep the glow small and centered, and stick to one or two colors so the design does not look crowded. Soft shades like blush pink or pale lilac look especially fresh on short nails.
How long do aura nails last?
It depends on the product and how you care for them. With a gel manicure that is well prepped and sealed, aura nails can last around two to three weeks. Regular polish tends to last a few days to a week. Good prep, capped edges, a quality top coat and cuticle oil all help.
What base color should I use for aura nails?
Milky white, sheer nude, soft pink and clear jelly are the most popular choices because they let the glow stand out. For a moodier look, try black, navy or deep burgundy. A lighter base creates a dreamy effect; a darker base creates a dramatic one.
Can I add chrome, glitter or gems to aura nails?
Yes, and many people do. Chrome powder, fine glitter, small stars, crystals and cat eye effects all pair beautifully with the glow. Add embellishments with restraint so the blend stays visible, and always seal the design with a top coat.
How do I remove aura nails?
For gel polish, lightly file the top coat, soak cotton pads in acetone, place them on your nails and wrap each finger in foil for ten to fifteen minutes. Gently push off the softened gel with a wooden stick. For regular polish, use a standard polish remover. Moisturize your nails and cuticles afterward.
Are aura nails still in style in 2026?
Yes. The trend has evolved rather than faded, shifting toward softer blush auras, smoky neutrals, chrome overlays and jelly finishes. Because the technique is so flexible, it fits easily into whatever color palette or season you are in, which is why it keeps showing up in salons and on social feeds.