
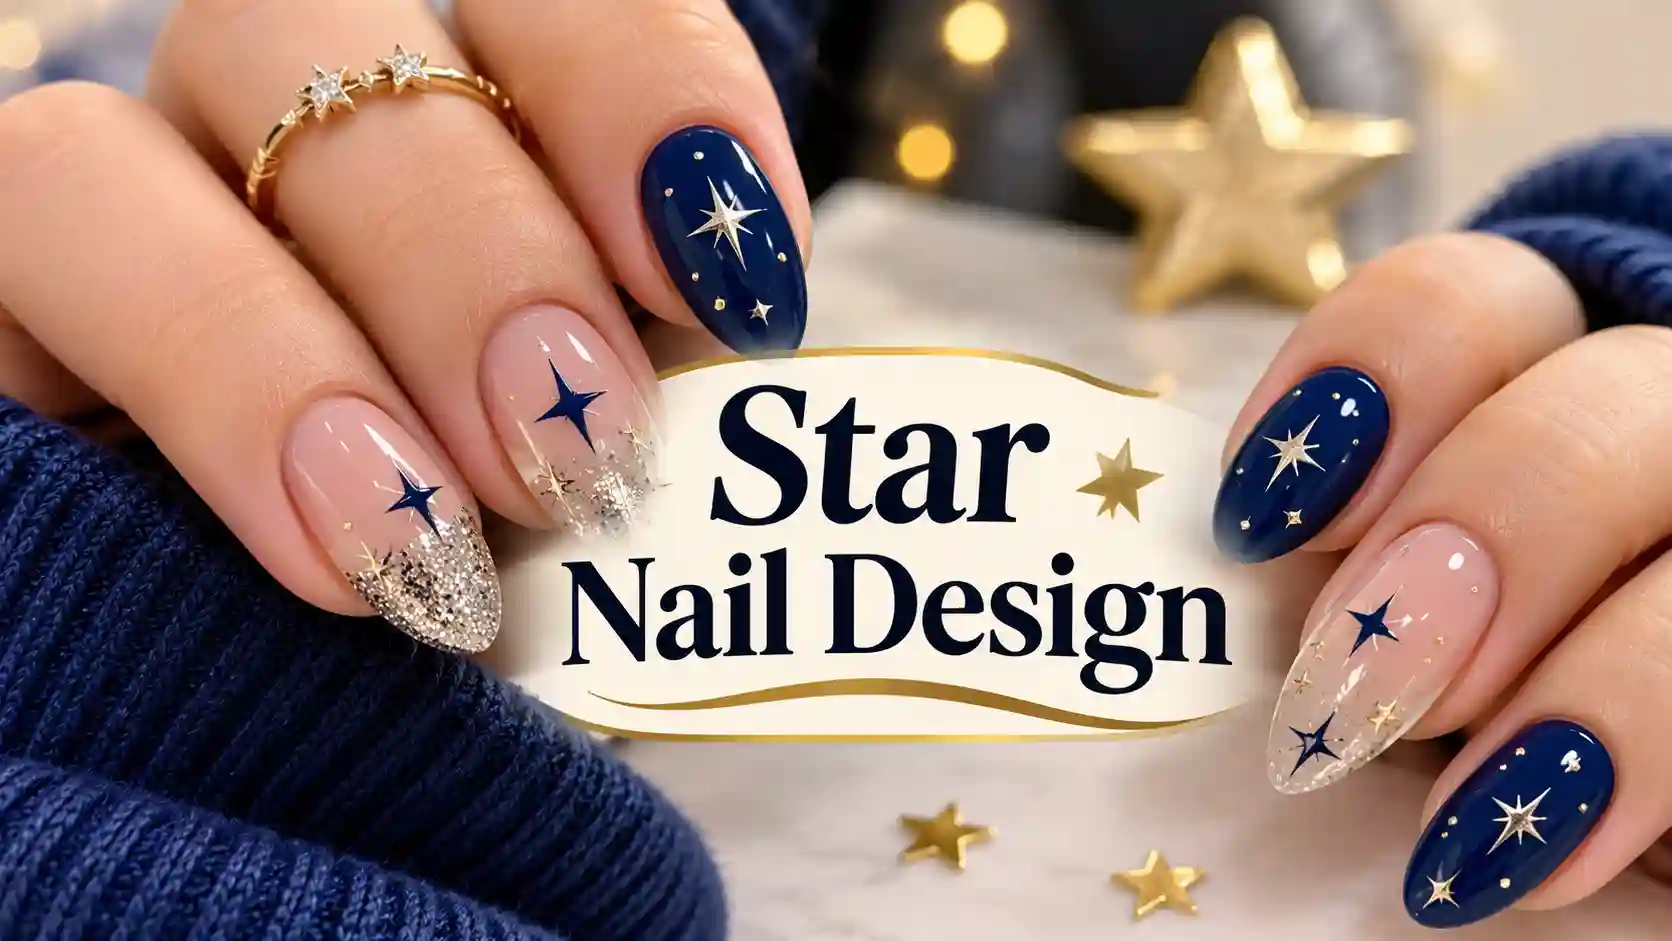
Cute Star Nail Design Ideas That Will Instantly Steal The Spotlight
There is a reason the star nail design trend refuses to fade away no matter how many seasons pass. Stars feel playful, celestial and a little bit nostalgic all at once, and that combination keeps bringing clients back to my chair asking for some version of this look, whether they want a single tiny star near the cuticle or a full galaxy inspired set covering every nail.
I have watched this trend evolve a lot over the years. What used to be a simple chunky star sticker trend has grown into something much more detailed and personal. Clients now come in with very specific ideas, from tiny scattered stars on a milky white base to bold chrome stars layered over a deep navy background. Star nail design has really become its own category within nail art rather than just a passing shape trend.
Also Read : Blue Jean Nail Designs: 25 Denim-Inspired Looks You Can Actually Recreate
In this guide I want to share everything I have picked up about star nail design through years of working behind the chair, including the techniques I rely on, the mistakes I see most often and the small details that take a simple star from flat and basic to genuinely eye catching. Whether you are a nail artist looking for fresh inspiration or someone wanting to try this at home, this article covers it all.
Why Star Nail Design Has Become Such A Beloved Trend
Star nail design has stuck around far longer than most trends in the nail industry, and I think that comes down to how universally appealing the shape actually is. Stars work across almost every aesthetic, from soft and romantic to bold and edgy, which gives this trend an incredible amount of flexibility compared to more niche nail art styles.
Part of the popularity also comes from nostalgia. A lot of clients tell me that stars remind them of childhood doodles, old school tattoo flash art or even the stickers they used to collect as kids. That emotional connection makes star nail design feel personal rather than purely decorative, which is part of why it keeps showing up season after season.
Social media has also played a huge role in keeping star nail design relevant. The shape photographs beautifully under almost any lighting, and it adapts easily to new color trends, finishes and techniques, which means the look constantly feels fresh even though the core concept has stayed the same for years.
My Experience Creating Star Nail Design In The Chair
After painting star nail design for so many clients over the years, I have noticed a clear pattern in how requests tend to evolve. Clients usually start with something simple, maybe a single star accent nail, and once they see how versatile the shape is, they often come back asking for more detailed or dramatic versions.
What I love most about star nail design is how much personality it allows clients to express. Some want delicate, tiny stars scattered like confetti across a soft neutral base. Others want oversized, bold stars in contrasting colors that practically demand attention. Both approaches fall under the same general trend, yet the finished results look completely different depending on the client’s personal style.
I have also found that star nail design works beautifully as a gateway into nail art for clients who are usually hesitant about anything too detailed. The shape itself is simple enough to feel approachable, even for someone who normally sticks to a plain manicure, which makes it one of the easiest trends to recommend to nervous first timers.
Choosing The Right Base Color For Star Nail Design
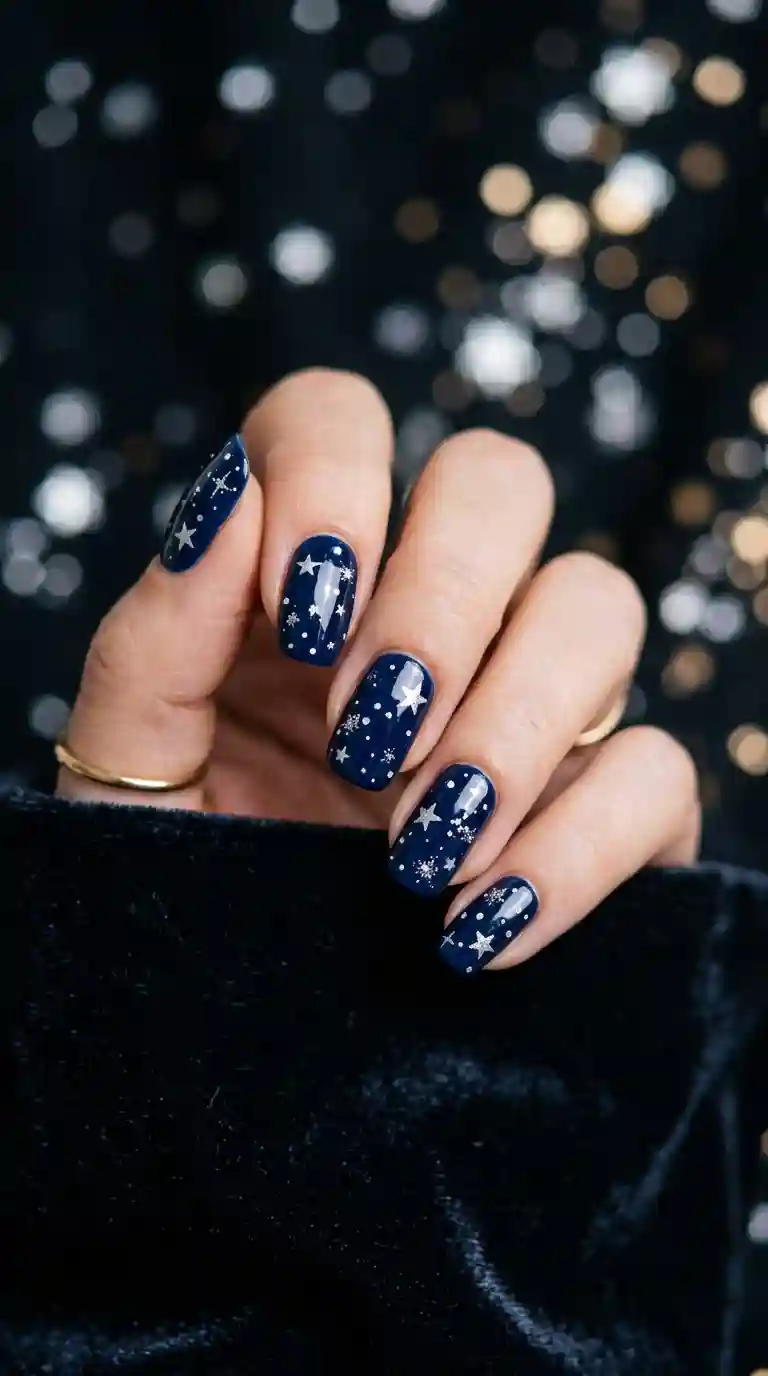
Choosing the right base color is one of the most important decisions when planning star nail design, since it sets the entire mood of the finished manicure. A deep navy or midnight blue base is probably my most requested option, since it instantly evokes a night sky and gives scattered stars a natural, almost galaxy inspired context.
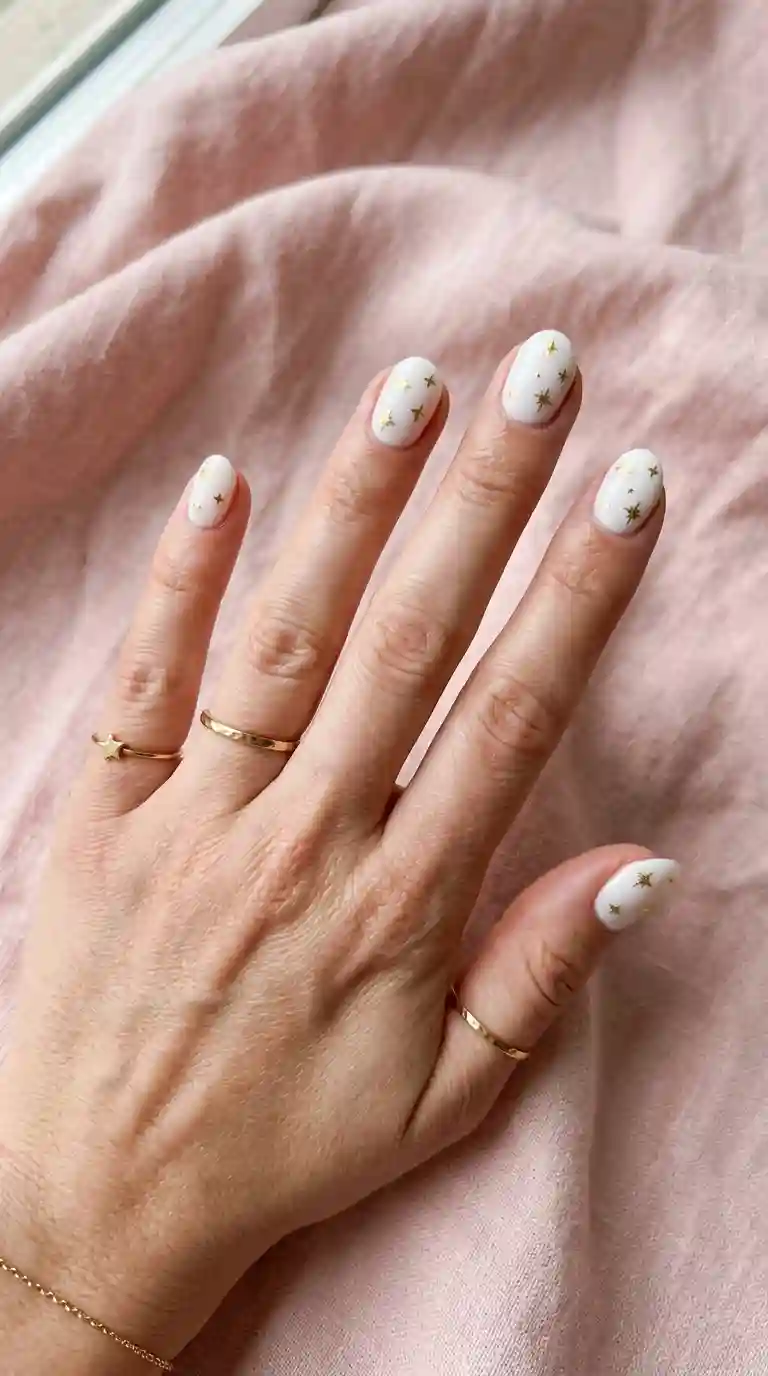
For a softer, more romantic take on star nail design, a milky white or soft pink base works beautifully, especially when paired with gold or silver stars rather than the more common white or silver combination used on darker backgrounds. This pastel approach feels gentle and wearable for everyday life rather than purely statement making.
Black is another popular base choice within star nail design, particularly for clients who want a bolder, more dramatic finished look. A matte black base with chrome silver stars creates a striking contrast that photographs beautifully and tends to be one of my favorite combinations to work with in the studio.
Must Read : Square Nail Designs: 60+ Fresh Ideas, Colors and Pro Tips
Pastel Star Nail Design For A Softer Aesthetic
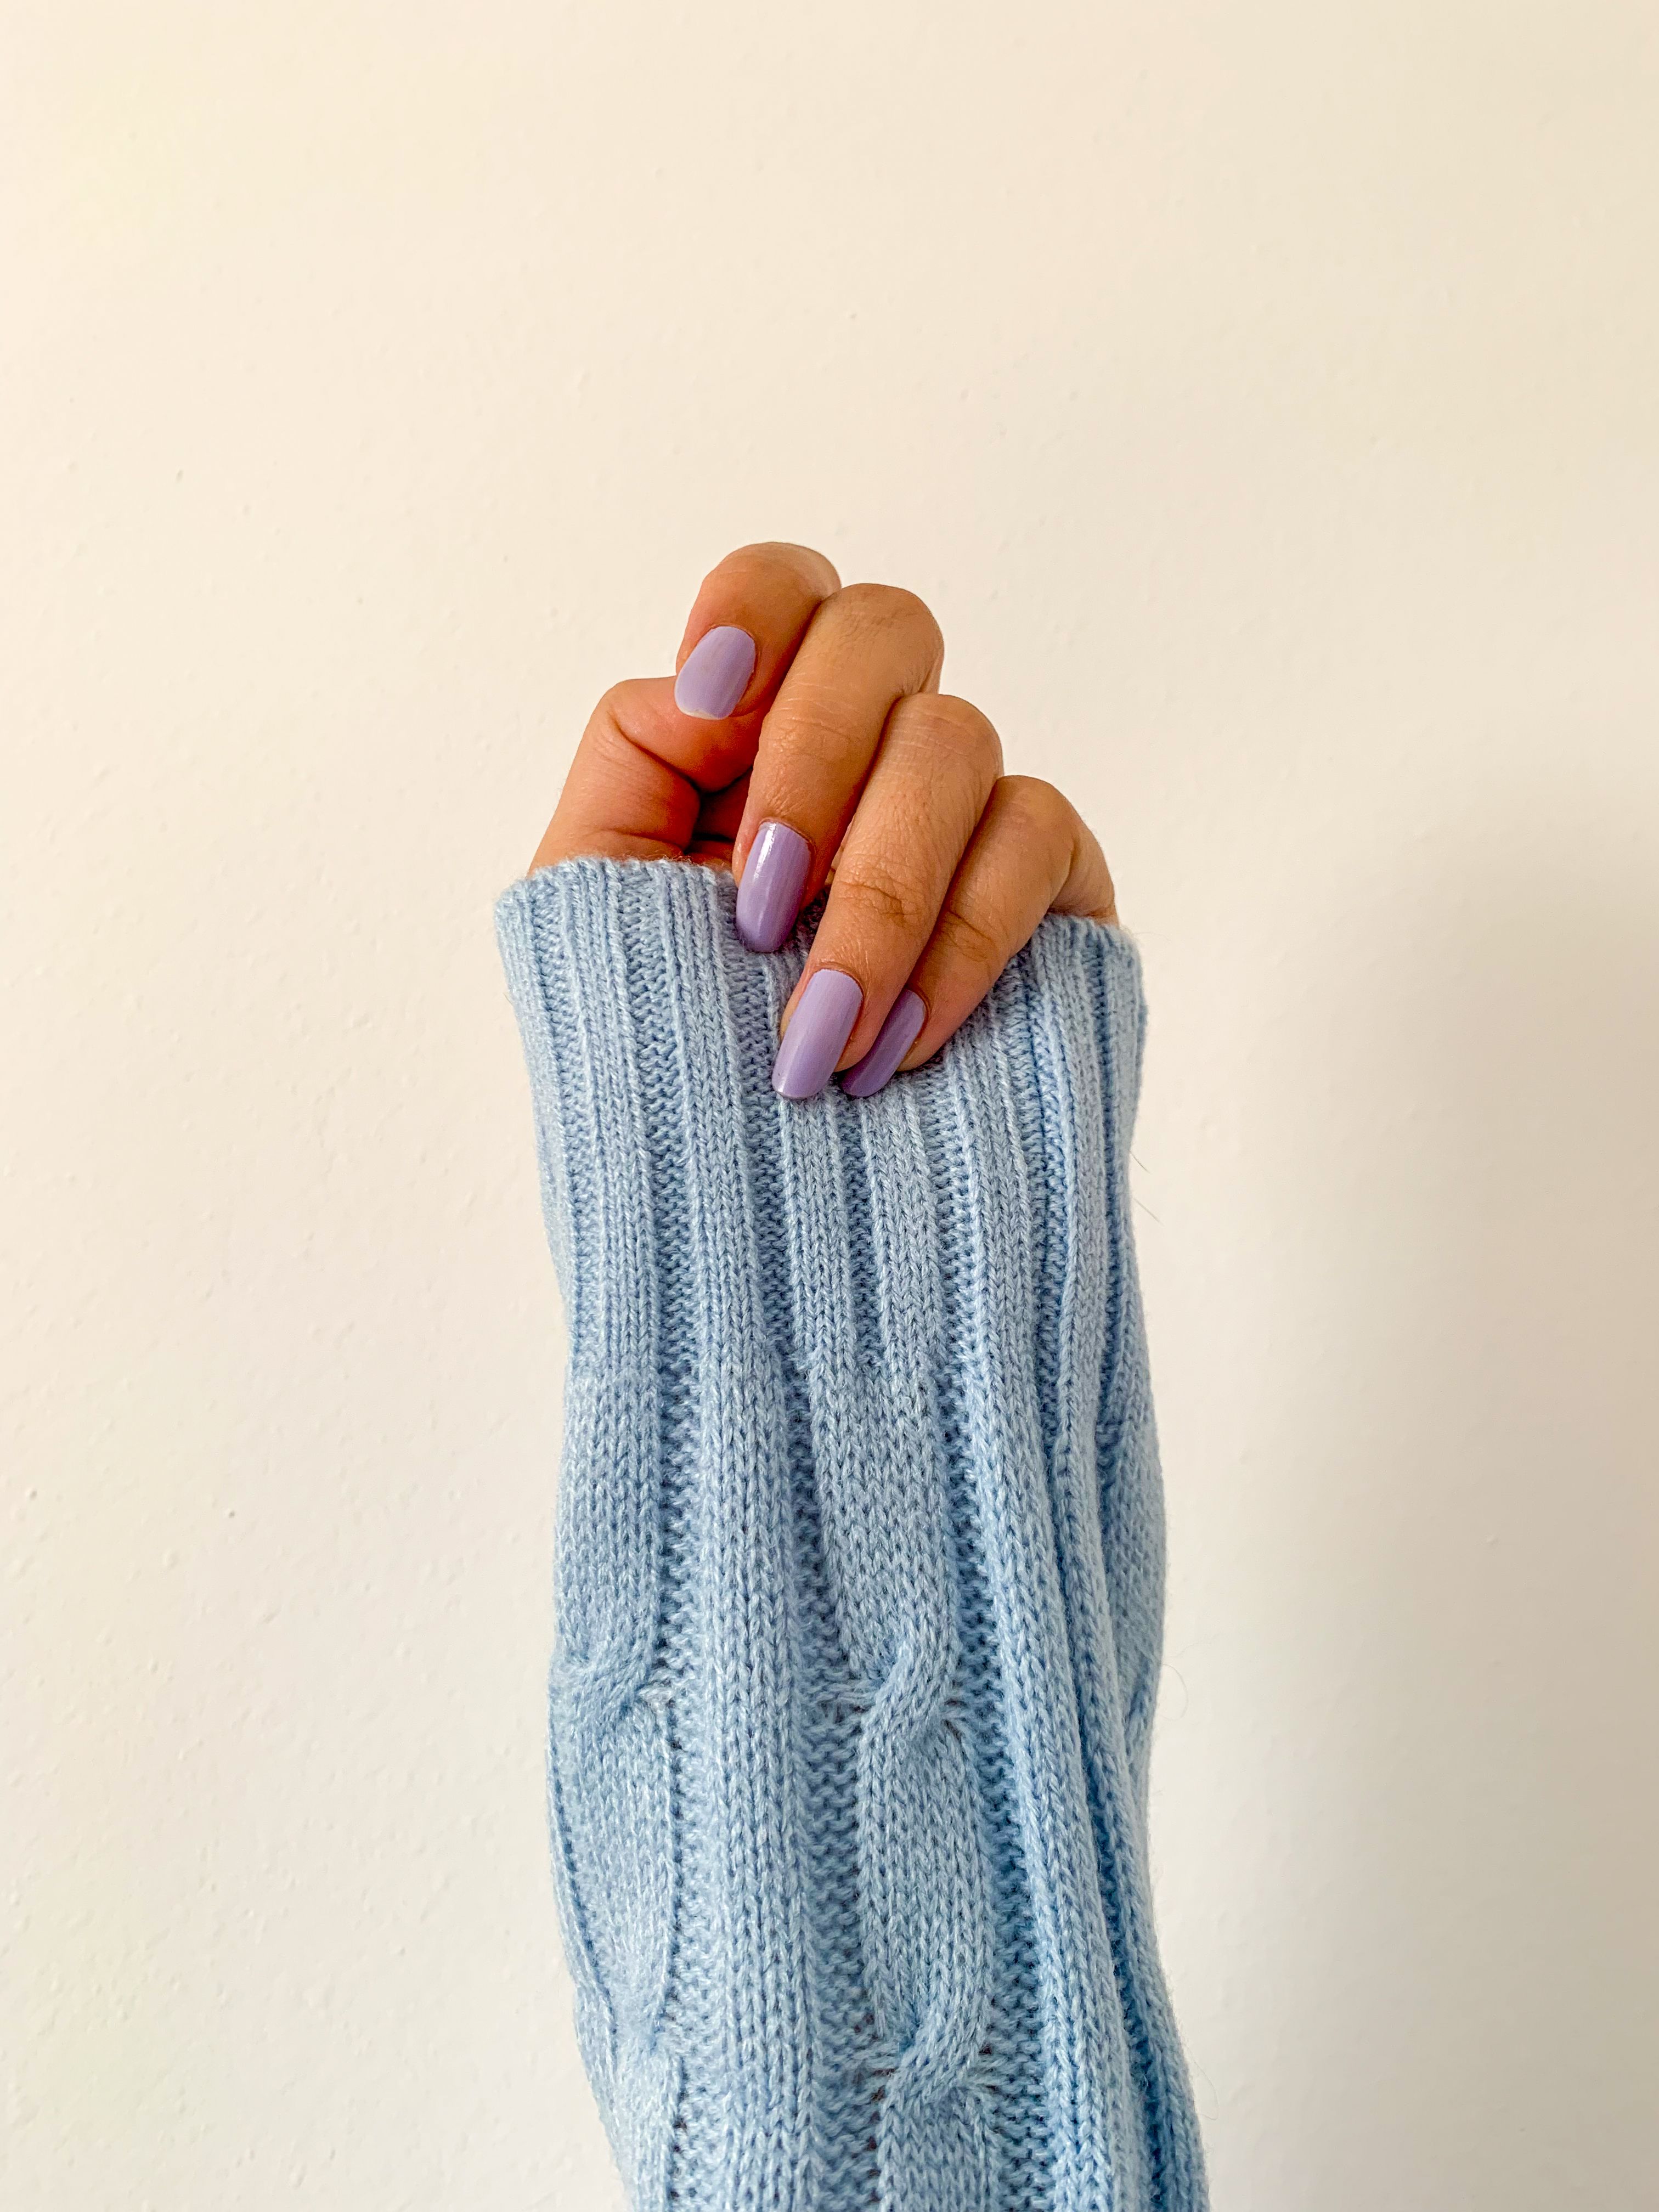
For clients drawn to a gentler, more wearable version of this trend, pastel bases completely transform the overall feel of star nail design. Soft lavender, baby blue or blush pink bases paired with small white or gold stars create a delicate, almost dreamy effect that feels appropriate for daily wear rather than just special occasions.
This softer approach has become especially popular among younger clients and anyone who loves the trend conceptually but wants something a bit more subtle than a bold, high contrast galaxy design.
Galaxy Inspired Star Nail Design
Galaxy nails might be one of the most dramatic and detailed versions of star nail design that I create, and they always get a strong reaction once finished. This technique typically involves blending deep purples, blues and blacks together in a sponge applied gradient, then adding scattered white and silver stars on top for a realistic night sky effect.
I usually start by applying the darkest shade near the cuticle, blending into a lighter purple or blue toward the tip, then using a small piece of makeup sponge to dab additional colors randomly across the nail for texture. Once the base layer is complete and dry, adding small white dots of varying sizes creates the star effect, with a tiny bit of fine glitter mixed in for extra sparkle.
This particular version of star nail design takes more time and skill compared to simpler scattered star looks, but it remains one of the most requested designs in my studio, especially heading into any event where clients want something truly show stopping.
Chrome Star Nail Design For Maximum Shine
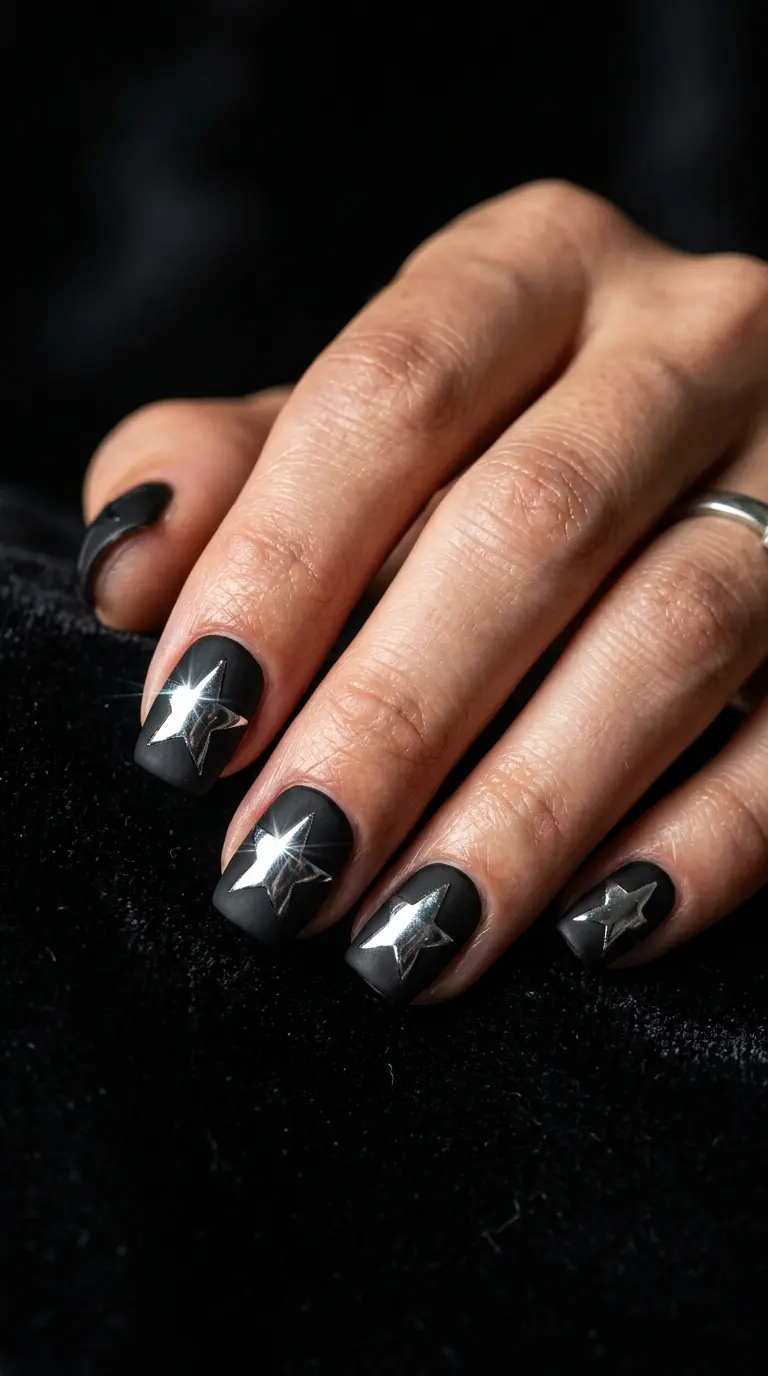
Chrome powder has completely changed what is possible within star nail design, adding a reflective, almost metallic quality that standard polish simply cannot replicate. I love using chrome specifically for the star shapes themselves, applying the powder over a stenciled or hand painted star outline for crisp, mirror like edges.
Silver chrome remains the most popular choice for this technique, particularly against a matte black or deep navy base, since the contrast between the matte background and the reflective star creates incredible visual depth. Gold chrome offers a slightly warmer alternative, often requested alongside a soft white or nude base for a more elegant, daytime appropriate version of star nail design.
Applying chrome powder requires a bit of practice to get clean, defined edges, but once mastered, this technique consistently produces some of the most eye catching results within the entire star nail design category.
Minimalist Star Nail Design For Everyday Wear
Not every client wants a bold, fully detailed star nail design, and that is completely understandable. Some of my favorite versions of this trend are actually the simplest ones, relying on just one or two small stars rather than covering the entire nail with detailed artwork.
A single tiny star painted near the cuticle of each nail, paired with a soft neutral or nude base, creates a subtle, elegant take on star nail design that works beautifully for professional settings or everyday errands. This minimalist approach proves that you do not need elaborate detail to capture the charm of this trend.
Another minimalist option involves painting four nails in a simple solid color and reserving the star detail for just one accent nail. This keeps the overall manicure clean and understated while still nodding to the trend in a noticeable, intentional way.
Star Nail Design For Short Nails
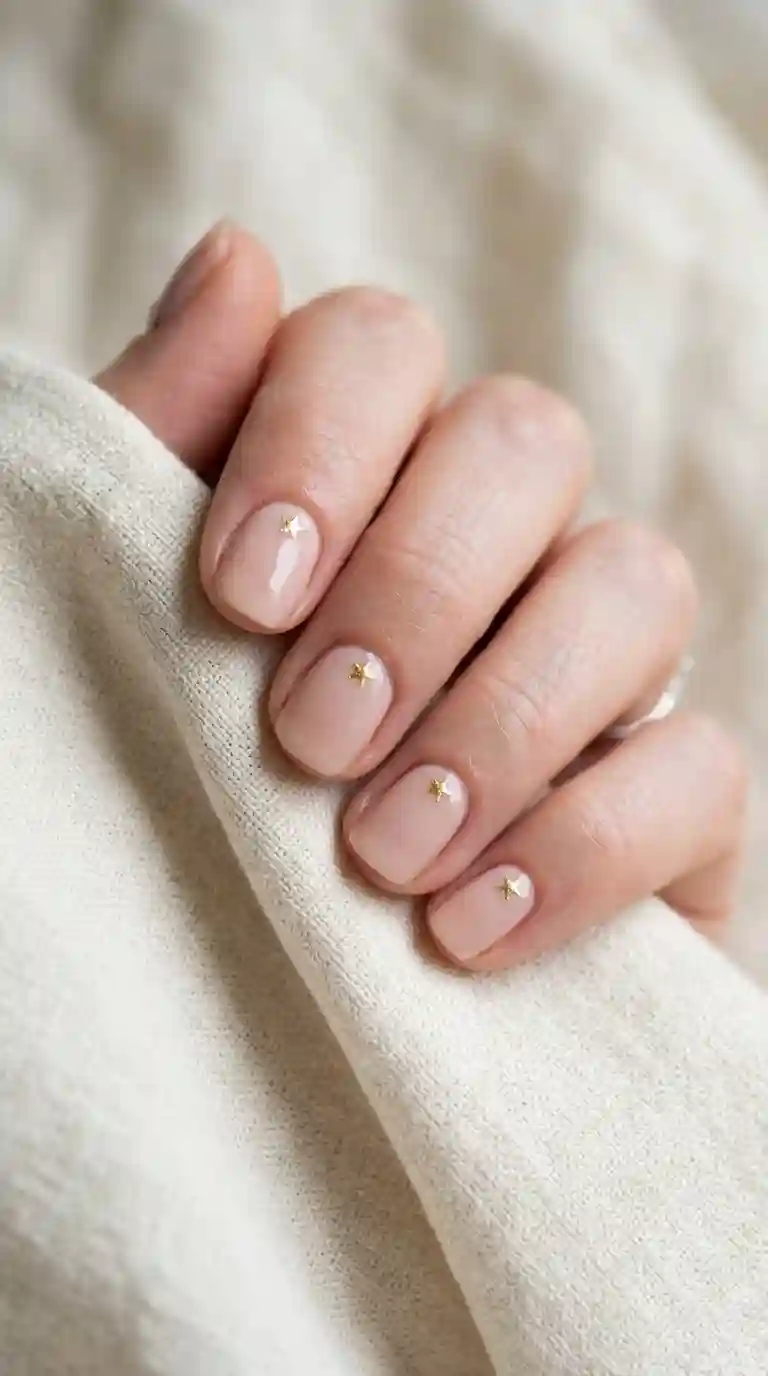
A common question I hear is whether star nail design works well on shorter nails, and the answer is absolutely yes. In fact, I often find that shorter nails handle small, scattered star details beautifully, since there is less temptation to overcrowd the design.
For shorter nails, I usually recommend keeping stars small and concentrated near the cuticle rather than attempting a full galaxy effect, which can feel cramped on a smaller surface. A few tiny stars scattered sparingly across a solid base color tends to look clean and proportionate on shorter nail beds without appearing busy or overwhelming.
Star Nail Design For Long And Almond Shaped Nails
On longer, almond or coffin shaped nails, there is so much more room to get creative with star nail design. I love using the extra surface area for bigger, more detailed galaxy effects, layered ombre bases or even oversized single star illustrations that really showcase the length and shape of the nail.
Negative space also works beautifully within star nail design on longer nails, where a star shaped cutout left unpainted against a solid colored background creates a striking, modern effect without requiring any additional detail work at all. This technique tends to photograph incredibly well and feels fresh compared to more traditional painted star designs.
French tips take on a fun, celestial twist on longer nails as well, replacing the standard straight tip line with a scattering of tiny stars along the edge instead of a solid metallic or white line.
Star Nail Design With A French Tip Twist
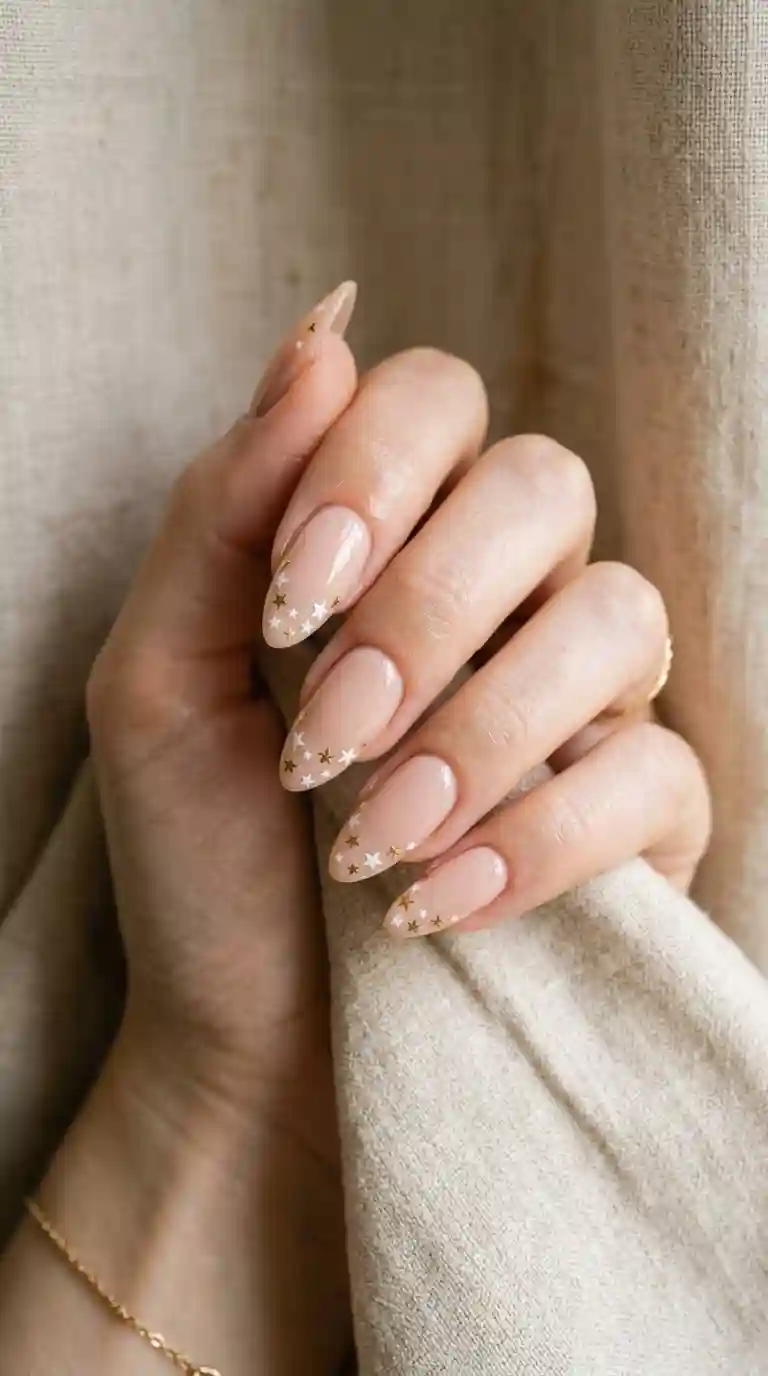
Reinventing the classic french manicure has become one of my favorite creative outlets within star nail design. Instead of the typical solid tip line, I scatter small stars of varying sizes along the tip area, creating a delicate, celestial border that still reads clearly as a french manicure from a distance.
Read Must : 60 Nashville Nail Ideas for Every Season, Occasion and Mood
I usually use a thin detail brush to paint these tiny stars freehand, though a dotting tool works well for a more simplified, dot based variation of the same concept. Adding a touch of fine glitter mixed into the topcoat over just the tip area gives this version of star nail design an extra bit of sparkle without overwhelming the overall look.
This particular take on the trend tends to be especially popular among clients who want something elegant enough for a formal event but still wearable for everyday life afterward.
Star Nail Design With Glitter And Sparkle
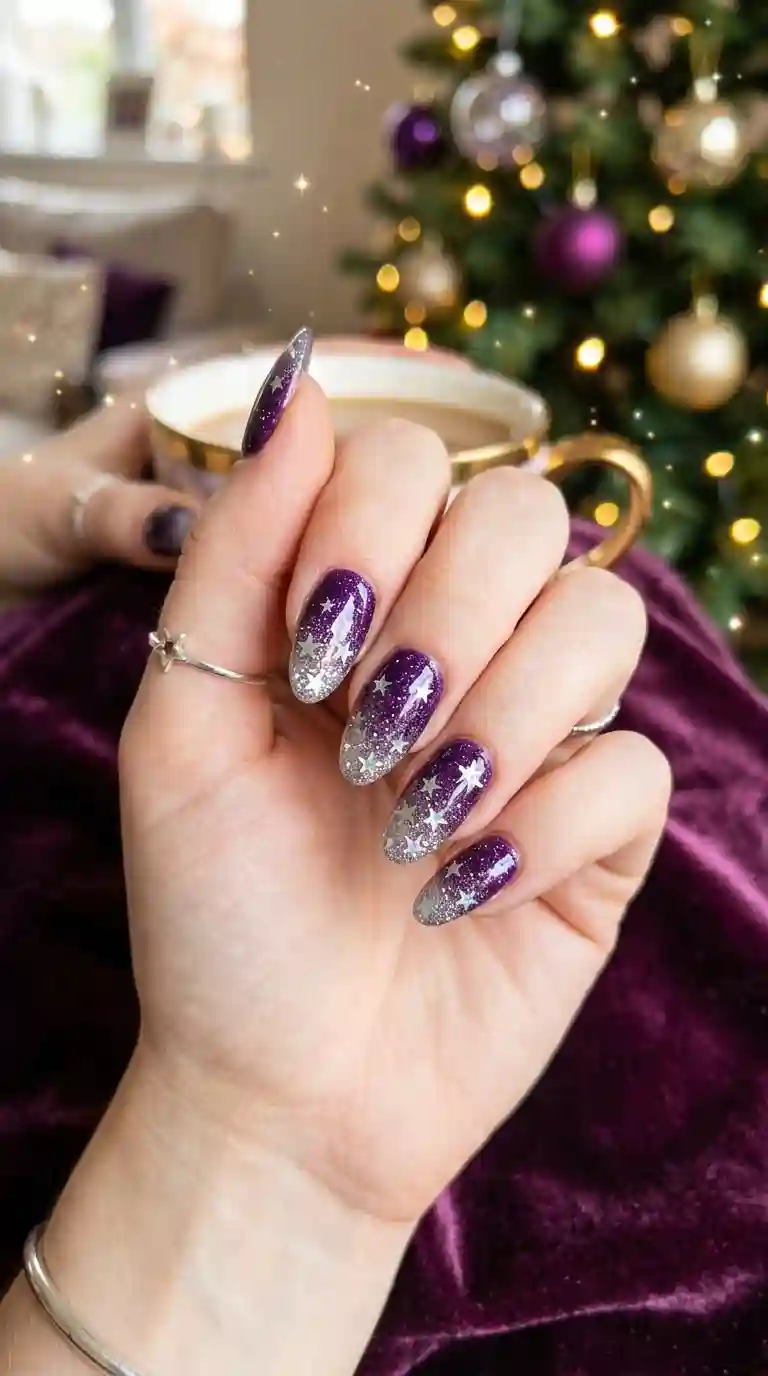
Glitter and star nail design go together almost naturally, since both elements evoke that same twinkling, celestial feeling. I often incorporate fine glitter directly into the star shapes themselves, which adds texture and shine without requiring any additional steps beyond the initial painting process.
A technique I use often involves applying a gradient of glitter near the tips of the nail, fading into a solid color base closer to the cuticle, then adding a few scattered stars on top once the glitter layer has dried. This combination creates a layered, dimensional effect that photographs beautifully under both natural and artificial lighting.
For clients who want maximum sparkle, I sometimes suggest a full glitter accent nail covered in star shaped sequins or rhinestones, surrounded by four simpler nails featuring just a few painted stars for balance.
Matte Finish Star Nail Design For A Modern Twist
Matte finishes bring a completely different mood to star nail design compared to traditional glossy polish. There is something about a soft, velvety matte base that makes scattered stars feel a bit more subtle and sophisticated, almost like a quiet nod to the trend rather than a bold statement.
I often recommend matte black, deep navy or dusty rose as base colors for this version of star nail design, paired with glossy or chrome stars for a nice textural contrast. That combination of matte and shine within the same nail tends to create a really polished, intentional looking finished result.
Star Nail Design For Acrylic And Gel Extensions
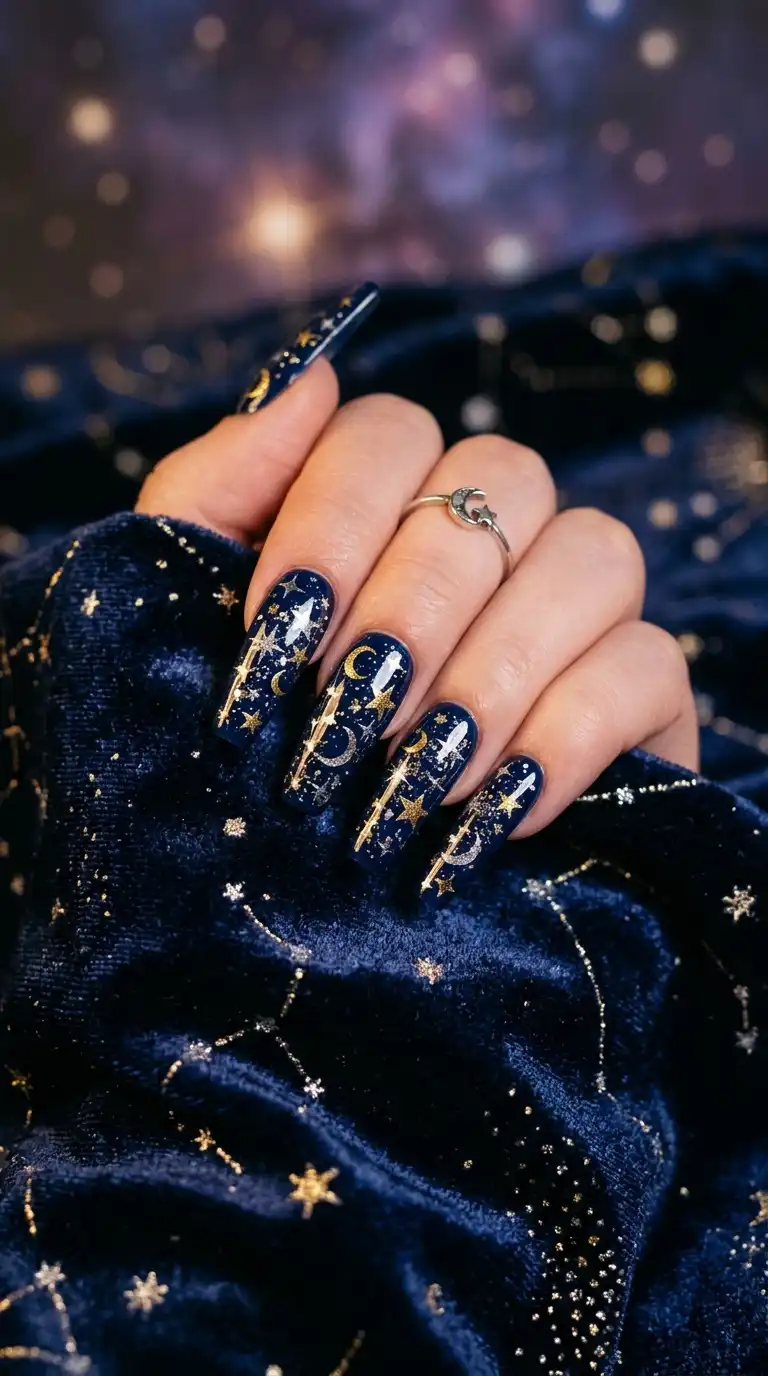
Clients frequently ask whether star nail design translates well onto acrylic or gel extensions, and the answer is absolutely yes. Extensions actually provide more surface area to work with, which is especially helpful for detailed galaxy effects or layered star patterns that need extra room to really shine.
For acrylic sets, I typically recommend an almond or coffin shape, since the elongated surface allows star nail design to feel more dramatic and intentional. Gel extensions offer a slightly more natural, flexible feel while still providing plenty of length for detailed nail art.
Whether working with acrylic or gel, the process for creating star nail design remains fairly consistent. A smooth, evenly applied base color makes a noticeable difference in how crisp and clean the finished star details end up looking.
How To Recreate Star Nail Design At Home
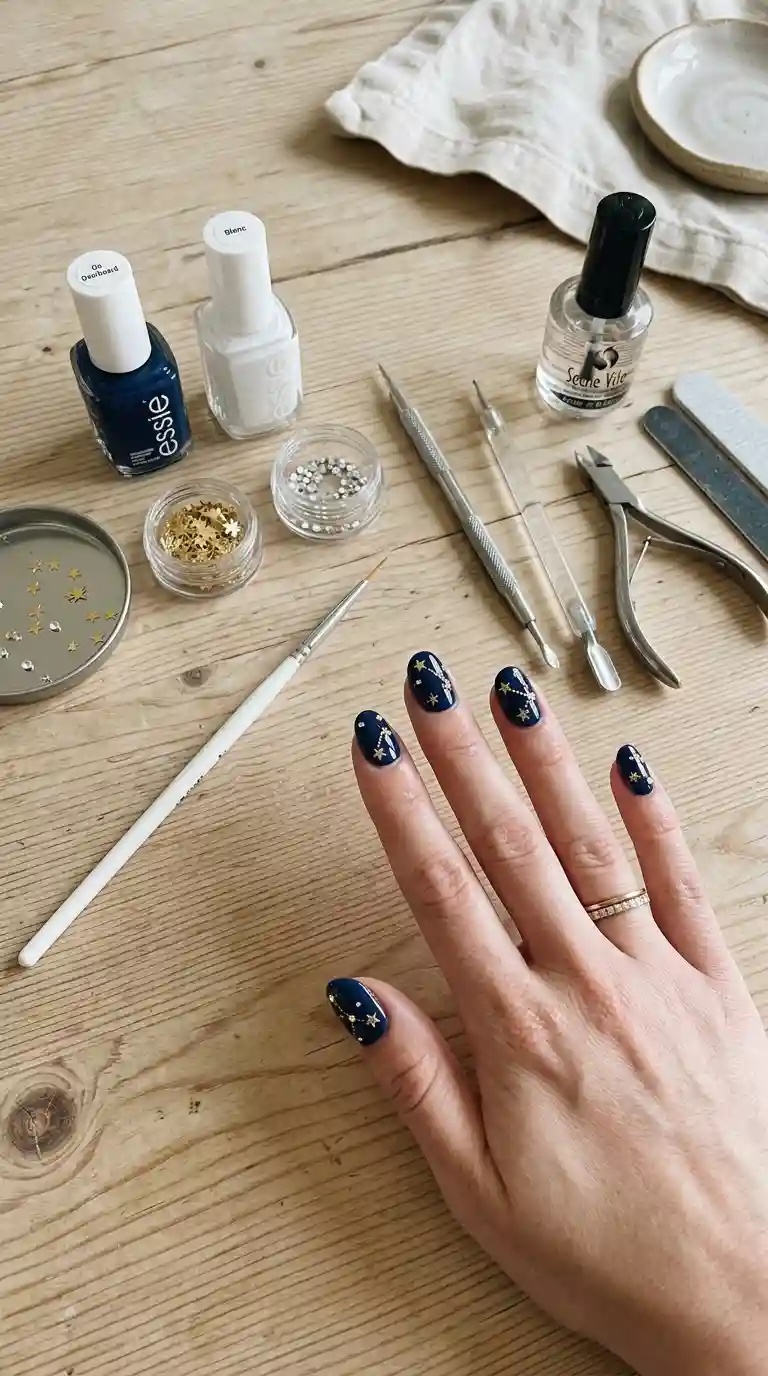
You do not need professional training to try star nail design at home, though a bit of practice definitely helps, especially when attempting more detailed galaxy effects. Over the years I have picked up a few tricks that make this process much easier for anyone trying it themselves.
Start with clean, properly prepped nails. Gently push back your cuticles, lightly buff the nail surface and wipe away any oils using rubbing alcohol before applying polish. This step matters more than people realize, since any unevenness on the nail bed tends to show clearly underneath lighter base colors commonly used for star nail design.
Apply a quality base coat first, then two thin coats of your chosen base color, allowing each layer to dry fully before moving to the next. Once your base color is completely set, that is when you can begin adding your star details, whether that means freehand painting, dotting tool dots or pressing on small star shaped decals.
Step By Step Guide For Star Nail Design
- Start with clean, dry nails and gently push back the cuticles.
- Apply a thin base coat and allow it to dry completely.
- Paint two thin coats of your chosen base color, letting each layer dry before adding the next.
- Add your star details using a fine brush, dotting tool or small star decals.
- Seal everything with a glossy or matte topcoat depending on your preferred finish.
- Clean up any excess polish around the cuticles using a small brush dipped in acetone.
Following these steps in order makes a real difference in how polished and professional your finished star nail design ends up looking, even for a first attempt.
Tools And Products I Use For Star Nail Design
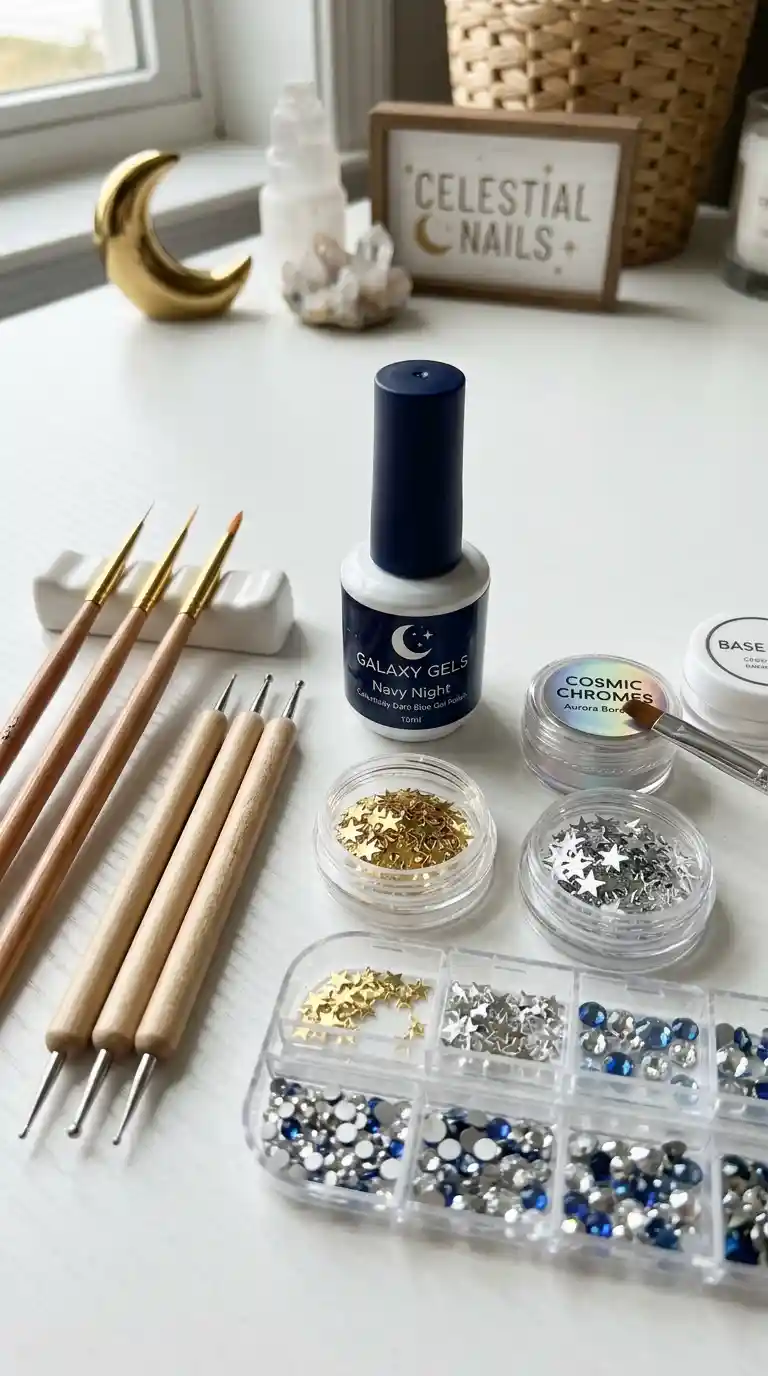
Over the years I have built up a small collection of tools that make creating star nail design much easier, both in the studio and for clients recreating looks at home. A fine detail brush remains the single most important tool for anything beyond a basic scattered star look, allowing for clean, consistent star shapes across every nail.
Also Read: Medium Nail Ideas: 40+ Gorgeous Designs, Shapes, Colors and Expert Tips
A dotting tool comes in handy for creating uniform dots that can be layered together into simplified star shapes, which is especially helpful for beginners who find freehand painting intimidating. I also keep a selection of pre cut star decals and stickers on hand for clients who want perfectly uniform stars without relying entirely on freehand painting skill.
Chrome powder, fine glitter and a small collection of rhinestones round out my star nail design toolkit, since these small additions can completely transform a simple painted star into something that feels much more dimensional and special.
How To Make Star Nail Design Last Longer
Nobody wants their carefully painted stars chipping away within a few days, and there are a few habits that genuinely help extend the life of star nail design. Wearing gloves while washing dishes or cleaning protects the polish from hot water and harsh soap, both of which weaken polish adhesion over time.
Applying cuticle oil daily keeps the surrounding skin healthy and helps prevent the polish from lifting at the edges, which is especially important for detailed designs where even small lifting can distort the star shapes. Using a gel based topcoat rather than a standard one also significantly improves wear time, particularly for star nail design involving fine detail work that you want to stay crisp for as long as possible.
Avoiding the temptation to use your nails as tools, whether that means opening packages or scratching off labels, also goes a long way in preserving the overall appearance and lifespan of your star nail design.
Star Nail Design For Different Skin Tones
One of the best things about star nail design is how adaptable it is across a wide range of skin tones, largely because the base color and star color can both be adjusted to complement individual undertones. Gold stars tend to look particularly striking against warmer skin tones, while silver and white stars often complement cooler undertones beautifully.
For deeper skin tones, I often suggest richer base colors like deep navy or black paired with gold or copper toned stars, which creates a warm, glowing contrast. For lighter skin tones, pastel bases paired with silver or soft gold stars tend to look especially delicate and elegant.
Regardless of skin tone, star nail design tends to photograph and wear beautifully, which is part of why this trend continues to remain so popular across such a wide range of clients in my chair.
Mistakes To Avoid When Trying Star Nail Design
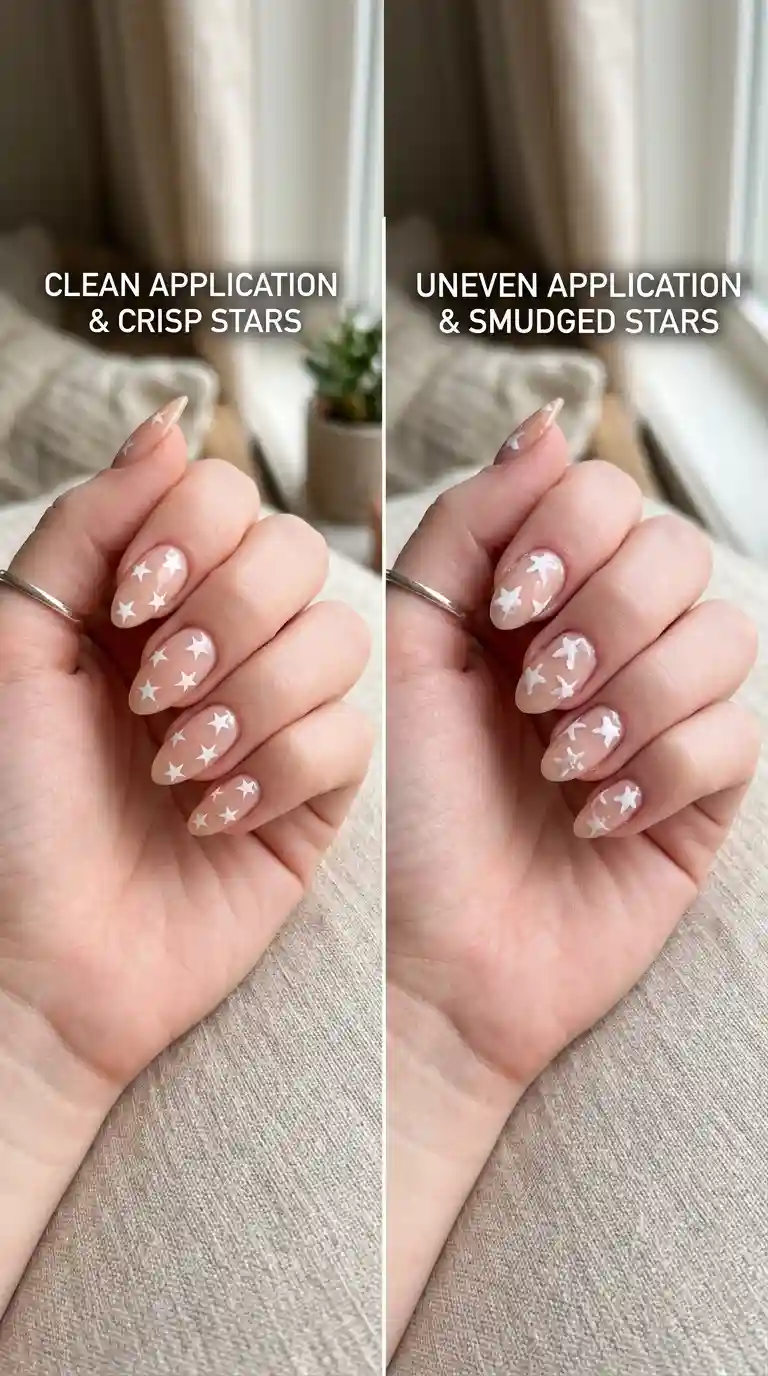
After years of creating star nail design professionally, I have seen nearly every mistake possible, and made a few myself early on. The most common issue is overcrowding the nail with too many stars, which can quickly start to look messy or chaotic rather than intentional and celestial.
Inconsistent star sizing is another frequent mistake, especially among beginners attempting freehand painting for the first time. Taking a moment to plan out rough star placement before committing to paint, even just lightly sketching dots to mark where each star will go, helps keep the overall design feeling balanced and cohesive.
Rushing the drying process between layers is another issue I see often, particularly with more detailed star nail design involving multiple colors, glitter and a final topcoat. Each layer needs proper time to set before moving to the next step, or the entire design risks smudging.
Star Nail Design For Nail Art Beginners
If you are completely new to nail art, star nail design is actually one of the best possible starting points. The shape itself is simple and forgiving, which makes it a great confidence building project for anyone who has never attempted detailed nail art before.
I usually recommend beginners start with just three or four small stars scattered across a solid colored base rather than attempting a full galaxy effect right away. Once that feels comfortable, you can slowly build toward more detailed techniques like layered colors, chrome accents or more intricate star placement.
Practicing on a paper nail wheel before committing to your actual nails remains one of the best ways to build confidence with a detail brush, especially when attempting more ambitious versions of star nail design for the first time.
Pairing Star Nail Design With Your Outfit
I always encourage clients to think about their star nail design as part of their overall outfit rather than something completely separate. The trend is versatile enough to complement almost any style, from soft and romantic to bold and edgy, depending on the color palette and placement chosen.
For a soft, feminine outfit, pastel based star nail design with delicate gold or silver stars complements the overall look beautifully without feeling like it is competing for attention. For a bolder, more edgy outfit, a matte black base with chrome stars adds just the right amount of attitude to tie the entire look together.
Even a simple, casual outfit feels instantly more polished with a well executed star nail design, whether that means a subtle single accent nail or a more detailed galaxy inspired set covering the entire hand.
Star Nail Design For Special Occasions
Beyond everyday wear, star nail design often becomes a popular request for specific events, including New Year’s Eve parties, formal galas and even bridal showers for clients who want something a bit more unique than traditional florals. I have painted this design for proms, birthday celebrations and plenty of clients simply looking to celebrate something special in their life.
For these occasions, I often add a bit more detail than I would for everyday wear, including extra rhinestones, additional glitter or a more elaborate galaxy effect across the main accent nail. These small touches help the finished manicure feel elevated and appropriate for the celebratory nature of the event without straying too far from the core concept of the trend.
Read Also: Nail Design with Lines: Ideas, Techniques and Tips for Clean, Modern Nails
Caring For Your Nails Underneath Star Nail Design
A beautiful manicure always starts with healthy nails underneath, regardless of how detailed or simple the design on top happens to be. I always recommend applying cuticle oil nightly, since this simple habit keeps the nail bed properly hydrated and helps prevent premature lifting, which can distort even the most carefully painted star shapes.
Taking short breaks between manicures, especially for anyone who regularly wears gel or acrylic extensions, gives natural nails time to recover and stay strong. Healthy nails underneath not only help star nail design look better overall, they also help the design last significantly longer before requiring a touch up or full redo.
Final Thoughts On Star Nail Design
After creating star nail design for so many clients over the years, I can honestly say this trend has earned its lasting popularity through sheer versatility. It works across every season, every skin tone and nearly every personal style, which is not something most nail trends manage to achieve for very long.
Whether you prefer a simple scattering of tiny stars near the cuticle or a fully detailed galaxy effect covering every nail, there is a version of star nail design that fits your personal taste and comfort level. My biggest piece of advice, both as someone who paints this design constantly and someone who genuinely enjoys the process, is to have fun with placement and spacing. Stars do not need to be perfectly symmetrical to look beautiful, and a bit of organic, scattered placement often ends up looking far more natural and charming than something overly precise.
Frequently Asked Questions About Star Nail Design
What colors work best for star nail design?
Gold, silver and white are the most popular choices for the stars themselves, often paired with a navy, black or soft pastel base depending on the desired effect.
Is star nail design hard to do at home?
Simple scattered star designs are quite approachable for beginners, though more advanced galaxy effects involving blended colors and glitter require a bit more practice.
How do I make star nail design last longer?
Using a gel topcoat, applying cuticle oil daily and wearing gloves while cleaning are the best ways to extend the wear time of any detailed manicure.
Can star nail design work for short nails?
Yes, short nails handle this design beautifully. Keeping stars small and concentrated near the cuticle helps the overall look stay proportionate.
What tools do I need to paint stars on my nails?
A fine detail brush and a steady hand are the main requirements, though a dotting tool and star shaped decals also work well for beginners.
How many coats of base polish do I need before adding stars?
Most base colors require two thin coats for full, even opacity before adding any star detailing on top.
Can I do star nail design on acrylic extensions?
Definitely. Acrylic extensions provide extra surface area, making them a great canvas for more detailed galaxy effects or layered star patterns.
What nail shape works best for this trend?
Almond and coffin shapes showcase detailed star designs beautifully, though the trend translates well onto virtually any nail shape, including short and square nails.
How do I paint a simple star shape on my nails?
Start with a small center dot, then paint five short lines radiating outward from that point, adjusting the length and angle until the shape looks balanced.
Is matte or glossy better for star nail design?
Both look beautiful, and the choice depends on personal preference. Matte offers a soft, modern texture, while glossy feels more classic and pairs well with chrome accents
3 Comments